A 30-minute video is too long for one conversation. This guide walks the 8-step Skill that locks the narration and one look, then gives each 3-minute segment to a fresh sub-agent, five at a time, and polishes the cut in an empty-context session.
The folder structure behind my AI agent team, the Herdr setup where Grok Build, Claude Code and Kimi Code work side by side, and the two live tasks from the video: an article published by voice and a three-model front-end test.
Eight folders of plain Markdown, a CLAUDE.md index in each, and seven prompts that make your agent interview you. Every prompt, template and command from the video, in order.
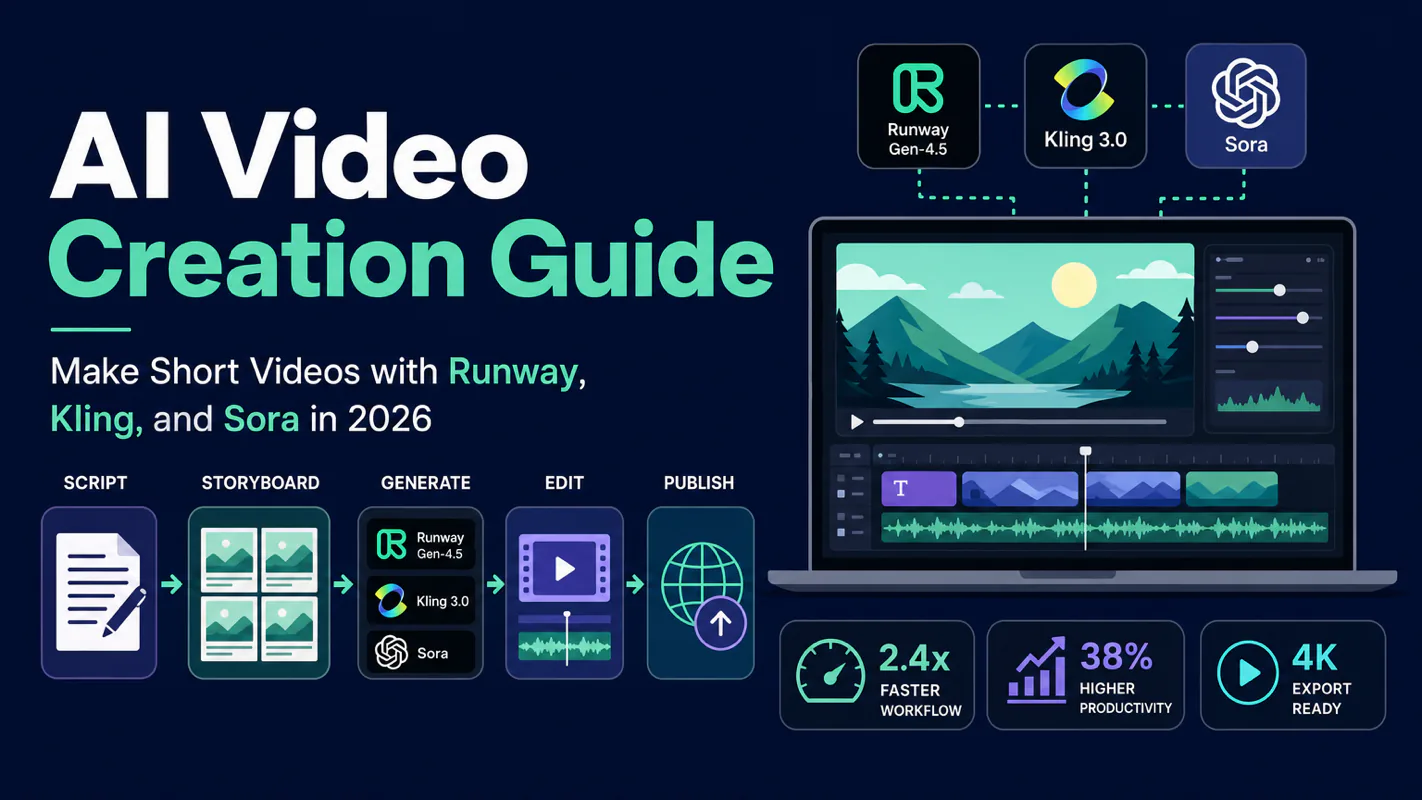
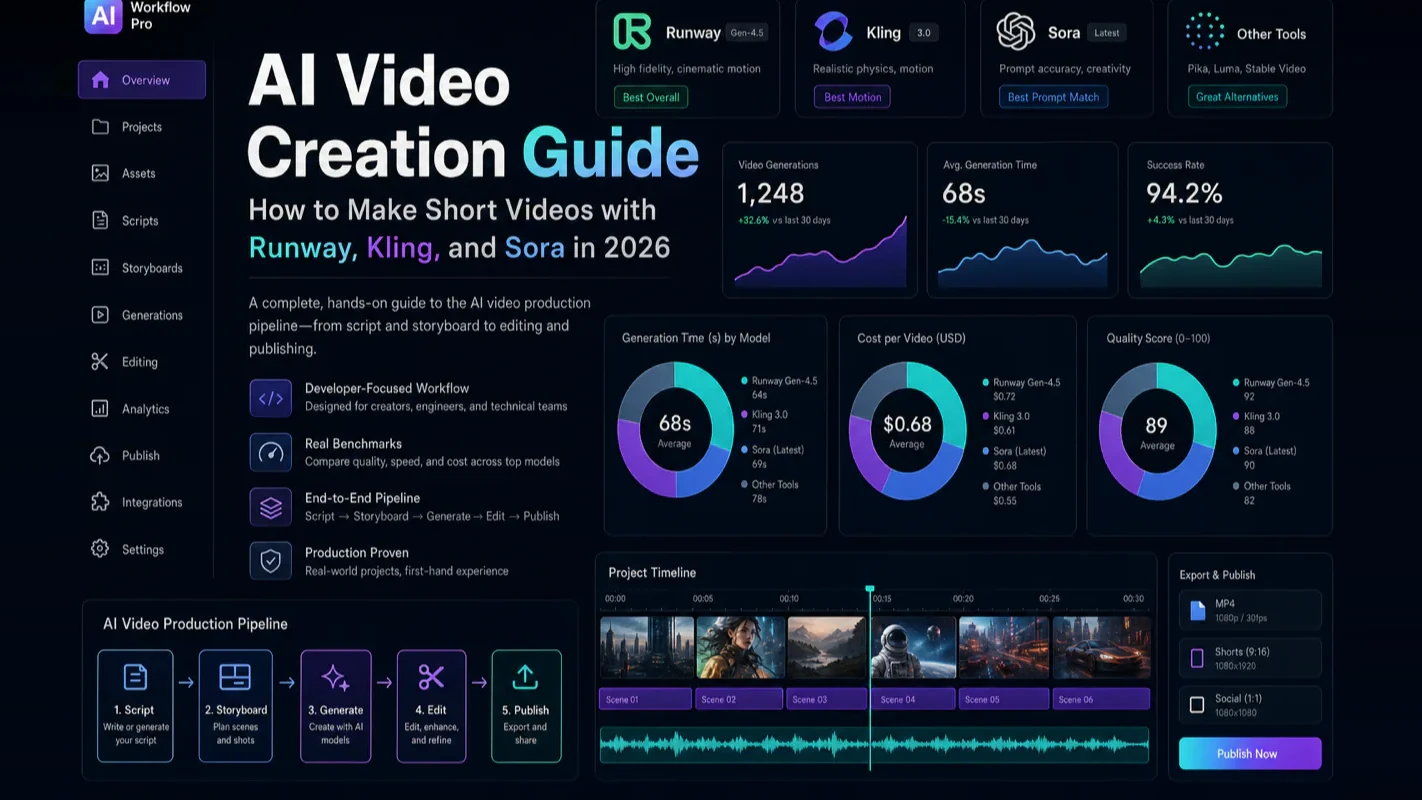
AI Video Creation Guide: How to Make Short Videos with Runway, Kling, and Sora in 2026
When the crew stops arriving, so does the judgement that used to arrive with it. Nobody budgets for that, because the line item never changed. The three layers here are where craft gets written into the brief instead, the moment every field hits once it starts to automate business processes.
A viral short video lives for 72 hours. The production pipeline behind it -- script, storyboard, assets, voiceover, editing -- used to take three days minimum. AI video creation tools have collapsed that timeline to under two hours.
You do not need a camera. You do not need editing skills. You do not even need to show your face. If you can describe a scene in text, AI handles the rest: generating scripts, images, video clips, and voiceover. This guide walks you through the complete AI video creation pipeline -- from concept to published short -- using tools like Runway, Kling, and Sora.
Key takeaways
AI video creation breaks into three layers: sensory (visual impact), narrative (story structure), and conceptual (value resonance). Build from the bottom up.
Effective AI video prompts need four elements: role assignment + visual style + emotional tone + duration constraints. Drop any one and output quality falls off a cliff.
A 30-second short video requires 8-12 shots, each lasting 2-4 seconds, with at least 30% incorporating camera movement.
2026 tool landscape: Runway Gen-4.5 leads on creative control, Kling 3.0 dominates value, Pika 3.0 wins on speed.
Ten years ago a thirty-second promo meant booking a shoot, which meant a producer, a day rate and a location release. The line item survived. The shoot did not. Small teams now assemble those thirty seconds from a script, eight to twelve generated shots and a synthetic voice track, and the person doing it is usually a marketer who has never held a camera. That is why the three layers below matter: craft judgement used to arrive with the crew, and now it has to be written into the brief. Every field that tries to automate business processes reaches this moment, where the tool absorbs the labour and leaves the taste behind.
What Is the Three-Layer Framework for AI Video Creation?
Every strong short video operates on three layers. Master them in order and your content quality compounds with each production.
Layer
Focus
Goal
Sensory
Visual impact, color, sound design
Hook viewers in the first 3 seconds
Narrative
Story structure, pacing, twists
Keep viewers watching to the end
Conceptual
Values, emotional resonance
Make viewers follow you
Each layer follows four production steps: script writing, storyboard design, asset generation, and post-production assembly. Start with the sensory layer and build upward. I spent my first month obsessing over which tool produced the prettiest frames -- only to realize that script quality and the first three seconds determined 80% of watch-through rate. The framework saved me from that trap.
Writing AI Video Scripts That Actually Convert
The golden rule of short-form video: the first 3 seconds decide everything. A sensory-layer script does not need to tell a story. It needs every frame to hit hard.
When prompting AI for scripts, your descriptions must be specific enough to visualize. Compare these two approaches:
Vague: Write a short video script about a city
Specific: You are a film director. Describe this scene using cinematic language -- neon-lit rain-soaked streets, puddles reflecting multicolored light, a deep drumbeat growing in the distance
The second version produces scripts with genuine visual energy. Four techniques that consistently improve output:
Specify atmosphere: Name colors, lighting, weather. "Golden sunset backlight," "cool blue alley tones," "warm street lamps through falling snow" all anchor AI output.
Include audio cues: Describe background music style and ambient sound. When you sync audio and visual descriptions, AI generates more complete storyboards.
Assign a role: Tell the AI to write as a cinematographer or film director. Output quality jumps an entire tier compared to "write a script."
Set hard constraints: Specify "vertical 9:16," "each shot 2-3 seconds," "total duration 30 seconds." Tighter constraints produce more usable output.
After testing dozens of prompt structures, I found that effective AI video scripts consistently include four elements: role assignment + visual style + emotional tone + duration constraints. Remove any single element and the output drifts.
Building a Shot-by-Shot Storyboard
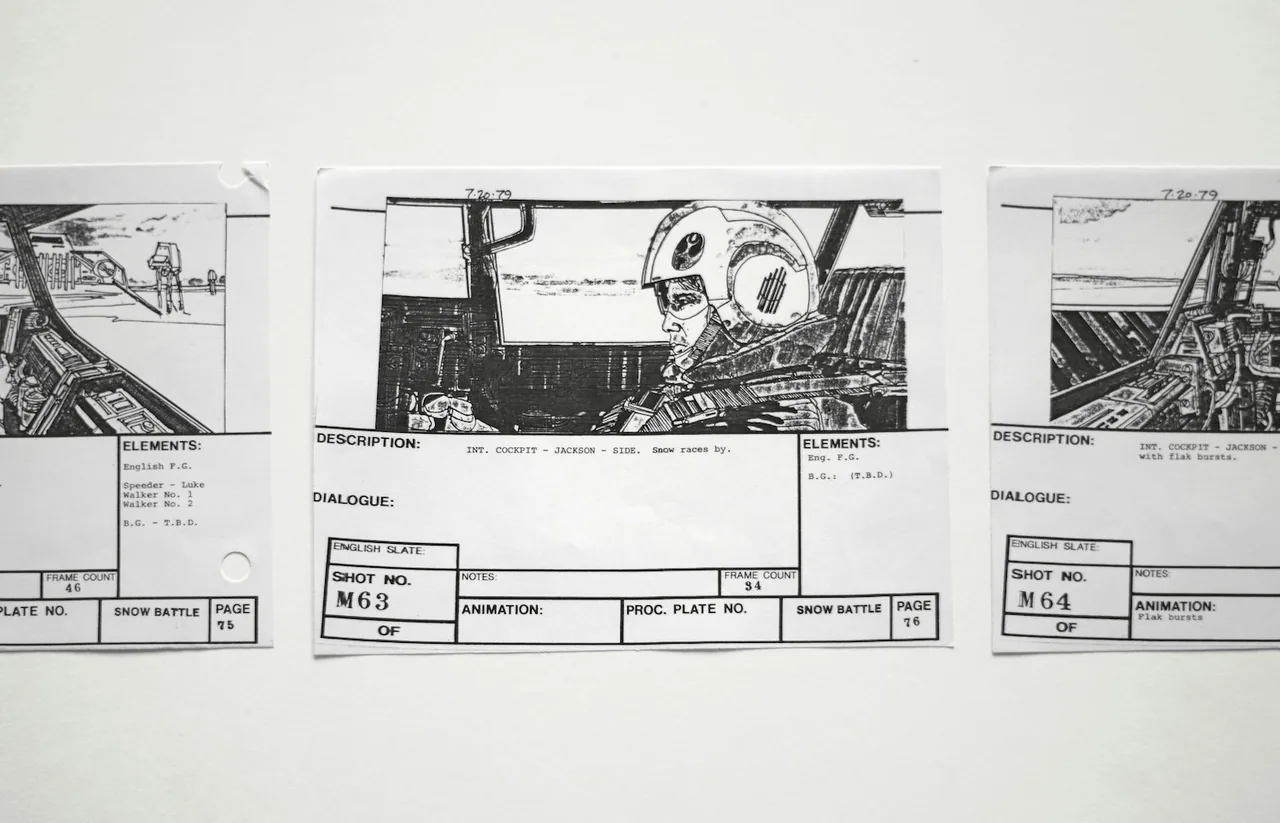
A storyboard translates your script into a numbered sequence of individual shots. Each entry specifies: visual content, camera type (close-up / wide / tracking), duration, and transition style.
Here is a prompt template that works well:
Generate a storyboard table from the following script. Each shot includes:
1. Visual description (English prompt for AI image generation)
2. Camera type and movement
3. Duration in seconds
4. Music/sound effect suggestion
5. Emotional tag (e.g., tense / warm / dramatic)
Output the storyboard as a table -- this makes it straightforward to generate assets shot by shot. A 30-second short typically needs 8-12 shots at 2-4 seconds each. More than 15 shots and the pacing feels fragmented. Fewer than 6 and it drags.
Three storyboard mistakes that kill pacing:
Mistake
Symptom
Fix
Uneven shot duration
Some shots run 1 second, others 8 seconds -- rhythm collapses
Keep shots between 2-4 seconds; allow 1-second quick cuts only at climax
No camera movement
Every shot is static -- feels like a slideshow
Add push, pull, pan, or tilt to at least 30% of shots
Monotonous transitions
All hard cuts or all dissolves
Mix 3-4 transition types based on emotional shifts
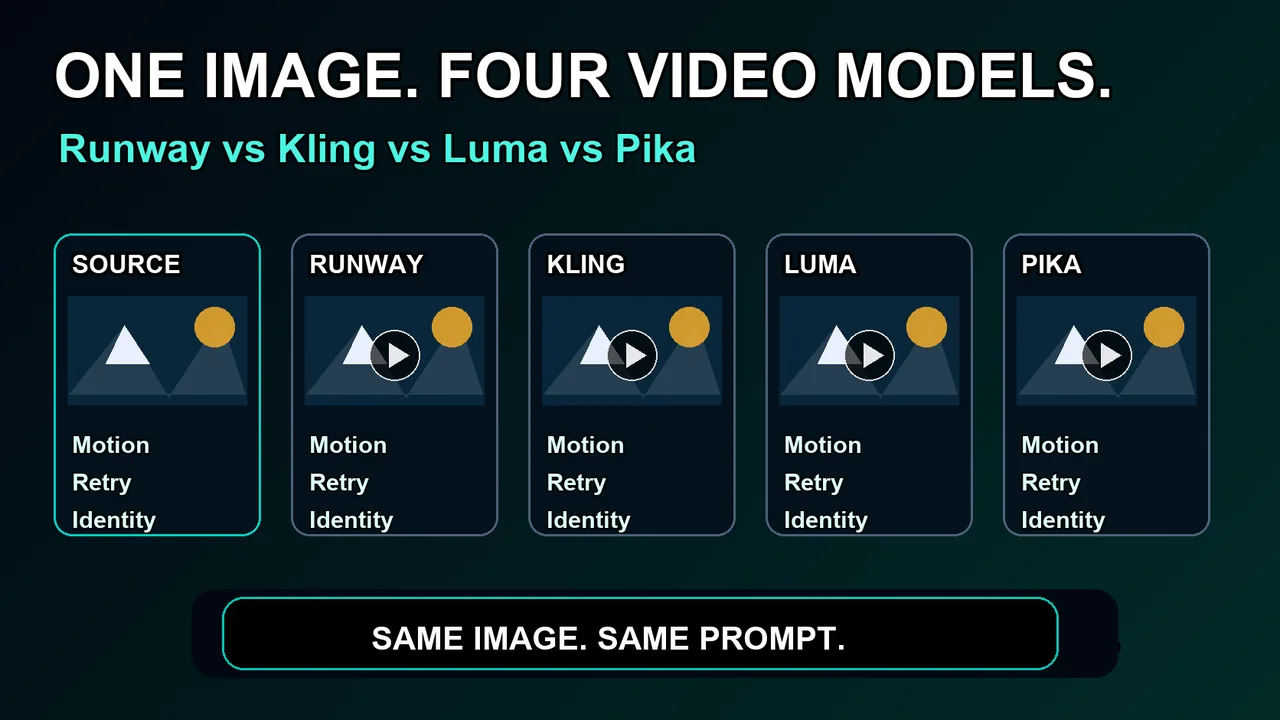
Which AI Video Creation Tool Should You Choose: Runway, Kling, or Sora?
As of March 2026, OpenAI shut down the standalone Sora application, reshuffling the AI video generation landscape. For the latest capabilities, check Runway's official documentation and Google's Veo model page. Here is how the major tools actually perform:
Tool
Core Strength
Speed (10s clip)
Best For
Price Tier
Runway Gen-4.5
Strongest creative control, integrates Veo 3.1
60-120 sec
Brand films, visual storytelling
Professional
Google Veo 3.1
4K output, native audio, up to 60 sec clips
60-180 sec
High-quality finished pieces, API integration
Enterprise
Kling 3.0
Best value at $0.07/sec
60-90 sec
Daily content, social media
Budget
Pika 3.0
Fastest generation, 15-30 sec output
15-30 sec
Rapid prototyping, high-frequency publishing
Entry
Seedance 2.0
ByteDance product, strong CJK language support
60-120 sec
Multi-language content
Budget
Wan 2.6
Open-source, self-hosted on GPU
Hardware dependent
Technical creators
Free
My recommendation: Start with Kling 3.0. It delivers the best cost-to-quality ratio and generates clips fast enough to maintain creative momentum. Once you have a reliable workflow, upgrade to Runway or Veo for polished content. Pika suits creators who need to publish multiple shorts daily.
For image generation, Midjourney and FLUX remain the workhorses. When writing prompts, concrete descriptions consistently outperform abstract concepts. My go-to prompt structure: [subject] + [environment/background] + [lighting/atmosphere] + [art style/texture] + [camera parameters].
A real example: to generate a "rainy city night" shot, I wrote: "A man in a dark trenchcoat standing at a neon-lit street corner, rain puddles reflecting multicolored light, cold blue cinematic color grade, shallow depth of field close-up, 85mm focal length effect." This level of specificity -- down to lighting color and focal length -- produces dramatically better results than generic descriptions like "city night rain man."
Image-to-video production workflow:
Generate keyframe images in Midjourney (use --ar 9:16 for vertical)
Upload to Kling or Runway, select Image-to-Video mode
Describe desired motion ("slow camera push-in," "subject turns head and smiles")
Generate 3-5 candidate clips, select the strongest
Re-prompt and regenerate any weak shots -- never settle for "good enough"
How Do You Assemble AI-Generated Clips into a Finished Video?
Use CapCut (or DaVinci Resolve for advanced users) to combine AI-generated assets. Focus on these operations:
Beat sync: Align visual cuts to music beats. CapCut's auto-beat detection marks rhythm points with one click.
Transition types: Fast pace calls for hard cuts. Slow pace works with dissolves. Emotional turning points use flash-whites.
Voiceover: ElevenLabs delivers the best English voice quality. CosyVoice (by Alibaba) handles multilingual work well. MeloTTS is free and open-source.
Color consistency: AI-generated shots from different prompts often have mismatched color grades. Apply a unified LUT or color preset across all clips.
Thumbnail design: The first frame is not your thumbnail. Design a separate cover image with large text, strong contrast, readable on a phone screen.
Post-production checklist:
[ ] Does the first 3 seconds deliver visual impact or suspense?
[ ] Are background music beats synced with visual cuts?
[ ] Is subtitle text readable on a phone screen?
[ ] Does total duration fit the platform sweet spot (TikTok 15-60s, YouTube Shorts 30-60s)?
[ ] Does the ending include a visual prompt to follow or like?
Retention Tactics: Keeping Viewers Until the End
Sensory impact grabs attention. Narrative structure holds it. This is the dividing line between beginners and intermediate creators -- visually stunning videos are everywhere, but ones that make viewers stay until the last second always have a story.
Short-form narrative does not need complexity. It needs rhythm. Structures that work:
Suspense opener: Show the result first, then reveal how you got there ("When I opened the package, I froze")
Three-act: Setup, conflict, resolution
Before/after: The simplest comparison structure
Listicle: "3 tricks you did not know" -- simple but effective for educational content
Reverse chronology: Start from the ending, work backward -- naturally builds curiosity
Narrative structures by video type:
Type
Recommended Structure
Duration
Key Rhythm Point
Tutorial
Pain point, method, result demo
45-90 sec
State the pain point by second 5
Emotional story
Suspense, buildup, twist
30-60 sec
Twist in the final 5 seconds
Product showcase
Before, usage, after
15-30 sec
Make the contrast dramatic
Creative/humor
Everyday scene, unexpected element, contrast
15-30 sec
Bigger contrast = better
Vlog
Timeline + commentary
60-180 sec
Mini-climax every 15 seconds
One technique that works every time: switch the music at emotional turning points. Transition from a subdued piano to an upbeat guitar while simultaneously shifting visuals from dark tones to warm lighting. This audio-visual synchronization pulls the viewer's emotions in a direction they do not expect.
How Do You Maintain Character Consistency Across AI-Generated Shots?
If your short video features a recurring character, the biggest production challenge is character consistency -- the same person looking different across shots.
Proven solutions:
Kling 3.0 Character feature: Upload a reference image and all subsequent shots maintain visual consistency automatically.
Runway Style Reference: Lock the visual style so different shots share a unified look.
Manual prompt anchoring: Repeat identical core feature descriptions (hairstyle, clothing, skin tone) in every shot prompt, using exactly the same words.
LoRA fine-tuning: Higher technical barrier, but the most stable results. Worth the investment for creators producing large volumes of single-character content.
In my production work, combining approaches 1 and 3 delivers the best results. Use the Character feature to lock the broad direction, then fine-tune details through prompt engineering.
What Does a Complete AI Video Production Timeline Look Like?
Here is a practical week-by-week roadmap from zero to consistent output, based on my own ramp-up experience:
Week 1 goal: Complete 3 short videos and publish all of them regardless of quality.
Pick a simple 30-second topic (e.g., "morning cityscape")
Generate a script with ChatGPT or Claude, specifying duration and shot count
Have AI convert the script into a storyboard table with English prompts
Generate each storyboard frame with Midjourney or FLUX (--ar 9:16 vertical)
Convert images to video clips with Kling or Pika (3-5 seconds each)
Assemble in CapCut: add music, subtitles, transitions
Pre-export check: first 3 seconds, pacing, subtitle legibility
Publish, collect feedback, iterate
Week 2 goal: Analyze engagement data (watch-through rate, likes) and identify your weakest production step. Double down on improving it.
Week 3 goal: Add narrative structure. Upgrade from pure visual montages to story-driven videos.
Do not chase perfection. Your first production exists to teach you the pipeline, not to go viral. My first AI short video took five hours with the most basic tool stack -- ChatGPT for script, Midjourney for images, Kling free tier for video, CapCut for assembly. The result was mediocre at best. But that single video taught me every bottleneck in the chain, and every subsequent production improved.
Three Months of AI Video Production: What I Learned
I produced AI short videos consistently for three months. Here are the honest lessons:
Month 1: Tool anxiety consumed me. I burned hours comparing Kling versus Runway, Midjourney versus FLUX. The reality? Tool choice barely matters at the beginner stage. What actually determined watch-through rate was script quality and first-three-second design. My eventual strategy: run the entire pipeline on the cheapest tools first (Kling free tier), figure out content direction, then upgrade tools.
Month 2: Templates changed everything. I locked down a repeatable process for tutorial-style shorts -- topic selection (10 min), script (20 min), storyboard (10 min), asset generation (30 min), editing (30 min). Once this pipeline was solid, producing one video per day became sustainable. Templating is not laziness. It concentrates creative energy on the highest-value steps (topic selection and scripting) while automating everything else.
Month 3: Data drove every decision. I analyzed every video with a watch-through rate below 40% and summarized patterns from every video above 60%. A clear signal emerged: openings with "cognitive conflict" (e.g., "you think X but it is actually wrong") outperformed "today I will teach you X" openings by 15-20 percentage points on watch-through rate. That insight only surfaces through systematic data review.
On AI content disclosure: YouTube and TikTok both require AI content labels as of 2026. I label proactively and include "This video was created with AI tools" in the description. Transparent disclosure did not hurt reach -- it actually built audience trust. AI tools are a production method, not a secret. Owning it openly feels more authentic than hiding it.
Ready-to-Use Prompt: Build a Short Video on the Three-Layer Framework From One Topic
What this does: Turns one topic into a publish-ready short video — conceptual value first, narrative structure next, sensory impact last — with a script using the 4-element prompt structure, a storyboard, character-consistency lock, retention tactics, and an under-2-hour production timeline. Based on: AI Video Creation Guide: How to Make Short Videos with Runway, Kling, and Sora in 2026 — https://aiworkflowpro.com/ai-video-creation-guide/ Time to run: ~5 minutes
Copy this prompt into Claude Code, ChatGPT, or any AI assistant:
ROLE: You are an AI short-video director. Your job: turn one topic into a publish-ready short video built on the three-layer framework — conceptual value first, narrative structure next, sensory impact last — with a script, storyboard, and production timeline.

CONTEXT — THREE-LAYER VIDEO FRAMEWORK:
A viral short lives 72 hours; AI collapsed production from 3 days to under 2 hours. The framework builds bottom-up across three layers: conceptual (the value the viewer takes away — build first, because pretty visuals cannot rescue a hollow idea), narrative (the story structure that holds attention to the end), and sensory (the visual impact that stops the scroll). Every shot's AI generation prompt needs four elements or quality falls off a cliff: role assignment + visual style + emotional tone + duration. Tools: Runway Gen-4.5, Kling 3.0, Sora.

INPUTS (fill in before running):
- TOPIC: YOUR_VIDEO_TOPIC_HERE (one sentence on what the video is about)
- AUDIENCE: YOUR_AUDIENCE_HERE (who you want to watch it)
- LENGTH: YOUR_TARGET_LENGTH_HERE (seconds — e.g., 30s, 60s)

METHOD — 6 STEPS:

Step 1 — Build the conceptual layer (bottom, first)
State the ONE value the viewer takes away — the insight, feeling, or payoff that makes them share. Test: if a viewer described the video to a friend in one sentence, what would they say? If it is only "it looked cool," the concept is hollow — rewrite before moving on.

Step 2 — Build the narrative layer
Lay the story structure: hook (first 1-3s, the open loop) → progression (tension/build) → payoff (the conceptual value delivered last). Mark each beat's timestamp against LENGTH. Every beat must pull toward the payoff — cut any that does not.

Step 3 — Build the sensory layer (top, last)
For each beat define the visual impact: the striking frame, the motion, the variety that stops the scroll. Sensory serves the narrative, never replaces it — a spectacular shot with no story purpose is cut.

Step 4 — Write the script with the 4-element prompt structure
For each shot write the AI generation prompt using all four elements: role assignment + visual style + emotional tone + duration. Dropping any one drops quality off a cliff — verify all four are present per shot.

Step 5 — Lock character consistency and retention
Define the character/subject reference (image + 1-line description) reused across every shot so identity holds. Add two retention tactics: the first-3-second hook mechanic and the open loop that pays off only at the end.

Step 6 — Production timeline and tool choice
Pick the tool by need (Runway Gen-4.5 for motion control, Kling 3.0 for character/physics consistency, Sora for long cohesive scenes) and lay the <2-hour pipeline: script → storyboard → assets → voiceover → assemble → publish. Name each stage's output.

RULES:
- Build bottom-up: conceptual → narrative → sensory; never start with visuals.
- Every shot's prompt has all four elements (role + style + tone + duration) — no exceptions.
- Sensory serves narrative; spectacle without story purpose is cut.
- One locked character reference across all shots; do not let identity drift.

OUTPUT FORMAT:
Output six sections:
1. **Conceptual layer** — the one takeaway + the friend-summary test result.
2. **Narrative layer** — markdown table with columns: Beat | Timestamp | Purpose (hook/build/payoff).
3. **Sensory layer** — markdown table with columns: Beat | Striking frame | Motion.
4. **Script (4-element prompts)** — markdown table with columns: Shot | Role | Visual style | Emotional tone | Duration.
5. **Consistency + retention** — the locked character reference + hook mechanic + open loop.
6. **Production timeline** — tool choice + the <2-hour pipeline with each stage's output.
Save as @templates/ai-video-creation-guide.md and run at the start of every short-video project, then re-run whenever the topic, length, or tool changes.
FAQ
Which AI video creation tool should beginners start with?
Start with Kling 3.0. At $0.07 per second of generated video, it offers the best entry point. The free tier covers your first experiments. Generation speed (60-90 seconds per clip) keeps your creative flow intact. Graduate to Runway Gen-4.5 for premium brand content once your workflow is solid.
How long does it take to make an AI-generated short video?
Expect 3-5 hours for your first complete production. With practice, a 30-second video takes 1-2 hours from concept to export. Templated workflows (fixed visual style, fixed narrative structure) cut this to 30-60 minutes.
Do platforms like YouTube and TikTok penalize AI-generated video content?
No. As of 2026, YouTube and TikTok require disclosure labels for AI-generated content but do not suppress distribution. Algorithmic reach depends on content quality and originality, not production method. A high-quality AI-produced video competes on equal terms with camera-shot content.
How much does AI video creation cost per month?
Zero to start. Kling offers a free tier, Pika has a free trial, and CapCut is completely free. For consistent weekly publishing, budget $15-40/month (Kling Pro + Midjourney Basic). Enterprise-grade tools like Runway and Veo run higher but are unnecessary for most creators.
What Comes Next
The 2026 AI video creation landscape marks a turning point. YouTube now ships built-in Veo-powered AI video creation. TikTok's Symphony AI suite expands creative assistance. Instagram's Edits app adds AI-powered editing features. When the platforms themselves push AI creation tools, the question is no longer whether to use AI for video -- it is how to produce content that stands above the noise.
Tool barriers have dropped to near zero. Competition has shifted from "who can use the tools" to "who delivers the most valuable content." The creators who master this pipeline earliest will compound their advantage.
Open your AI video creation tool. Start with a thirty-second clip. The first video teaches you more than any guide ever will.
A 30-minute video is too long for one conversation. This guide walks the 8-step Skill that locks the narration and one look, then gives each 3-minute segment to a fresh sub-agent, five at a time, and polishes the cut in an empty-context session.
Eight folders of plain Markdown, a CLAUDE.md index in each, and seven prompts that make your agent interview you. Every prompt, template and command from the video, in order.
Stop briefing your AI from scratch. One free folder holds your background, your rules and your voice. Eight prompts build it, no code, and any AI can read it.
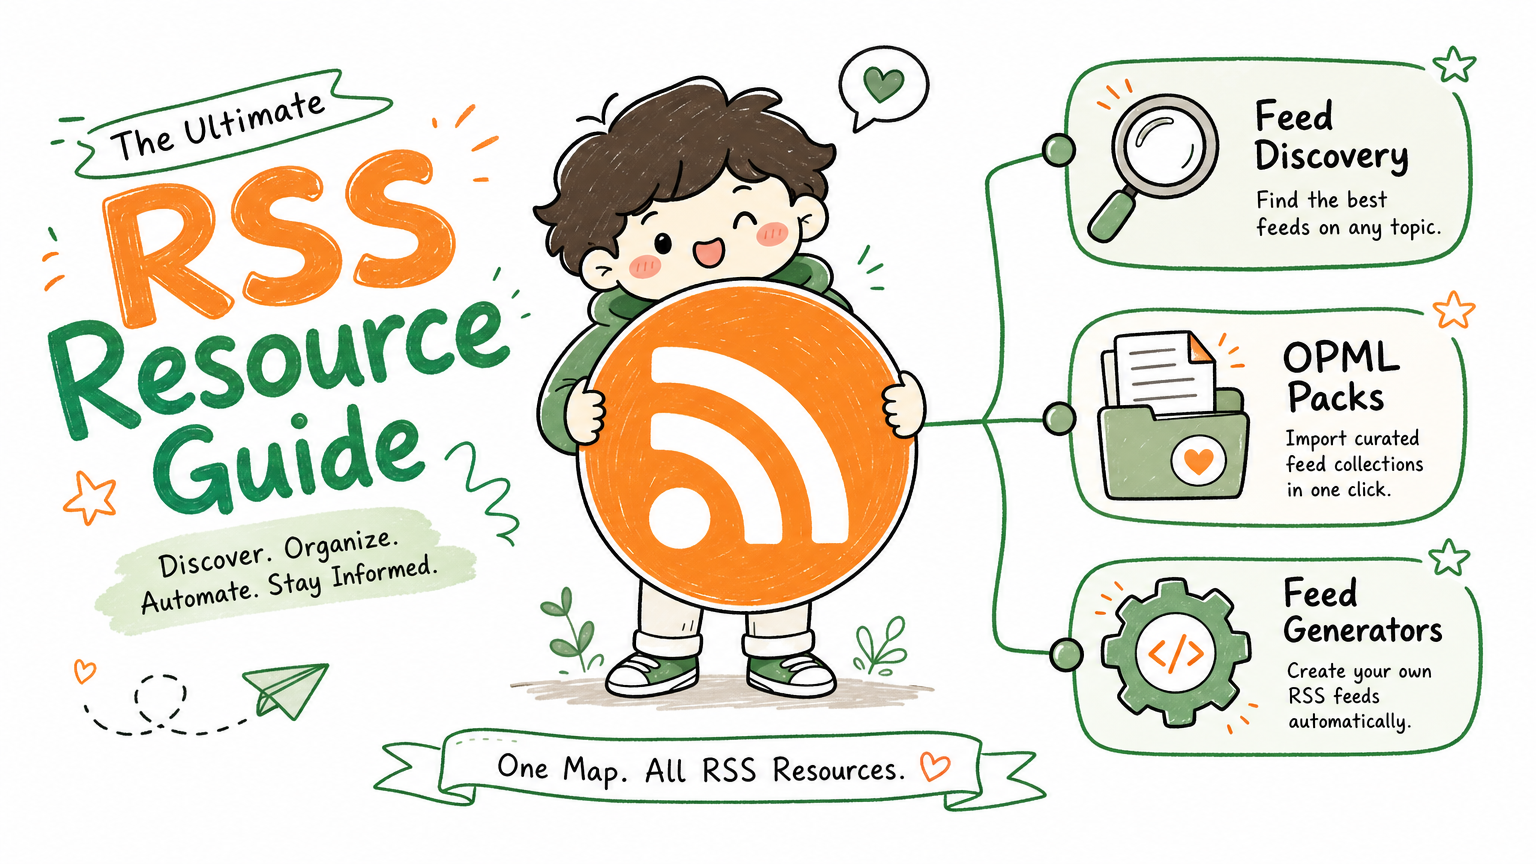
Monitoring a competitor who publishes no feed is the case every RSS guide skips. Twenty-one platforms sorted by which of three jobs they do, and the finished setup is business process automation you own outright, with no seat licence to renew.