A 30-minute video is too long for one conversation. This guide walks the 8-step Skill that locks the narration and one look, then gives each 3-minute segment to a fresh sub-agent, five at a time, and polishes the cut in an empty-context session.
The folder structure behind my AI agent team, the Herdr setup where Grok Build, Claude Code and Kimi Code work side by side, and the two live tasks from the video: an article published by voice and a three-model front-end test.
Eight folders of plain Markdown, a CLAUDE.md index in each, and seven prompts that make your agent interview you. Every prompt, template and command from the video, in order.
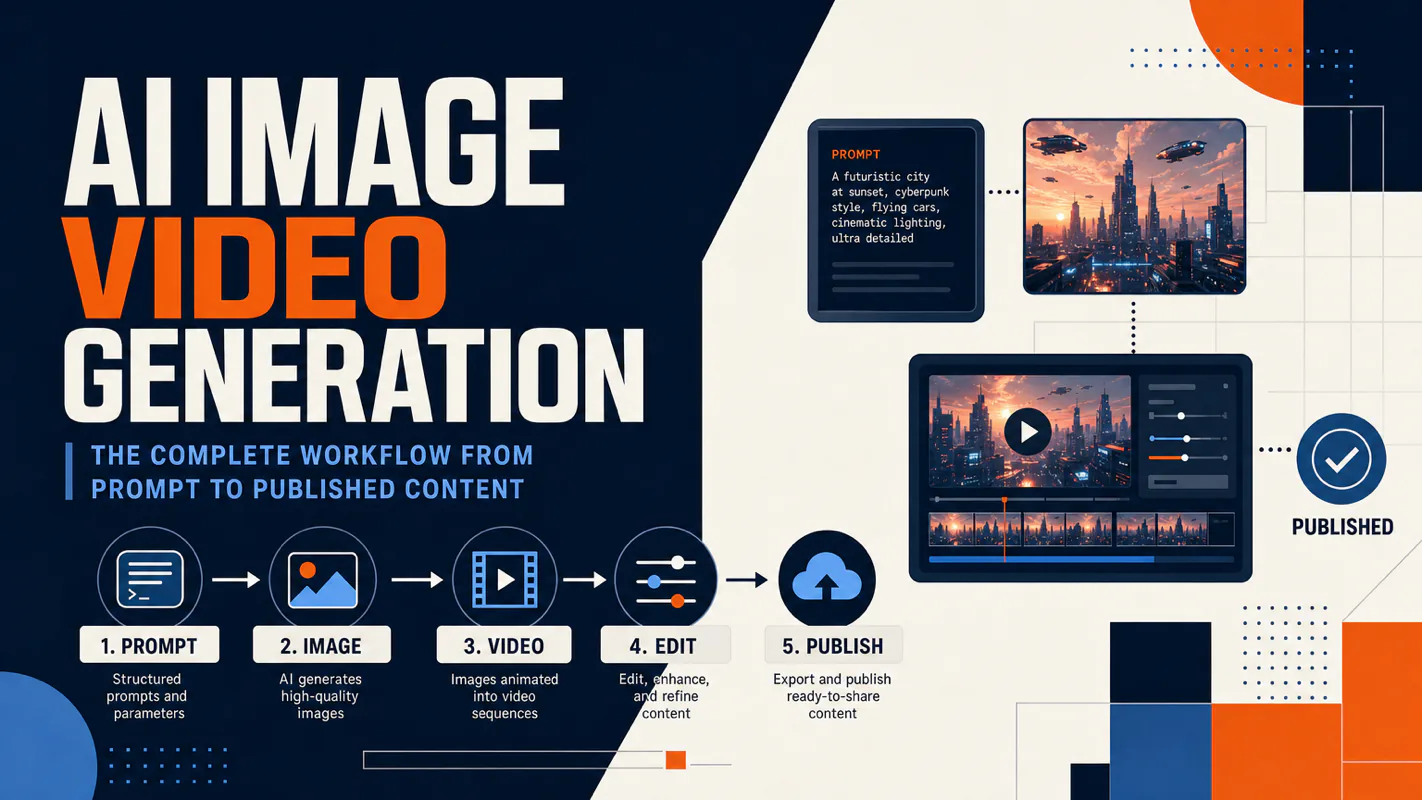
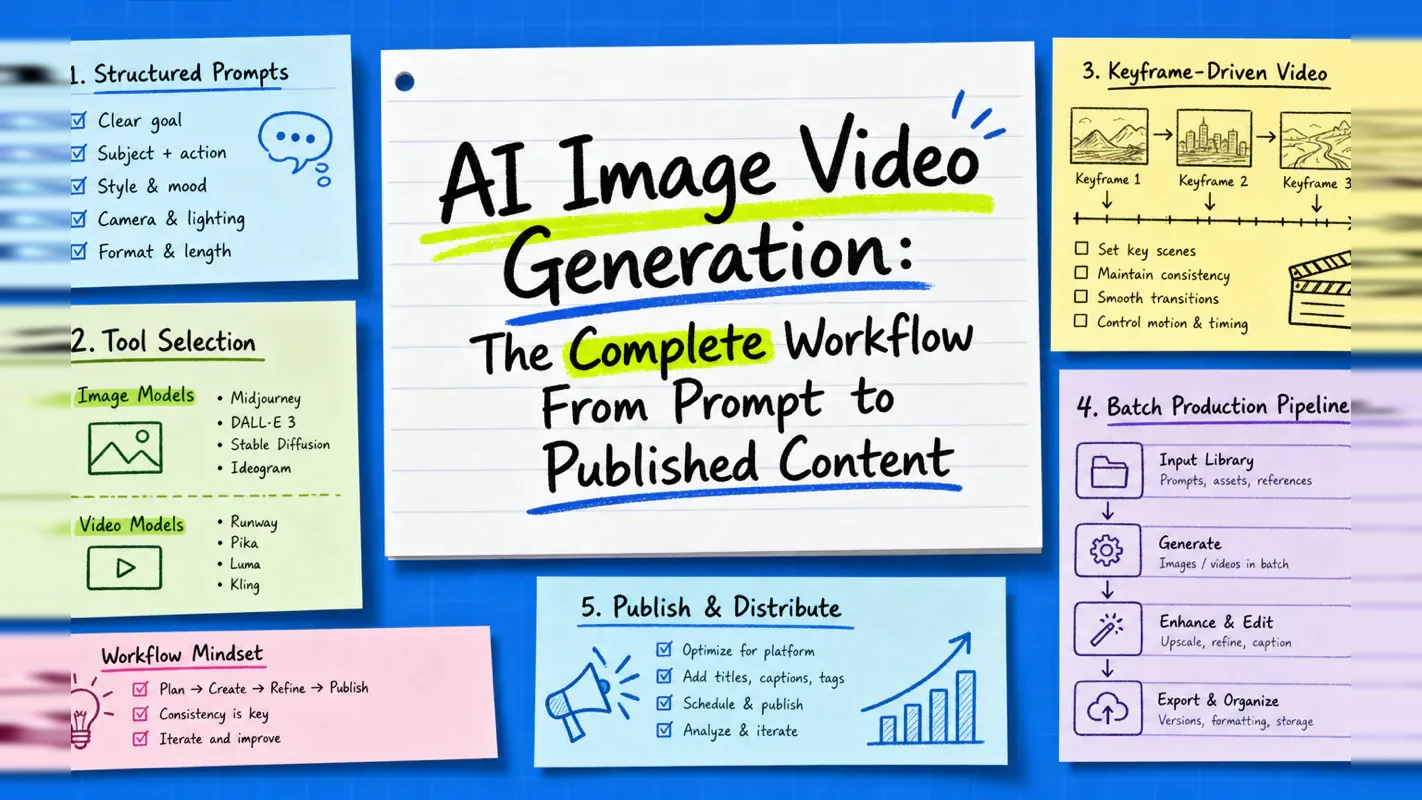
AI Image Video Generation: The Complete Workflow From Prompt to Published Content
Visuals lose the deadline fight because they have no fixed cost. Give them one — five minutes, three minutes — and they stop being the thing that gets dropped.
When a deadline tightens, the image is the first thing to go. The post ships with a stock photo or with nothing, everyone agrees to fix it later, and nobody does. That is not a taste failure, it is a scheduling one: the visual step had no fixed cost, so it lost every time it competed with the writing. Giving it a fixed cost is what the workflow below is for — prompt architecture first, then keyframe-led clips, then batch production. The question when you automate business processes is never whether a tool can do the job once. It is whether it repeats on Thursday, when everything is already behind.
AI image and video generation tools crossed a threshold in 2026. They stopped being novelties and became production infrastructure — tools that output publish-ready visuals on a repeatable schedule.
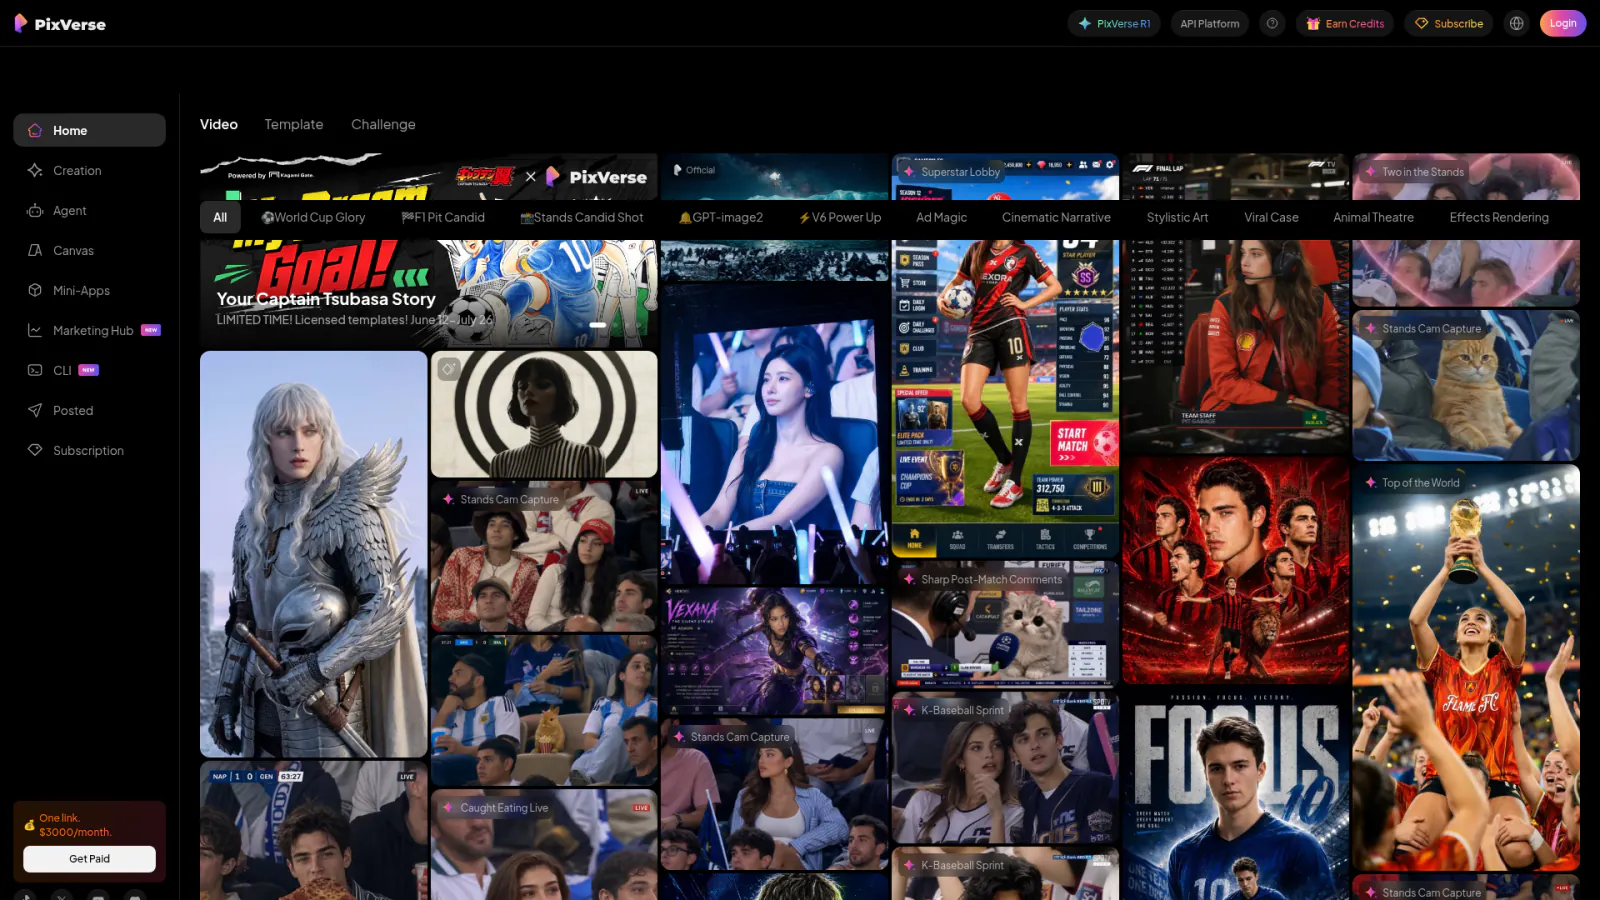
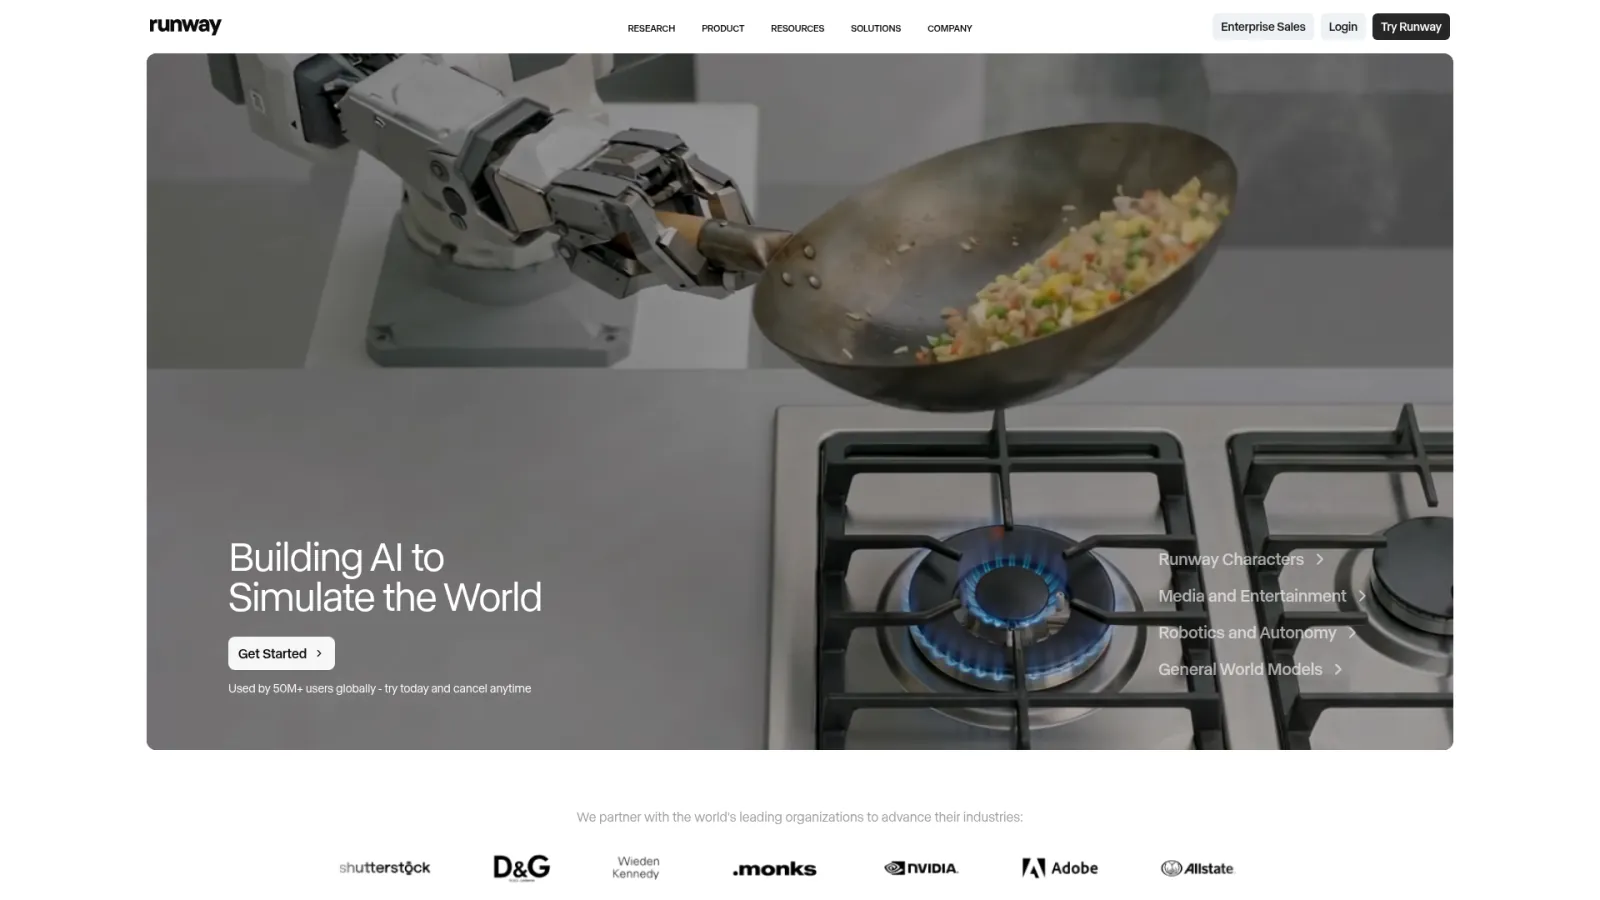
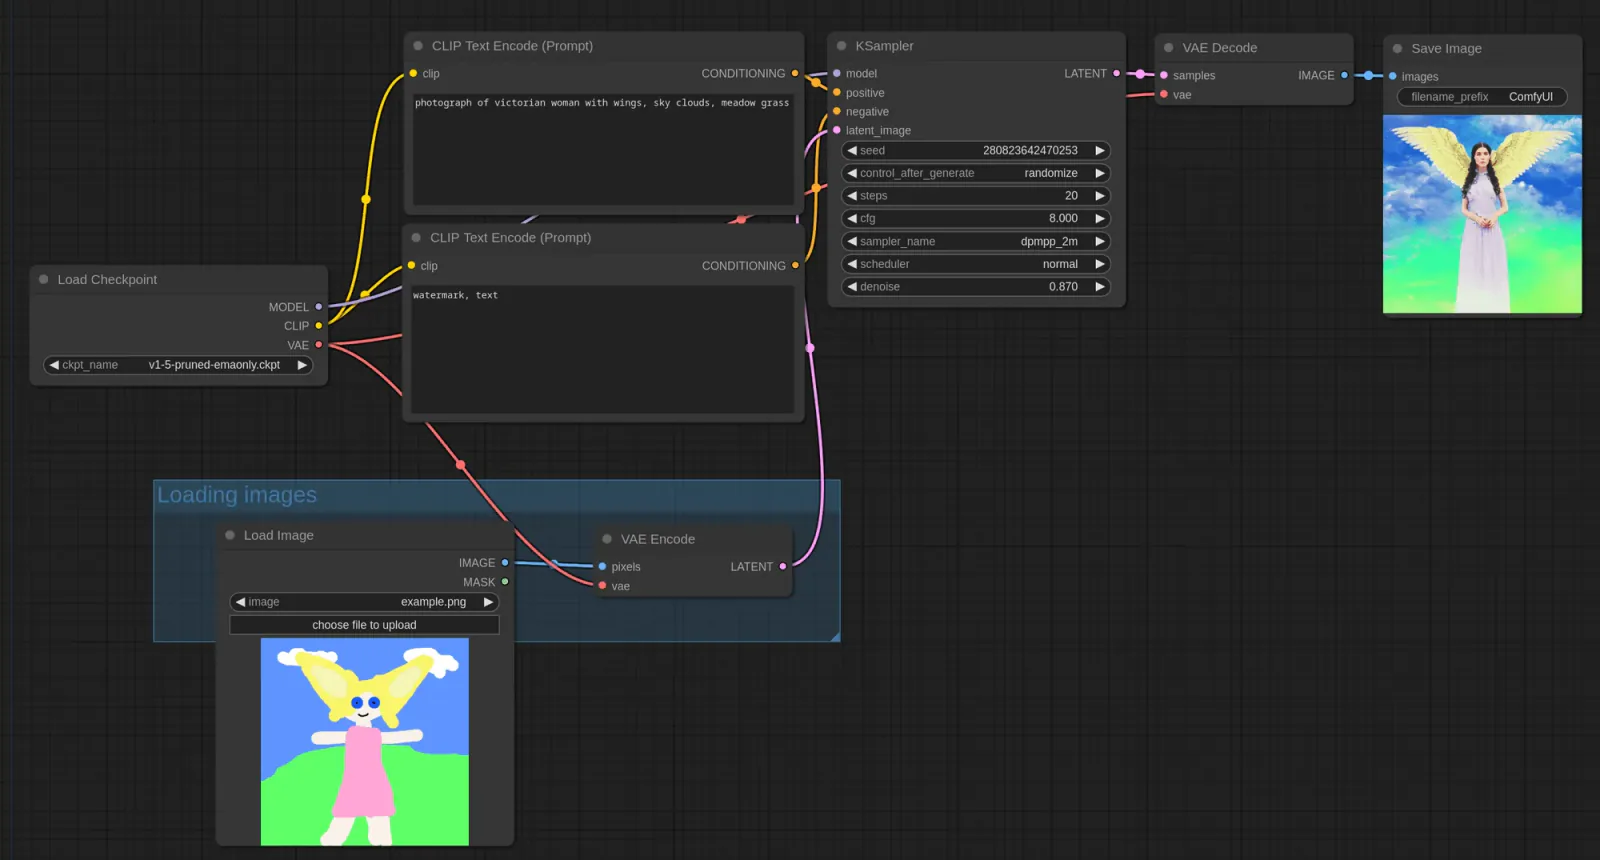
GPT Image (gpt-image-2), documented in the OpenAI image generation guide, now handles complex semantic prompts with enough fidelity for editorial illustration. PixVerse, Runway Gen-4, and Kling turn static keyframes into 4-10 second video clips that hold up on YouTube and Instagram. Cloud-hosted ComfyUI removed the GPU barrier entirely. The bottleneck is no longer tool capability. It is your prompt architecture and workflow design.
This guide maps the complete AI image video generation workflow — from prompt structure through batch video production. Whether you illustrate articles, produce thumbnails, or run a solo short-video pipeline, the methods here are field-tested and immediately actionable.
Here is the landscape — five production scenarios and the toolchains behind them:
Scenario
Core Tools
Deliverable
Time per Unit
Article illustration
GPT Image / Flux
Cover + inline images
5-15 min/article
Video thumbnail
GPT Image + font overlay
1280×720 thumbnail
3-5 min/image
Keyframe generation
GPT Image / Flux / ComfyUI
Storyboard keyframe sequence
10-20 min/set
Image-to-video
PixVerse / Runway / Kling
4-10 sec video clip
2-5 min/clip
Edited short video
Video editor of choice
30-120 sec complete video
15-30 min/video
Structuring AI Image Prompts for Consistent Results
The tool does not determine image quality — the prompt does. The same GPT Image model produces wildly different results depending on whether you feed it "tech-style image" or a five-layer structured prompt.
The five-layer prompt framework
A prompt that reliably produces high-quality images contains five elements:
Subject description — What is the most important thing in the frame? "A creator facing dual monitors, code editor on the left screen, video timeline on the right" beats "tech style" every time. Specificity gives the model something concrete to render.
Style directive — Watercolor, flat illustration, 3D render, or photorealistic. Pick one direction. Hybrid styles ("watercolor photorealistic image") confuse the model.
Composition and angle — Overhead, eye-level, close-up, panoramic. Composition controls information density and visual focus. Cover images work best with mid-shot eye-level framing. Inline illustrations benefit from close-ups or infographic-style layouts.
Color tone and lighting — Warm, cool, high-contrast, soft light. Tone drives emotional response. Technical content suits cool blue-green palettes. Tutorial content benefits from warm orange-yellow tones.
Dimensions and aspect ratio — 16:9 for article covers and video thumbnails, 1:1 for social avatars, 9:16 for short-video covers. Specifying dimensions in the API call produces better results than generating and cropping afterward.
Writing a prompt is like writing a design brief — the more specific your description, the closer the output matches your intent. Vague instructions return vague images.
Here is a side-by-side comparison:
Element
Vague (poor results)
Structured (strong results)
Subject
AI workflow
A creator facing dual monitors, image editor on left, video timeline on right
Primary blue-green, accent warm orange, overall bright and soft
Dimensions
(omitted)
2000×1125 (16:9, blog cover)
How Do You Maintain Visual Consistency Across Images?
The real challenge is not making one good image. It is making ten images that look like they belong together. An article with watercolor, 3D, and flat illustrations mixed together creates a jarring reading experience.
The fix is a style template system:
Lock a set of style keywords (e.g., "blue-green watercolor, soft blending, hand-drawn brushstrokes, white background") and include them in every prompt for that piece.
Use a consistent color palette (3-4 primary colors) across the entire series. Color is the strongest anchor for visual consistency.
Save validated prompts as template files. Reuse them by swapping only the subject description.
Manage separate templates for covers and inline images — covers need low information density and visual impact, while inline images need topical relevance to their surrounding paragraphs.
I maintain a style pool of about 40-50 predefined styles. Each article randomly draws one style, and every image in that article shares it. This guarantees within-article consistency while maintaining visual variety across articles. After months of testing, this approach cut my per-image revision rate from roughly 60% down to under 15%.
What Is the Fastest Way to Batch-Produce Images?
When you need five images for each of ten articles, manual prompt-tweaking per image burns hours. Batch production hinges on automating three steps:
Templatized prompts — Only the variable portions change (subject, section title). Style and composition stay fixed:
API calls — Run GPT Image or Flux through code. Using fal.ai as an intermediary, a single 1024×1024 image costs roughly $0.02-0.05. Fifty illustrations for under $2.50.
Quality-check filtering — Batch generate → rapid human scan (5 seconds per image, flag failures) → auto-regenerate flagged items with adjusted variables. This is dramatically faster than tweaking each image individually because you shift the decision point from "carefully adjust every image" to "only handle the failures."
One detail that gets overlooked in batch workflows: alt text planning. Every image needs descriptive alt text for accessibility and SEO. Plan alt text at the prompt stage — not after upload. Retrofitting alt text across 50 images is tedious work that a templated approach eliminates.
AI Thumbnails and Click-Through Rate Optimization
Thumbnails are the front door of your content. YouTube's own data shows that 90% of top-performing videos use custom thumbnails (YouTube Creator Academy). Newsletter covers, Instagram posts, and Reddit link previews face the same dynamic — users decide whether to click in under one second.
Three principles for effective thumbnails
Large text, few words — A thumbnail displays at roughly 3-4 cm wide on a mobile screen. Anything beyond 3-5 words becomes unreadable. Make the font size large enough to read in a feed scroll. A common mistake is stuffing the full title into the thumbnail — that is the title field's job, not the image's.
High contrast — Dark background with bright text, or bright background with dark subject. Low-contrast thumbnails disappear in a feed. A practical test: shrink the thumbnail to 100×56 pixels (YouTube mobile's actual display size). If you can still identify the core message, it passes.
Clear emotion — A thumbnail communicates one emotion: surprise, curiosity, urgency, excitement. An expressive human face with emotional tension outperforms any elaborate composition for driving clicks.
Platform-specific thumbnail requirements
Platform
Recommended Size
Ratio
Key Requirement
YouTube
1280×720
16:9
Face + large text + high saturation; mobile shows only 100×56
Newsletter
1200×630
1.91:1
Brand-color consistency + readable title at small size
Instagram
1080×1080
1:1
First image decides engagement; square crops from center
Reddit
1200×628
1.91:1
High contrast; competes with dense text-heavy feeds
The AI thumbnail production flow
Define core elements: One focus word + one visual subject. For a "GPT Image Thumbnails" video, that means the text "GPT Image" plus a before/after comparison visual.
Generate the base image with AI: Use GPT Image or Flux to create the background and visual subject without text. AI-generated text is rarely clean enough — leave typography for the next step.
Overlay typography: Use Canva, Figma, or a script to add bold, outlined, large-font title text.
A/B test: Generate 2-3 style variations for the same content. Use YouTube's built-in A/B testing or split-test across posting times on other platforms. Keep the higher-performing version.
Why Is Keyframe-Driven Video Better Than Text-to-Video?
The current best practice for AI video is not "type a sentence, get a video." It is keyframe-driven production: generate precise static keyframes first, then animate them with image-to-video tools.
This two-step approach gives you separate control over what appears in the frame and how it moves — a level of precision that pure text-to-video cannot match.
The controllability problem with text-to-video
Pure text-to-video forces the AI to decide both what to draw and how to move it — simultaneously. Run the same prompt five times and you get five different compositions, character appearances, and scene layouts. You cannot precisely specify "character standing at the left third of the frame, facing right."
Keyframe-driven workflow separates composition control from motion control:
Composition control (image generation phase): Use image prompts to precisely define content, character pose, and scene layout. You can iterate until satisfied — image generation costs $0.02-0.05 per frame versus $0.10-0.50 per video clip.
Motion control (image-to-video phase): With the starting frame locked, you only need to tell the AI "how to move" — camera push-in, character head turn, background flow. Because the initial composition is fixed, motion outcomes become far more predictable.
Text-to-video is like asking an artist to simultaneously decide what to paint and how to animate it. Keyframe-driven workflow lets you nail the painting first, then animate with confidence. I ran both approaches on the same concept for a month. The keyframe pipeline produced usable output on the first attempt about 70% of the time. Pure text-to-video hit maybe 20%.
How Do You Write Effective Image-to-Video Prompts?
Image-to-video prompts are fundamentally different from image prompts. Image prompts describe what is in the frame. Video prompts describe how the frame changes. A common mistake is pasting the image prompt into the video prompt field — this makes the AI reinterpret the scene instead of animating it.
Effective video prompts address three dimensions:
Motion direction — Describe specific movement trajectories. Not "dynamic effect" but "camera pans slowly left to right, buildings enter the frame sequentially" or "subject rises gradually from the bottom of the frame and pauses at center."
Motion amplitude — Keep movements subtle. Micro-motion (gentle zoom breathing, light flow, hair sway) looks far more natural than dramatic action (running, jumping, turning). Dramatic motion requires the AI to generate many intermediate frames, which frequently produces limb distortion or physics errors.
Motion rhythm — Slow start, accelerate through the middle, slow at the end (the animation principle of ease-in/ease-out) looks more polished than uniform speed. In your prompt, use phrases like "gradually accelerate then slow to a stop" to guide pacing.
PixVerse in practice
Among current image-to-video tools, PixVerse offers strong value. It accepts image input plus motion prompts, and its output maintains good fluidity and scene consistency — particularly strong at preserving character and environment coherence across frames.
Key parameters worth tuning:
Motion Strength: Start at medium-low. High values increase distortion risk.
Duration: 4-second clips succeed more reliably than 8-second clips. For longer sequences, generate multiple short segments.
Seed: Fix the seed during iteration for reproducible results.
How Do You Go From Script to Finished Short Video?
AI generates visual assets, but a complete short video is not just a pile of clips. It requires script structure, storyboard design, and editing rhythm working together. The good news: AI assists at every stage.
The golden formula for short-video scripts
A 60-second video script follows a three-act structure — hook, body, action:
First 3 seconds: Hook — one sentence that grabs attention. These 3 seconds determine whether viewers keep watching or scroll past. Effective hooks are a counterintuitive fact, a surprising number, or a visual shock. "AI can now produce finished videos automatically — and most people have no idea" is a typical curiosity-driven hook.
5-45 seconds: Body — 2-3 information points, each carried by a distinct visual scene. More is not better here. A 60-second video carries limited information bandwidth; cramming too many points means none of them land clearly.
Last 5-10 seconds: Call to action (CTA) — subscribe, like, comment, or direct viewers to a longer video or article. Specific CTAs outperform generic ones: "Subscribe for weekly AI workflow tutorials" beats "Don't forget to subscribe."
Converting storyboard to assets
After the script is finalized, break each scene into specific visual frames and tag each with its generation method:
Timestamp
Scene Description
Asset Type
Generation Method
Notes
0-3s
Surprised expression + large title text
Image
GPT Image
Overlay text in post-production, not AI
3-15s
Tool operation screen recording
Screen capture
Real recording
Prepare clean desktop, hide private info
15-30s
AI generation process
Video
Image-to-video
Use micro-motion, avoid dramatic changes
30-45s
Before/after comparison
Image set
AI generation
Same style for both, only change content
45-60s
Final showcase + CTA
Video
Edited composite
Semi-transparent subscribe animation overlay
A practical technique: alternate AI-generated assets with real screen recordings. Audiences can detect fully AI-generated videos, but mixing AI visuals with authentic footage makes the overall production feel more credible and professional.
What Makes Short-Video Editing Effective?
Three patterns distinguish high-performing short videos:
Fast-paced cuts — Average one visual switch every 2-3 seconds to maintain attention. Platform algorithms monitor watch-through rates; videos that hold the same frame for the first 5 seconds see measurable completion-rate drops.
Audio-visual sync — Align key visual transitions with music beats. This is a major source of perceived production quality. The human brain is highly sensitive to audio-visual misalignment but instinctively reads synchronized media as "well-made."
Information escalation — Each frame delivers slightly more information than the previous one, creating a "the next frame is worth watching" pull. Escalation is the engine of completion rates — viewers finish videos not because the ending is great, but because each frame gives them slightly more than the last.
One editing detail that gets overlooked: transitions are narrative tools, not decorations. Fade-in/out signals time passage. Hard cuts signal parallel scenes. Zoom transitions signal cause-and-effect. Overusing flashy transitions makes the video look amateur.
How Should You Choose Between AI Visual Tools?
Clarify your requirements before selecting tools. Each tool's strengths differ significantly, and using the wrong one means wasted effort. This section maps the landscape across three layers: image generation, video generation, and workflow orchestration.
Image generation tools
Tool
Strength
Weakness
Best For
Cost per Image
GPT Image (gpt-image-2)
Strong semantic understanding
Weak precise spatial layout
Article illustrations, concept images
~$0.02-0.05
Flux (Flux.1 Pro / Dev)
Photorealistic texture, detail control
Weaker on abstract concepts
Product shots, portraits, scene photos
~$0.03-0.06
Midjourney
Distinctive aesthetic style
API limitations, batch-unfriendly
Artistic creation, concept design
$0.01-0.04
DALL-E 3
Deep ChatGPT integration
Narrower style range
Quick prototyping, conversational iteration
~$0.04
Selection guidance: For article illustrations where semantic understanding matters most, GPT Image is the default. For photorealistic product images or portrait-quality output, switch to Flux. For quick concept validation without API setup, ChatGPT's built-in DALL-E 3 is the fastest path.
Video generation tools
Tool
Strength
Clip Duration
Image-to-Video
Best For
PixVerse
High value, stable image-to-video
4-8 sec
Strong
Short video clip production
Runway Gen-4
Precise motion control
4-10 sec
Strong
High-quality video segments
Kling
Fast iteration, strong ecosystem
5-10 sec
Strong
Broad-audience video content
Sora
Long duration, narrative coherence
Up to 60 sec
Moderate
Complete short videos
Veo (Google)
Gemini ecosystem integration
8 sec
Limited
Google ecosystem users
Selection guidance: Most creators should start with PixVerse — its free tier is sufficient for learning, and its image-to-video consistency is reliable. Upgrade to Runway Gen-4 when you need higher production quality.
Workflow orchestration tools
Tool
Purpose
Learning Curve
Best For
ComfyUI
Node-based visual workflow
Steep
Power users needing fine-grained control, batch production
n8n / Dify
Automation orchestration
Medium
Technical users needing batch automation
Script + API
Fully custom
Requires coding
Maximum efficiency seekers
For creators without a local GPU, cloud-hosted ComfyUI platforms eliminate the hardware investment entirely. Cloud solutions are the only viable path when you lack a high-performance graphics card.
Chaining Tools Into a Production Pipeline
Choosing tools is step one. Chaining them into a pipeline is where the real efficiency gains live — the difference between scattered tool use and a production line can be 10x, because a pipeline eliminates repeated tool-switching overhead and redundant decision-making.
Article illustration pipeline
Use case: batch-producing images for blog posts and newsletters.
Requirements analysis → Style selection → Prompt template fill → Batch API calls → Quality check → CDN upload → Embed URLs in content
Key nodes in detail:
Style selection: Randomly draw one style from a predefined pool. Each pool entry contains a style name (e.g., "blue-green watercolor") and a description (e.g., "soft blending, hand-drawn brushstrokes, white background, blue-green primary"). The selected style applies to every image in that article — cover and all inline illustrations share the same visual language.
Prompt template fill: Insert the style description into the template's fixed portion. Insert section titles and visual concepts into the variable portion. Manage cover and inline templates separately:
Cover template: [style description] + [article title] + [theme overview] — emphasizes low information density and visual impact
Inline template: [style description] + [section title] + [visual concept] + [focal point] — emphasizes relevance to the surrounding paragraph
CDN upload: Upload to Cloudflare R2 or equivalent CDN — not the CMS's built-in media library. Built-in media storage is bottlenecked by server bandwidth. CDN distribution makes global load times 3-5x faster. After upload, write the CDN URLs back into the article's frontmatter (feature_image / og_image / twitter_image) and inline image tags.
Batch video production pipeline
Use case: solo short-video production targeting 3-5 videos per day.
The two core optimizations are parallelization and templatization:
Parallelization: Keyframe generation and image-to-video conversion can run as a pipeline — while you edit one video, the next batch of keyframes is already generating. Image generation (30 sec/image) and video generation (2-5 min/clip) are the primary wait windows. Use that wait time to edit other videos. This alone more than doubles throughput.
Templatization: Editing templates lock down transition effects, subtitle styling (font, size, position, color), and music beat points. Each new video only requires swapping assets and adjusting text content — no configuration from scratch. A good editing template cuts per-video editing time from 30 minutes to 10.
Subtitle automation: Generate subtitles with Whisper or equivalent speech recognition. Manual correction (fixing typos, adding punctuation) is far faster than typing from scratch.
The core idea behind batch video production: shift from "artwork mindset" to "product mindset." Each video is not created from scratch — it is a variable swap on a mature pipeline. This is not cutting corners. It concentrates creative energy on the steps that actually need it (topic selection and core messaging) and delegates repetitive labor to tools and templates.
What Are the Most Common AI Visual Generation Mistakes?
Mistake 1: Longer prompts produce better results
They do not. Beyond roughly 200 words, AI models pay significantly less attention to the latter half of the prompt. Front-load core information. Solving the problem in under 200 words is a better strategy.
Mistake 2: One tool handles every scenario
No tool is universal. GPT Image leads in semantic understanding but struggles with precise spatial layouts. Flux excels at photorealistic texture but does not match GPT Image on complex abstract concepts. Switching tools by scenario is far more efficient than forcing one tool to do everything.
Mistake 3: AI-generated video is ready to publish
AI-generated single clips are typically 4-10 seconds, and the frames occasionally contain physics violations — extra fingers, reversed text, objects vanishing mid-frame. Handle these in the editing phase: trim flawed frames, mask with transitions, or regenerate those seconds.
Mistake 4: Style consistency does not matter
Many creators switch styles per image, producing an article that looks like a collage. Every image within a single piece of content must share one visual style — same color palette, same rendering approach, same composition logic. Consistency is what makes content look professional.
Mistake 5: Ignoring dimensions and aspect ratios
Different platforms have sharply different size requirements. Using a 1:1 image as a YouTube thumbnail triggers auto-cropping that may slice off your title text. Confirm target platform dimensions before generating.
Your AI Visual Production Checklist
Run through this checklist each time you produce AI images or videos:
Image generation
⬜ Prompt contains five elements: subject, style, composition, tone, dimensions
⬜ All images in one article share a single style template
⬜ Cover image has low information density and strong visual impact
⬜ Inline images are directly relevant to their surrounding paragraphs
⬜ Image dimensions match target platform requirements (cover 16:9, others as needed)
⬜ File sizes are reasonable (under 500KB per image for load speed)
⬜ Alt text is complete, naturally descriptive, not keyword-stuffed
Video generation
⬜ Keyframe images generated and composition approved before image-to-video
⬜ Video prompts describe motion, not scene content
⬜ Motion amplitude is moderate — micro-motion preferred over dramatic action
⬜ AI video checked for physics errors (extra fingers, reversed text, vanishing objects)
⬜ Multiple video clips share consistent color tone and rendering style
Editing and compositing
⬜ Script structure complete: hook + body + CTA
⬜ Visual switches every 2-3 seconds
⬜ Key transitions aligned with music beats
⬜ Auto-generated subtitles proofread by a human
⬜ Final export resolution and format match platform requirements
Workflow efficiency
⬜ Prompts are templatized — only variables change per run
⬜ Validated prompts are archived for reuse
⬜ Image uploads go through CDN, not CMS built-in media storage
⬜ Editing templates lock transitions and subtitle styles
This guide maps the full AI image video generation workflow — from prompt structure through pipeline automation. Each section connects to a deeper capability you can build incrementally:
Pick the stage where your current workflow breaks down, build that piece first, then chain it into the rest of your pipeline.
Ready-to-Use Prompt: Build a Keyframe-Driven AI Visual Pipeline From One Piece of Content
What this does: Turns one piece of source content into a complete publish-ready visual pipeline — a locked style anchor, a reusable image-prompt template, a keyframe plan, tool selection, keyframe-driven video specs, and a production checklist. Based on: AI Image Video Generation: The Complete Workflow From Prompt to Published Content — https://aiworkflowpro.com/ai-image-video-generation/ Time to run: ~5 minutes
Copy this prompt into Claude Code, ChatGPT, or any AI assistant:
ROLE: You are an AI visual production lead. Your job: turn one piece of source content into a complete publish-ready visual pipeline — structured image prompts, consistent keyframes, keyframe-driven video, tool selection, and a production checklist.

CONTEXT — KEYFRAME-DRIVEN VISUAL PIPELINE:
In 2026 AI visual tools (GPT Image, PixVerse, Runway Gen-4, Kling, cloud ComfyUI) are production infrastructure; the bottleneck is no longer tool capability but your prompt architecture and workflow design. The method: lock a structured image-prompt template so every still is visually consistent, generate still keyframes from that template, then drive video FROM the keyframes (not text-to-video, which drifts), then assemble to publish. Text-to-video is rejected because it loses control of composition, identity, and continuity.

INPUTS (fill in before running):
- SOURCE: YOUR_CONTENT_HERE (article to illustrate / thumbnail needed / short-video script)
- OUTPUT_GOAL: YOUR_DELIVERABLE_HERE (editorial images / YouTube thumbnail / 4-10s clips / full pipeline)
- BRAND_STYLE: YOUR_VISUAL_ANCHOR_HERE (describe the look — palette, style, mood — or "none, propose one")

METHOD — 6 STEPS:

Step 1 — Lock the style anchor
Define a fixed style block reused in every prompt: art style, palette (2-4 colors), lighting, mood, aspect ratio, and a negative-prompt line. If BRAND_STYLE = none, propose one and justify it against OUTPUT_GOAL. Consistency test: two different subjects with this block must look like the same series.

Step 2 — Build the image-prompt template
Define a fill-in template with fixed slots: [SUBJECT] · [ACTION/POSE] · [STYLE BLOCK from Step 1] · [COMPOSITION] · [ASPECT RATIO]. Every keyframe uses this template — only [SUBJECT] and [ACTION] change.

Step 3 — Plan the keyframes
For SOURCE, list every still needed (article illustrations, thumbnail, or one keyframe per video beat). Each keyframe = one filled template instance, ordered in narrative/reading order.

Step 4 — Choose tools
Pick tools by job: still images → GPT Image or ComfyUI; 4-10s video clips → PixVerse / Runway Gen-4 / Kling driven FROM the keyframes. State the tool per stage and the one reason it wins (fidelity / control / cost).

Step 5 — Drive video from keyframes (not text)
For any video deliverable, specify per clip: keyframe in → motion prompt (camera move + subject action) → clip out. Never feed raw text to the video model. Motion prompt slots: camera move · subject action · duration · transition.

Step 6 — Production checklist gate
Verify before publish: style consistency across stills (all share the Step 1 block) · correct aspect ratios per platform · keyframes match script beats · no text-to-video drift · thumbnail passes the CTR test (clear subject at small size, ≤5 words text, high contrast). Flag any item that fails.

RULES:
- Every still uses the Step 2 template with the Step 1 style block — no one-off prompts.
- Video is always keyframe-driven; raw text-to-video is rejected because it drifts.
- One tool per stage, picked by a stated reason, not by habit.
- A deliverable fails the gate if any checklist item is unmet — fix before publish.

OUTPUT FORMAT:
Output six sections:
1. **Style anchor** — the style block (art style, palette, lighting, mood, aspect ratio, negative prompt).
2. **Image-prompt template** — the fill-in template with slots marked.
3. **Keyframe plan** — markdown table with columns: # | Keyframe subject | Filled prompt (short) | Use (illustration / thumbnail / video beat).
4. **Tool choice** — markdown table with columns: Stage | Tool | Reason.
5. **Video motion spec** (skip if no video) — per clip: keyframe → camera move · subject action · duration · transition.
6. **Production checklist** — markdown table with columns: Check | Status (pass/fail) | Fix if fail.
Save as @templates/ai-image-video-generation.md and run at the start of any visual production batch — article illustration, thumbnail, or short-video pipeline — and re-run whenever the brand style or output goal changes.
Frequently Asked Questions
How should I structure prompts for AI image generation?
An effective AI image prompt contains five elements: subject description, style directive, composition and angle, color tone and lighting, and dimensions. Lead with the subject — the most important element — then layer in details separated by commas. Avoid contradictory keywords like "watercolor realistic photograph."
What is the difference between GPT Image and Flux for image generation?
GPT Image (gpt-image-2) excels at understanding complex semantic instructions and maintaining style consistency across batches. Flux (Flux.1 Pro) delivers stronger photorealistic textures and precise spatial control. They complement each other: use GPT Image for concept illustrations and Flux for product photography or scene composition.
Why is keyframe-driven video better than pure text-to-video?
Text-to-video forces the AI to decide both composition and motion simultaneously, producing unpredictable results. Keyframe-driven workflow splits these into two controllable steps: first generate a precise static frame (cheap and repeatable at $0.02-0.05 per image), then animate it with motion prompts. This gives you far more control over character consistency, camera angles, and movement direction.
Can one person build a complete AI video production pipeline?
Yes. The pipeline runs: keyframe prompts, AI image generation, image-to-video conversion, editing and compositing. With batch scripts and template-based workflows, a solo creator can produce 3-5 short videos per day. The key is parallelizing — edit one video while the next batch of keyframes generates.
How much does AI image generation cost per image?
Using GPT Image (gpt-image-2) through platforms like fal.ai, a single 1024x1024 image costs roughly $0.02-0.05. Producing 100 article illustrations per month totals under $5 — significantly cheaper than stock photo subscriptions.
Related Reading
AI Video Creation Guide 2026 — Complete AI video creation workflow covering tools, prompts, and production pipelines
A 30-minute video is too long for one conversation. This guide walks the 8-step Skill that locks the narration and one look, then gives each 3-minute segment to a fresh sub-agent, five at a time, and polishes the cut in an empty-context session.
Eight folders of plain Markdown, a CLAUDE.md index in each, and seven prompts that make your agent interview you. Every prompt, template and command from the video, in order.
Stop briefing your AI from scratch. One free folder holds your background, your rules and your voice. Eight prompts build it, no code, and any AI can read it.
Monitoring a competitor who publishes no feed is the case every RSS guide skips. Twenty-one platforms sorted by which of three jobs they do, and the finished setup is business process automation you own outright, with no seat licence to renew.