A hands-on tutorial for turning RSS feeds into an AI-powered daily briefing with Claude Code or Codex. Includes 5 copy-paste prompts, a 4-tier setup guide, and a monitoring + RAG workflow — no API keys required.
Cherry Studio is a desktop GUI for Claude Code. This tutorial shows how to install it, add your API key, and run the AWP Video Editing Skill through a visual chat window — no terminal required.
How I designed a mobile AI video editing workflow entirely from my phone -- architecting an 8-step pipeline with voice input, remote tmux, and no laptop.
Cherry Studio + Claude Code: The Desktop GUI for AI Video Editing
Cherry Studio is a desktop GUI for Claude Code. This tutorial shows how to install it, add your API key, and run the AWP Video Editing Skill through a visual chat window — no terminal required.
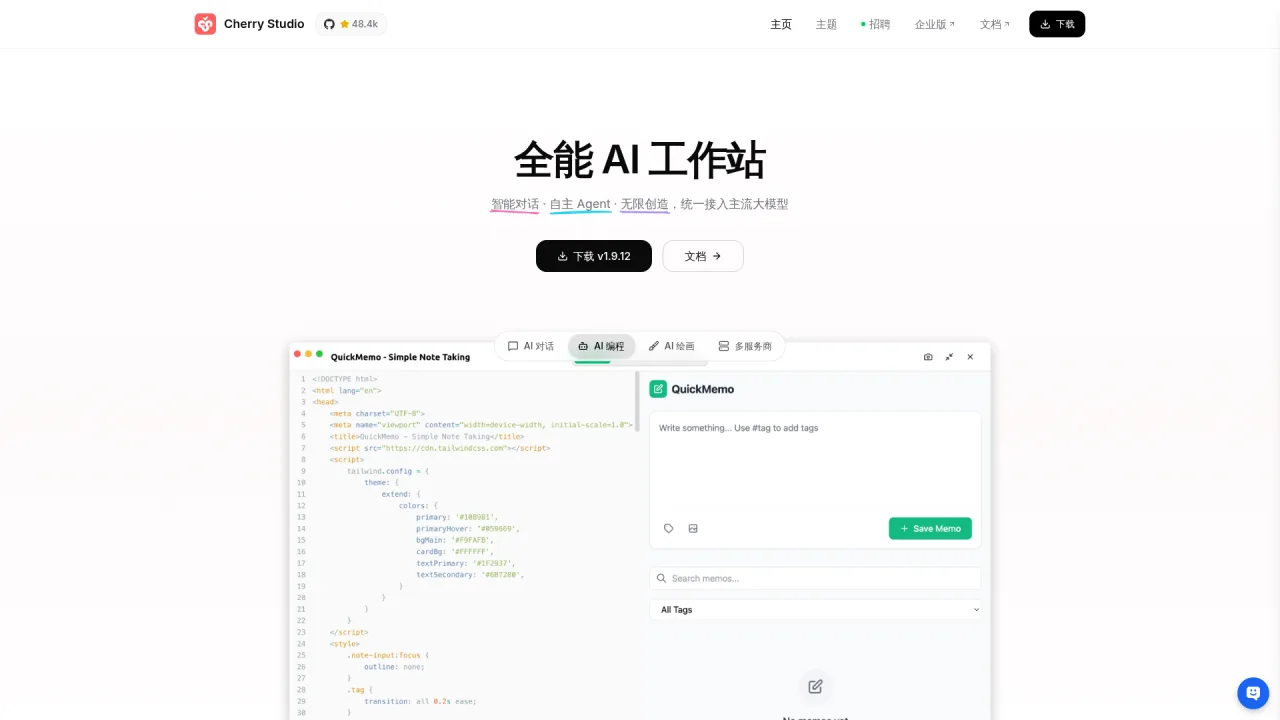
Claude Code runs in a terminal by default — great if you live in the command line, intimidating if you don't. Cherry Studio changes that. It is a free, open-source desktop app that wraps Claude Code in a chat window: you install a Skill, type a trigger word, click to confirm parameters, and watch the work happen. No terminal, no memorized commands.
This tutorial is the GUI walkthrough. It covers what Cherry Studio is, why you might pick a desktop interface over the command line, and the exact clicks to install the app, wire up your API key, launch Claude Code, and run the AWP Video Editing Skill — the open-source Skill that turns raw footage into a narrated short. The Skill's internal engineering lives in that guide; here we stay on the desktop.
Why Use a Desktop GUI Instead of the Terminal?
Claude Code is a command-line tool. That is fine for developers, but a real barrier for everyone else — and even developers don't always want a terminal open just to render a video. Cherry Studio removes that barrier without dumbing anything down.
Three reasons to reach for the GUI:
Nothing to memorize. You trigger the Skill by typing a keyword into a chat box, then answer a few questions by clicking. No flags, no paths to remember.
You can see what is happening. Each pipeline step reports progress in the chat window. When the Agent asks for an API key or a style choice, it is a visible prompt, not a silent blocking process.
Model switching and settings are one click away. API keys, model selection, and the working directory all live in a settings panel instead of environment variables and config files.
The trade-off: the terminal is faster once you know it, and scriptable for batch jobs. If you want to automate hundreds of videos unattended, the command line still wins. For interactive, one-at-a-time editing — which is most people, most of the time — the desktop GUI is the friendlier door.
How Does Cherry Studio Fit Into AI Video Editing?
Three concepts form the foundation of this pipeline:
Cherry Studio — the desktop shell that gives you a chat window and model switcher
Agent — the execution mode that lets AI read files, run code, and operate on your machine
Skill — a packaged set of instructions, scripts, and resources that gives the Agent a deterministic path for a specific task
Cherry Studio provides the interface. The Agent provides the execution power. The Skill provides the certainty.
How Do I Set Up Cherry Studio for Video Editing?
The setup takes about 15 minutes. Here is the exact sequence.
Install Cherry Studio. Download from cherry-ai.com. Pick the installer for your OS. Open the app.
Configure an API key. Go to Settings → Model Services. Enable CherryIN on the left panel. The API address defaults to https://open.cherryin.cc — leave it. Visit the CherryIN dashboard to create a token, copy the key, paste it back into Cherry Studio, and click the test button to verify connectivity. Then add the anthropic/claude-opus-4.6 model from the model list.
Install Claude Code. For background on Claude Code's architecture and Agent system, see the official Claude Code overview. Click the Code Tools icon in the left navigation. Install Bun when prompted. Set your working directory — every Skill output lands here. Click the green Launch button. Windows users also need Git Bash installed from git-scm.com; set the CLAUDE_CODE_GIT_BASH_PATH environment variable if the launcher cannot find it automatically.
Create an Agent. Click "Add" in the top-left corner and choose Add Agent (not Add Assistant — assistants can only chat). Fill in:
Name: anything memorable
Model: the Claude model you just added
Working directory: the same path from the previous step
Permission mode: skip all permission checks (use in an isolated environment with backups)
System prompt: Invoke the following skill: video-editing
Install the video editing Skill. Clone the awp-video-editing-skill repo and copy the Skill directory into your .claude/skills/:
The Agent detects and loads it automatically. The Skill is open-source and part of the wider set of AI Workflow Pro projects on GitHub — it follows the same workflow-Skill pattern documented in the awp-workflow-agent-spec.
Configure credentials and dependencies. Send this message in the Agent chat window:
I just placed the video editing Skill in .claude/skills/. Please complete the environment setup:
1) Read the credentials/ directory and list each credential file, its fields, purpose, and where to get the key.
2) Run scripts/setup.sh to create the virtual environment, install dependencies, and verify FFmpeg. Fix any errors directly. Ask me for API keys when needed.
The Agent handles everything. You just paste in the API keys it asks for. This configuration step runs once — future sessions skip it entirely.
What Happens When I Trigger the Pipeline?
Type any trigger keyword — "video editing," "ChuangCut," or "edit video" — and the Agent begins a parameter-confirmation dialog.
Every mode asks three questions:
Where is the video file?
How many shots should keep their original audio? (Sizzling pans hit harder than any voiceover.)
Which mode — auto, manual, or advanced?
Auto mode stops here and runs with defaults. Choose this the first time.
Manual mode adds two questions: which style preset (22 options — food documentary, product review, comedy remix, gaming commentary, and more) and how many shots.
Advanced mode adds background music selection, an optional creative brief, and subtitle toggle. I used advanced mode for a cooking video — food documentary style, six shots, one custom BGM track.
After confirmation, the Agent takes over. Typical duration: 5 to 15 minutes depending on video length and network speed. Grab a coffee.
What Does the Skill Do After You Hit Enter?
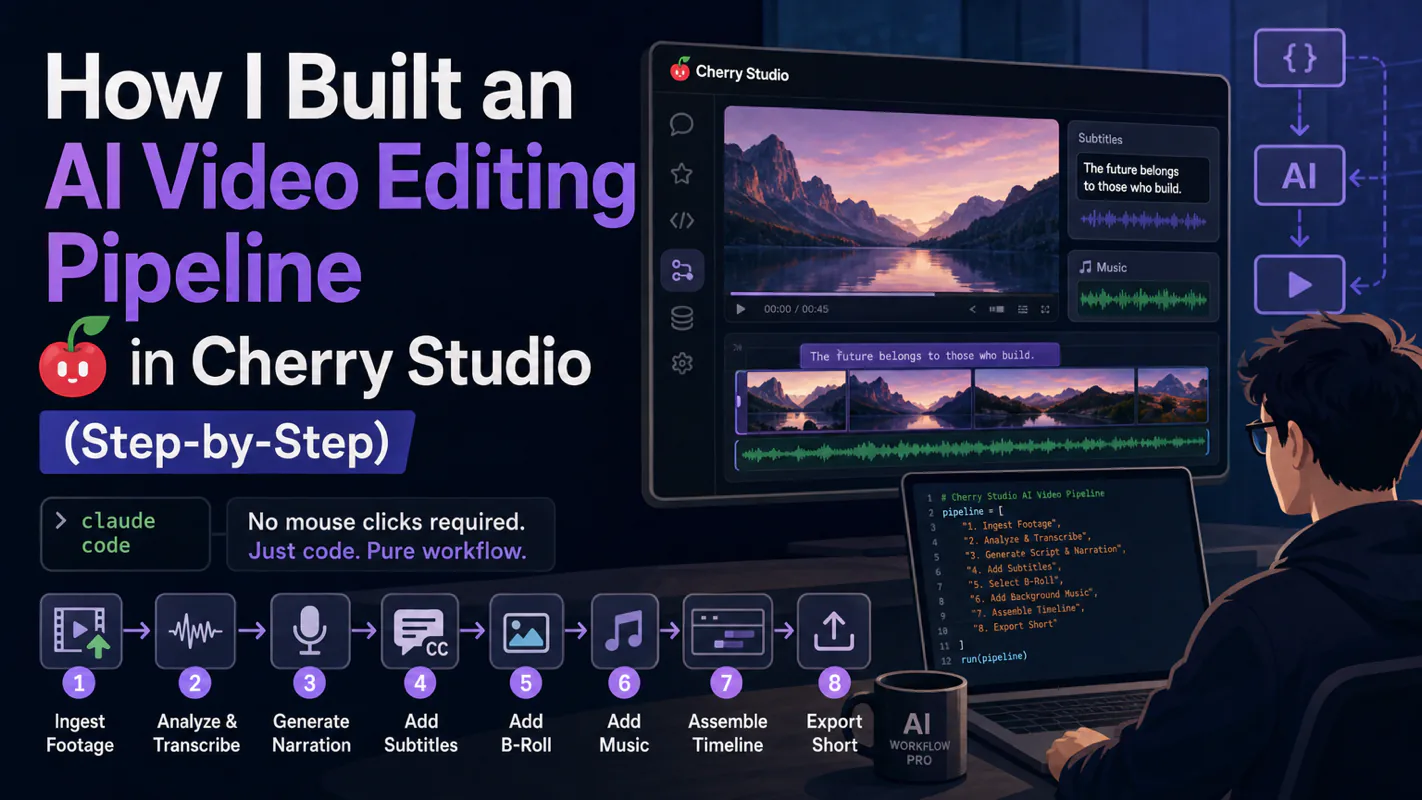
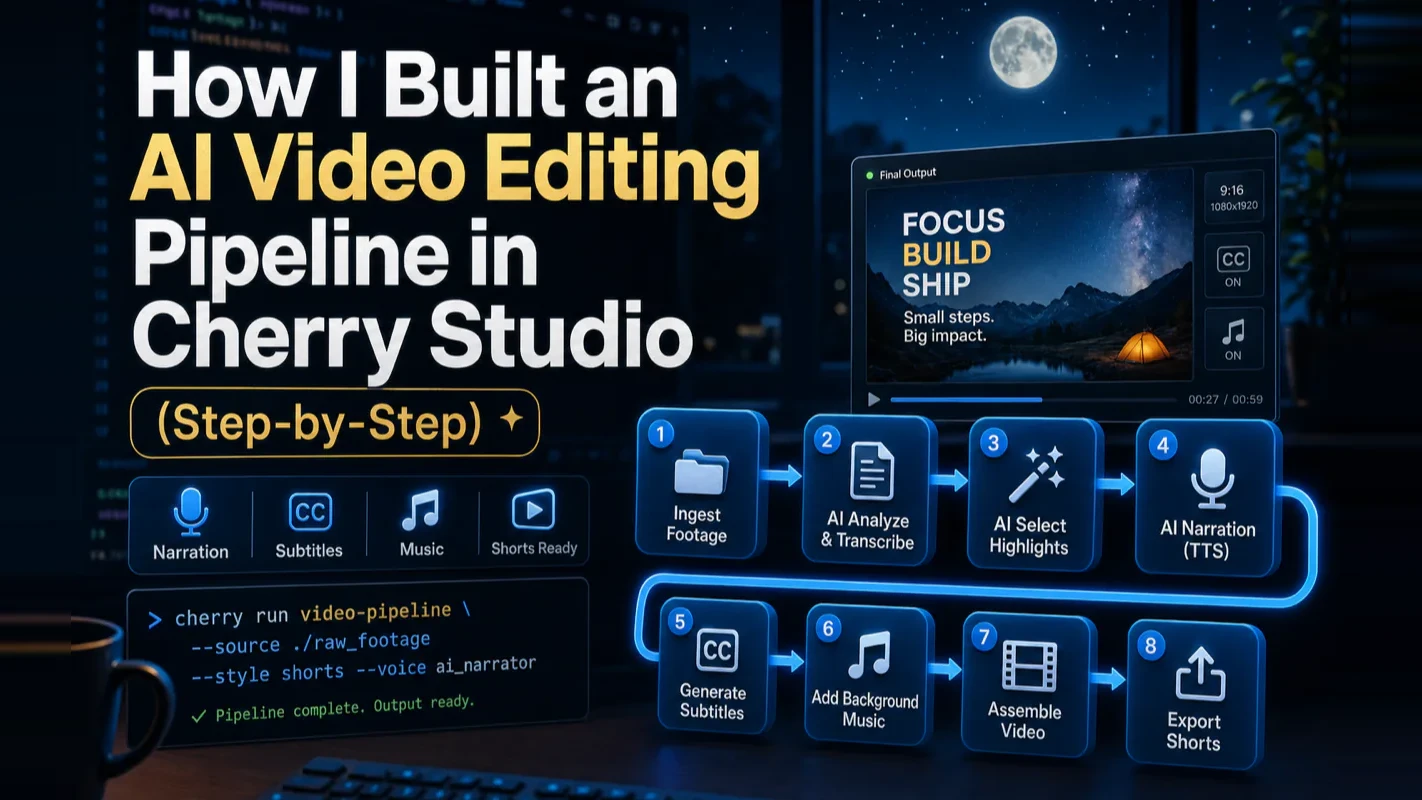
Behind that single confirmation, the Agent runs an eight-step pipeline end to end: it reads video metadata, has Gemini watch the footage and write a shot script, cuts the clips, calibrates narration length, generates AI voiceover, adjusts speed, mixes in background music, and exports a final video with a production report. In Cherry Studio you never run any of these steps by hand — you watch them scroll past in the chat window and step in only when you want to change something.
The interesting engineering lives under those steps: how the Skill keeps audio and video in sync, why it generates three voiceover takes per shot and picks the closest fit, and how all 22 styles are defined in plain YAML. The AWP Video Editing Skill Guide walks through every step and design decision in full. For this GUI tutorial the point is simpler — everything above happens inside one desktop window, and every intermediate file (shot script, narration text, voiceover audio, subtitles) lands in your working directory where you can open and edit it.
Because those files are all plain text and audio you can touch, fixing an AI mistake is a local edit, not a full re-render. If Gemini misreads a shot, adjust the JSON timestamps or rewrite a narration line, then tell the Agent to rerun that one step — the pipeline resumes from where you changed it rather than starting over.
Who Is the Cherry Studio Route For?
Reach for the desktop GUI if any of this sounds like you:
You're not a terminal person. You want AI video editing without learning command-line flags, paths, or shell quoting.
You edit one video at a time. Interactive, click-to-confirm runs suit the GUI far better than a scripted batch job.
You want to see and tweak the output. Cherry Studio keeps every intermediate file in a visible working directory, so correcting an AI mistake is a quick edit rather than a restart.
Stick with the raw command line instead when you need to automate unattended batches, wire the Skill into a larger script, or run it on a headless server.
Either way, the Skill doing the work is the same one. If you want to see how it is built — the full eight-step pipeline, the audio-video sync mechanics, and the 22-style system — read The AWP Video Editing Skill Guide, which includes a copy-paste starter prompt for scaffolding your own version.
Related Reading
The AWP Video Editing Skill Guide — The full picture: the eight-step pipeline, audio-video sync mechanics, and all 22 style presets that Cherry Studio runs here
Agent Skill Automation — Deep dive into making Claude Code run Skills autonomously without manual triggers
Frequently Asked Questions
What does Cherry Studio actually do in this workflow?
Cherry Studio is the desktop graphical interface for Claude Code's Agent and Skill system. Instead of running terminal commands, you interact through a chat window — triggering the Skill, confirming parameters by clicking, and watching each step execute. The actual video editing is done by the AWP Video Editing Skill; Cherry Studio is the visual shell around it.
Is Cherry Studio free, and what platforms does it run on?
Yes, Cherry Studio is a free, open-source desktop app available for macOS, Windows, and Linux. You still pay for the AI models you call (through your own API key), but the app itself costs nothing.
Do I need to know how to code to use Cherry Studio?
No. That is the whole point of the GUI. Installation, API-key setup, and launching Claude Code all happen through settings panels and buttons. Once the Skill is installed, you run it by typing a trigger word and answering a few prompts — no command line required.
Should I use Cherry Studio or the raw command line?
Use Cherry Studio for interactive, one-video-at-a-time editing where you want to see progress and tweak the output. Use the raw command line when you need to automate unattended batches, script the Skill into a larger pipeline, or run it on a headless server. Both drive the exact same Skill.
Where do the edited videos and intermediate files go?
Everything lands in the working directory you set when launching Claude Code. That includes the final video, the production report, and every editable intermediate — shot script, narration text, voiceover audio, and subtitle files — so you can open, review, and correct any of them.
A hands-on tutorial for turning RSS feeds into an AI-powered daily briefing with Claude Code or Codex. Includes 5 copy-paste prompts, a 4-tier setup guide, and a monitoring + RAG workflow — no API keys required.
How I designed a mobile AI video editing workflow entirely from my phone -- architecting an 8-step pipeline with voice input, remote tmux, and no laptop.
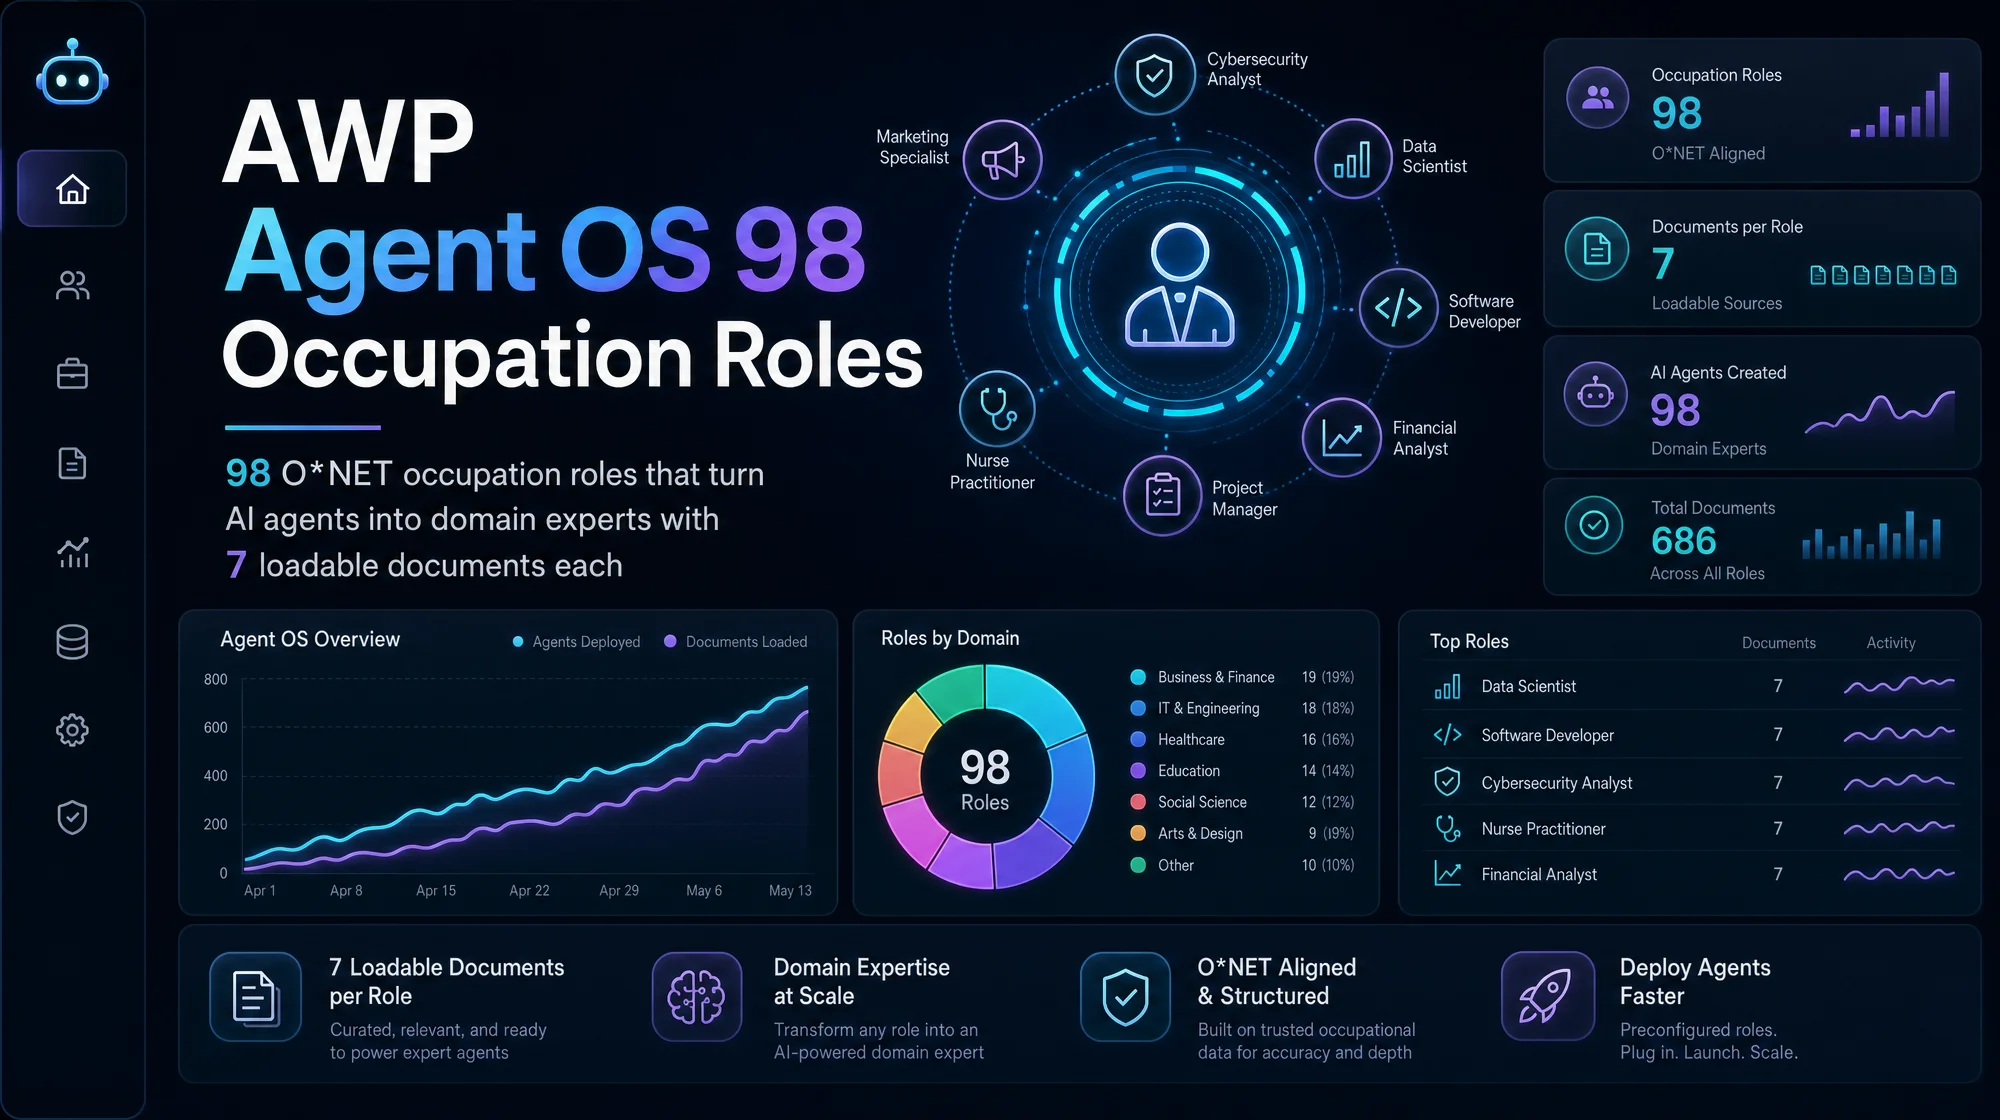
AWP Agent OS compresses decades of professional expertise into 7 loadable documents per occupation. 98 roles, grounded in O*NET 30.3 data and cognitive science research. Works with Claude Code, Codex, Gemini CLI, and GitHub Copilot.
136+ real-world AI practices auto-curated from X every 6 hours. Browse working setups for coding agents, video pipelines, web design, and frontier models — all source-linked, no hot takes.