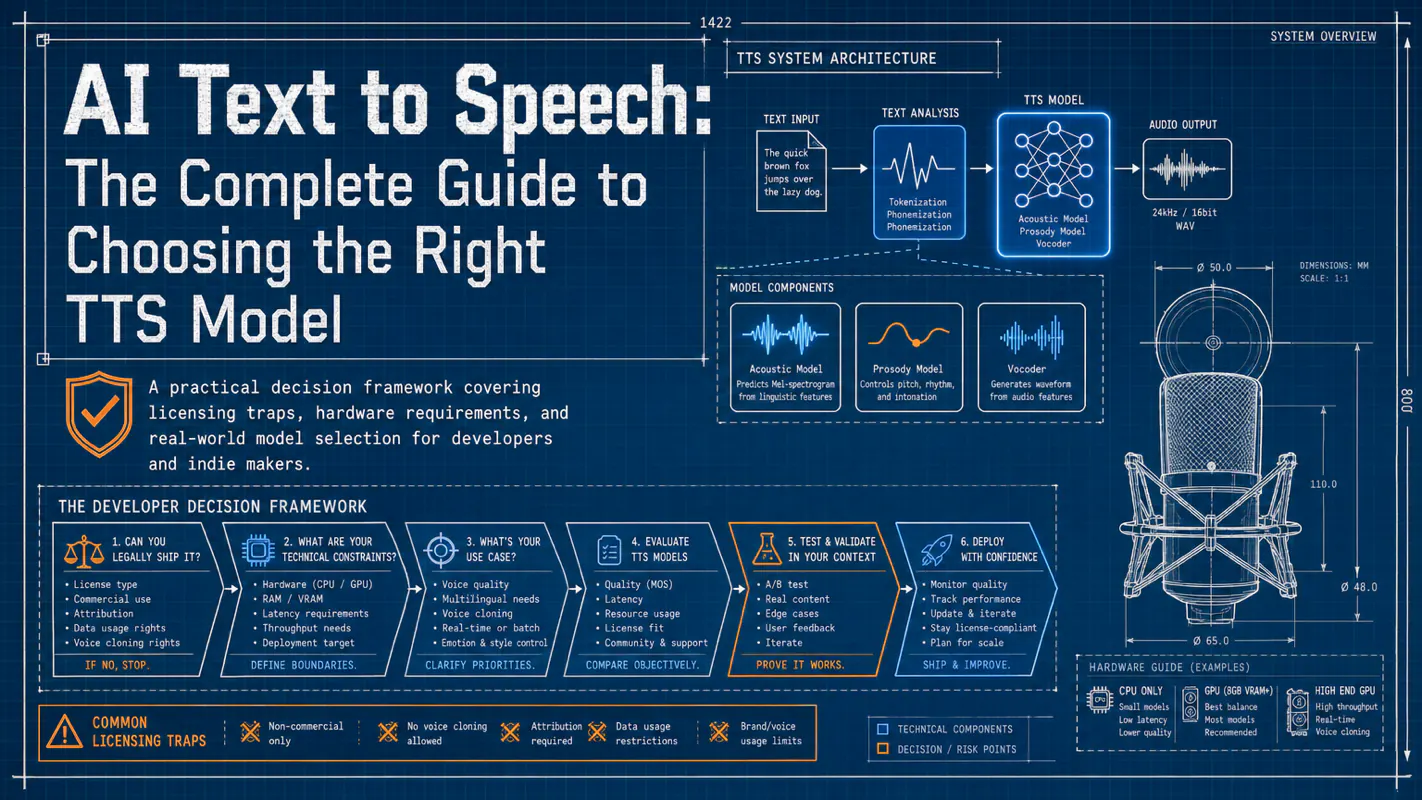
Most AI text to speech guides rank models by sound quality alone. This one starts with the question that actually matters: can you legally ship it? A practical decision framework covering licensing traps, hardware requirements, and real-world model selection for developers and indie makers.
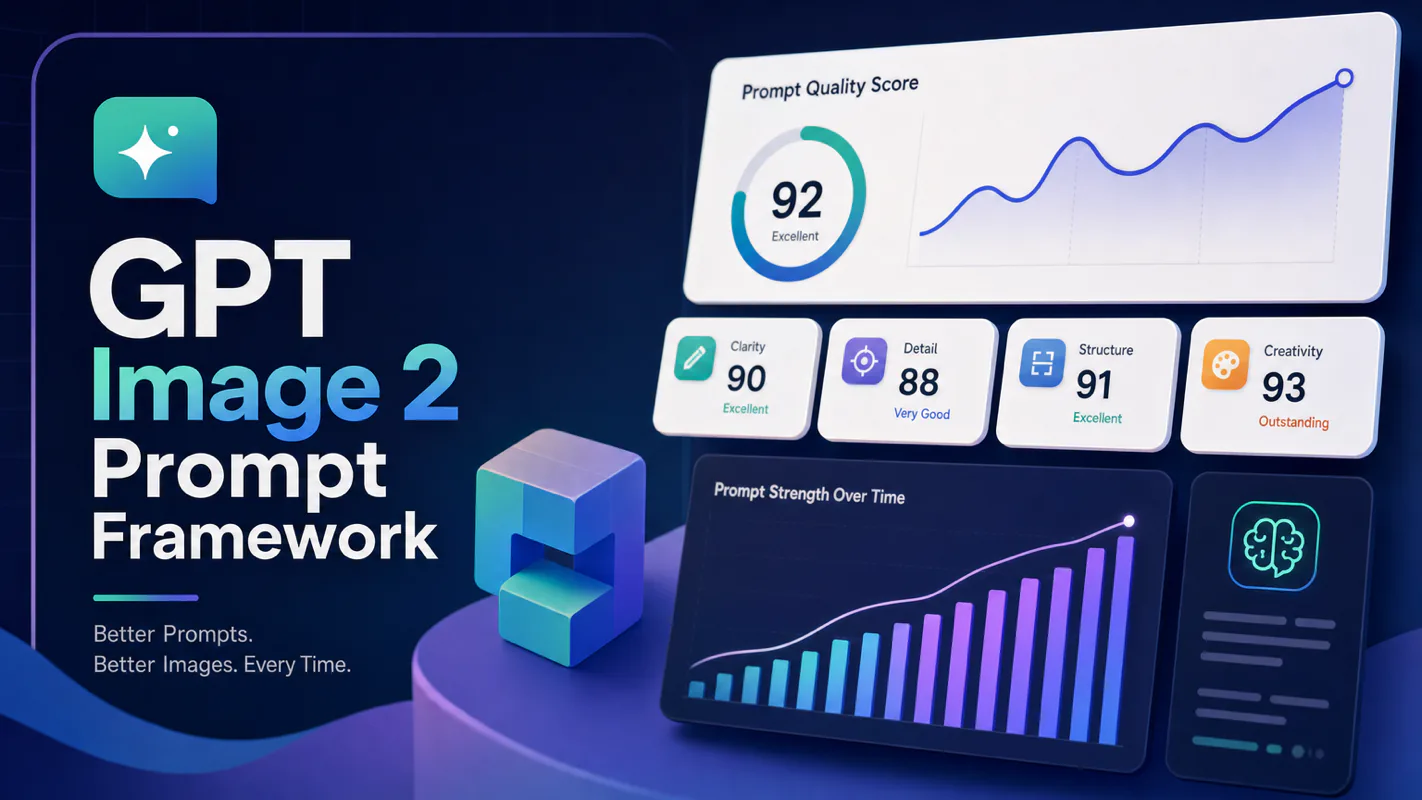
Stop fighting style drift in AI-generated article images. This three-layer prompt framework paired with a pool of 100 visual styles gives every article a unique look while keeping all illustrations within a single piece visually consistent.
AI Image Generation Workflow: How to Lock Visual Consistency With a Single Reference Image
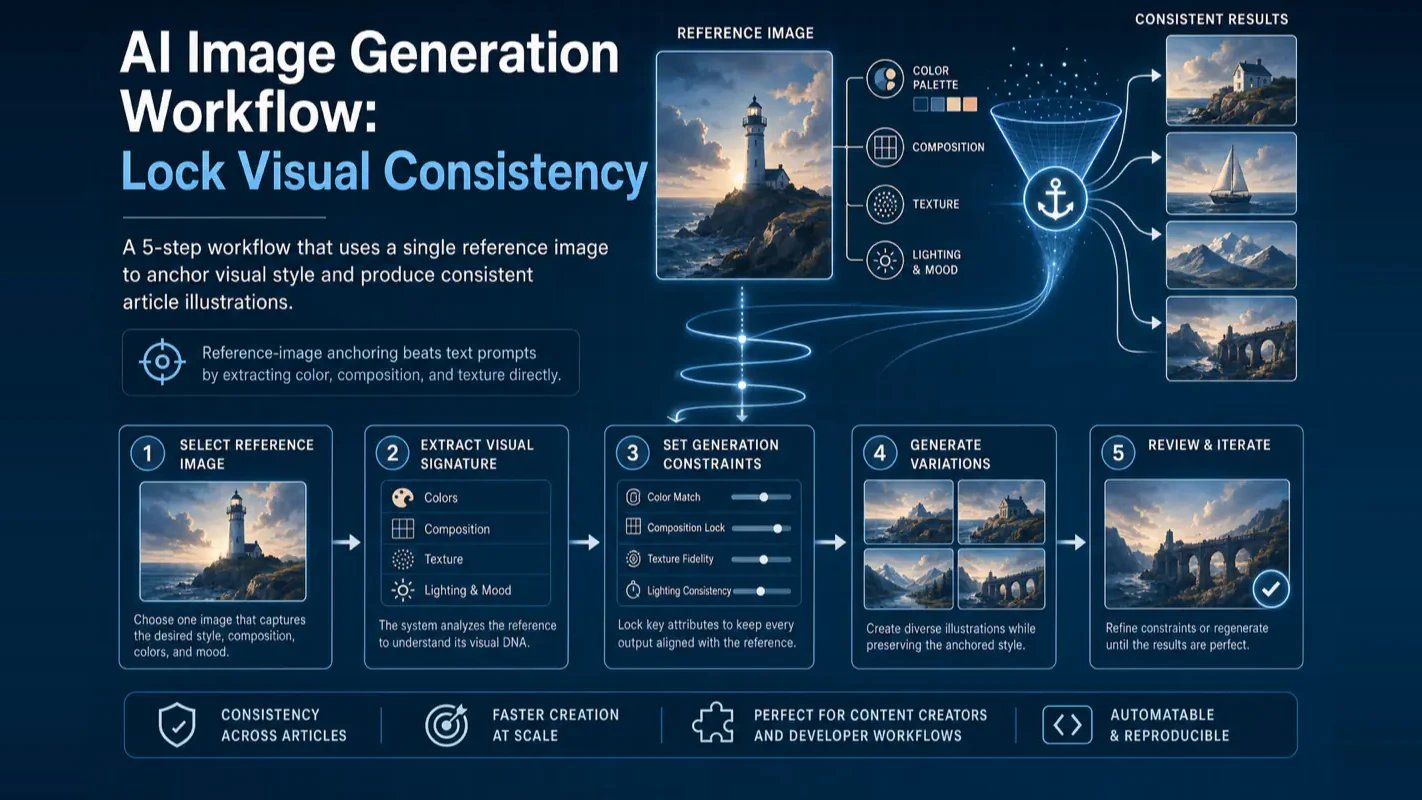
Most content creators struggle with AI image style drift. This tutorial breaks down a 5-step AI image generation workflow that uses reference-image anchoring to produce visually consistent article illustrations every time.
You open an AI image generator, type a long prompt, and the output looks nothing like what you imagined. You tweak the wording, regenerate, and the style drifts again. Thirty minutes later, you still cannot match the "feel" in your head. Worse: the one time you did nail a style, you could never reproduce it.
The root cause is translation loss between text and visuals. Prompts are inherently ambiguous. "Tech-inspired" might produce cyberpunk or industrial minimalism depending on the model's mood. More precise words do not fix an imprecise medium.
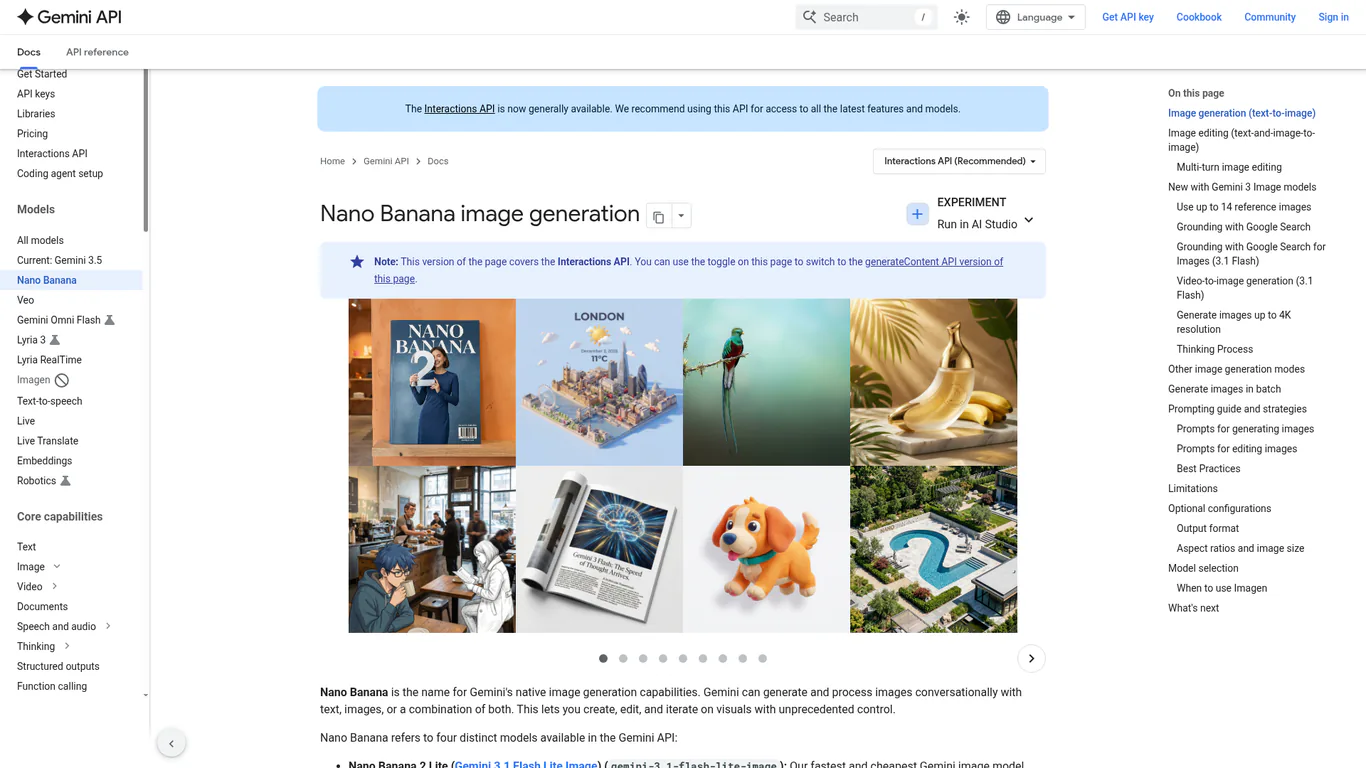
Reference-image anchoring solves this by skipping the text layer entirely. You give the AI an actual image. It extracts colors, composition, and brush texture directly. No interpretation gap, no style drift, no guesswork. The Google Gemini API image generation documentation covers the technical details of how reference images are processed.
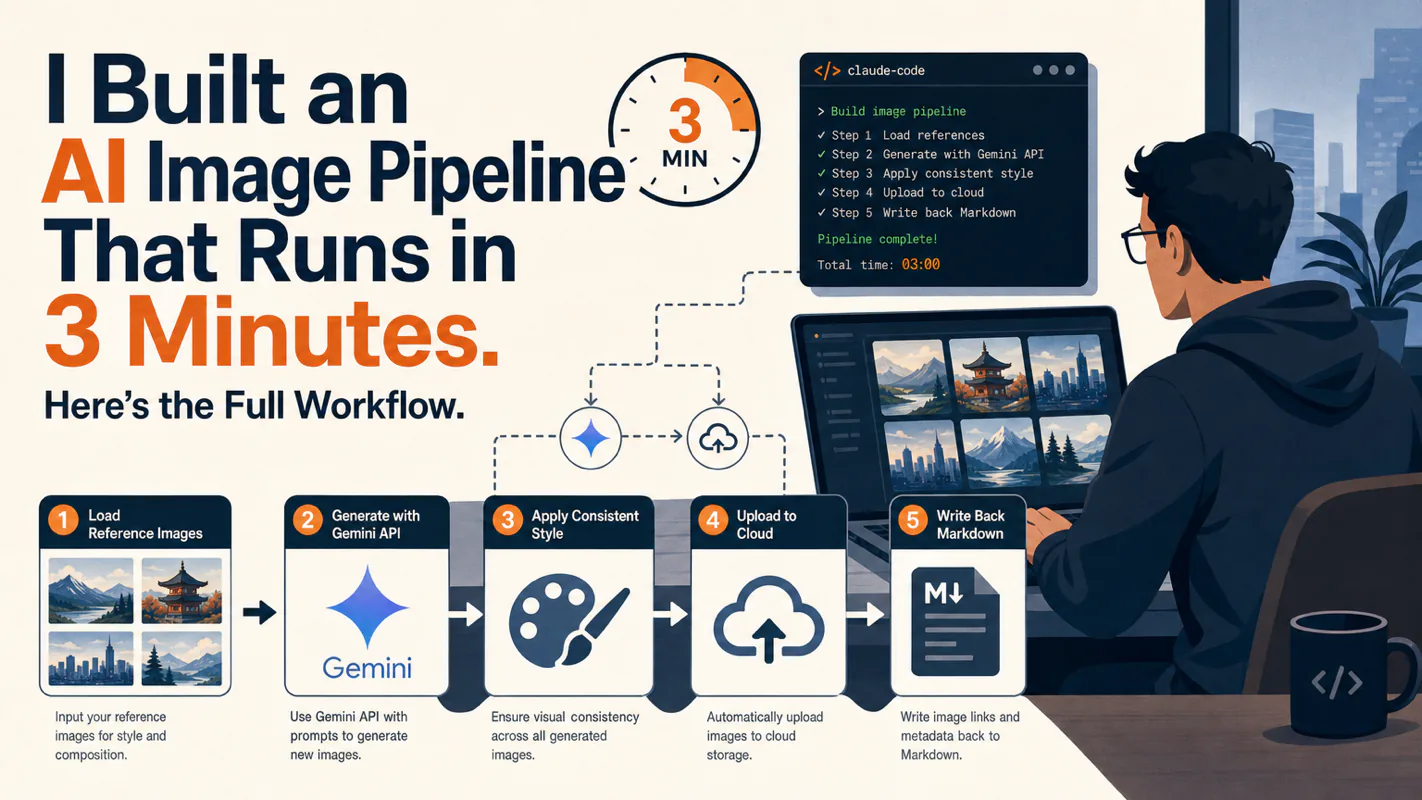
I built a 5-step AI image generation workflow around this principle after six months of prompt frustration. Every illustration in this article was produced by the same pipeline in under three minutes.
Why Does Reference-Image Anchoring Beat Text Prompts for AI Image Generation?
Content creators who generate article illustrations hit three pain points over and over:
Style description is hard. "Clean and modern" means something different to every person and every model.
Style reproduction is harder. A prompt that worked on Monday produces a completely different look on Tuesday.
Multi-image consistency is hardest. Five images for one article end up looking like five unrelated series.
Traditional prompt engineering attacks the wrong layer. Writing more detailed prompts to compensate for textual ambiguity is like shouting louder to overcome a language barrier. The direction is wrong, not the volume.
Reference path: actual color values + composition + texture → model extracts features → applies to new content → predictable output
I once generated 10 images from the same prompt. All 10 had different styles. I then switched to reference-image mode and generated another 10. They looked like a matched set. That single experiment ended months of prompt tweaking.
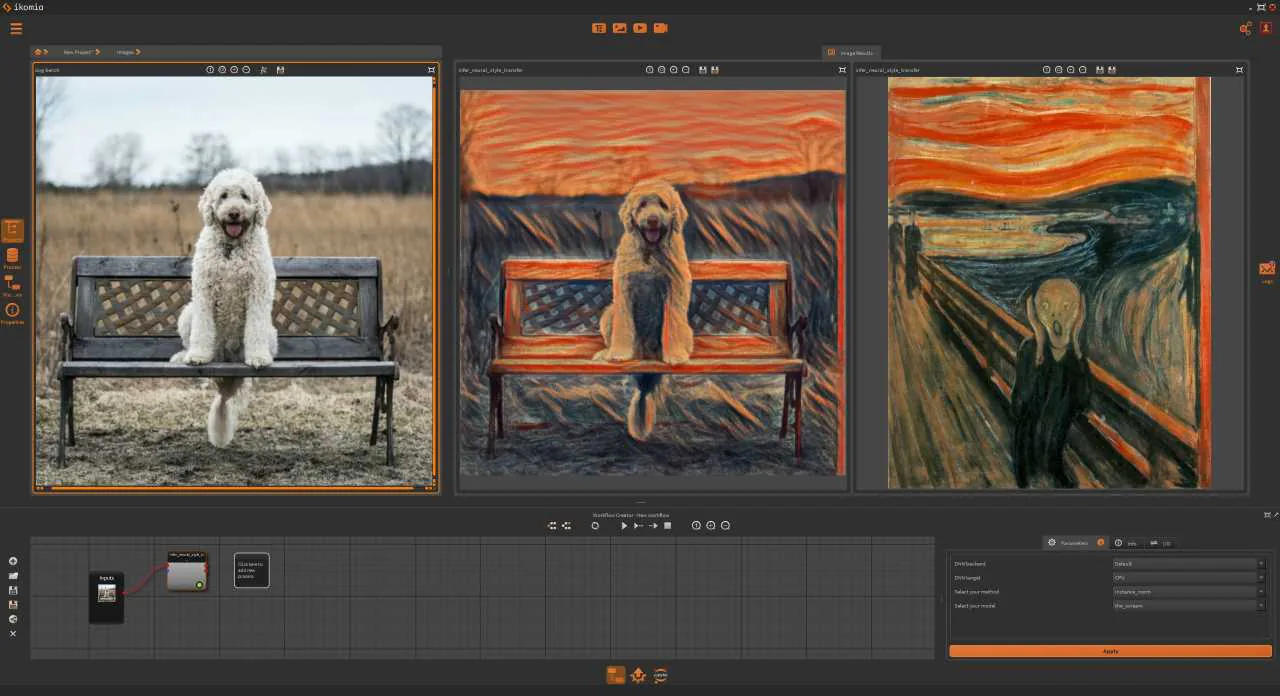
Under the hood: Neural style transfer works by extracting feature maps (color histograms, texture patterns, spatial layouts) from the reference image and synthesizing them into the new generation. This is not a filter overlay. The model produces a genuinely new image that inherits the visual DNA of the reference.
The 5-Step AI Image Generation Workflow
The full pipeline runs in about three minutes per article. More importantly, a style you discover today stays available permanently. Swap the reference image and the entire visual identity shifts with it.
Here is the data flow:
Input: a Markdown document + a chosen style reference
Step
Action
Output
01 - Initialize
Collect parameters, create run directory
progress.json with config
02 - Analyze
Parse document headings, sections, keywords
Structured content map
03 - Generate
Send reference image + content description to Gemini API
Raw image files
04 - Upload
Push images to Cloudflare R2 (or S3 / local)
Public CDN URLs
05 - Insert
Write image URLs back into the Markdown source
Final illustrated document
Output: a Markdown document with embedded image URLs + all images hosted on a CDN.
Why Split Into Five Steps Instead of One Script?
Three engineering reasons:
Single responsibility. Each step does one thing. When generation fails, you check Step 03. When upload fails, you check Step 04. Debugging a monolith is a different sport.
Checkpoint recovery. Every step writes to progress.json on completion. If Step 03 crashes at image 4 of 7, you resume from image 5 instead of starting over. A good system survives interruptions; a bad one punishes them.
Module swapping. Want to replace Gemini with a different image API? Rewrite Step 03 only. Want to switch from R2 to S3? Rewrite Step 04 only. The other steps stay untouched.
Design insight: Many automation builders default to "one script does everything." Fast to write, painful to maintain. Splitting a pipeline into discrete steps with clear inputs and outputs trades upfront structure for long-term flexibility. I have rewritten Step 03 twice and Step 04 once without touching anything else.
Inside the Image Generation Step
Step 03 is the core. Everything else is plumbing. This step determines whether the images look good.
Reference Image Loading
The system ships with preset styles, each backed by a reference image:
Cover styles:
gradient-tech -- blue-purple gradient, 3D glass texture, ideal for AI/tech topics
news-press -- newspaper layout, red-black palette, ideal for news roundups
notebook-doodle -- spiral-bound background, colorful handwriting, ideal for tutorials
sketch-doodle -- hand-drawn line art, yellow highlights, ideal for Instagram carousels
Body styles:
info-card -- card layout with a central figure and surrounding info blocks
knowledge-theory -- theory visualization (communication models, psychology frameworks)
Each reference image lives in a reference/images/ directory, named {type}-{style-id}.{ext} (e.g., cover-gradient-tech.png).
Prompt Structure for the Gemini API
The prompt is layered by priority:
1. STYLE REFERENCE: "Use the attached image as the primary style reference.
   Match its visual style, color palette, composition, and illustration technique."
2. CONTENT TO ILLUSTRATE: The topic and context for the current image.
3. REQUIREMENTS: "Generate a new illustration that looks like it belongs
   to the same series as the reference."
4. TECHNICAL: Platform specs (e.g., 16:9 at 1280x720).
5. CONSTRAINTS: No text watermarks. No photorealistic faces.
Why this order matters:
Style reference goes first because position correlates with weight in most models.
Explicit feature names ("visual style, color palette, composition") outperform vague instructions like "reference this image."
"Belongs to the same series" is the phrase that triggers consistency across a batch.
I still remember the first time I ran this pipeline. Watching the AI produce image after image -- matching colors, matching composition, matching brush weight -- from a single reference. That was the moment I knew the prompt-tweaking era was over for me.
How Do I Add a Custom Style Without Changing Code?
Three steps. No code changes required.
Find a reference image you like. From the web, from a previous generation, from anywhere.
Drop it into reference/images/ using the naming convention:
Cover: cover-{style-id}.png
Body: main-{style-id}.jpg
Add one entry to styles.json:
{
  "id": "my-custom-style",
  "name": "My Custom Style",
  "file": "cover-my-custom-style.png"
}
The next run picks up the new style automatically.
Why Is It This Simple?
Style definitions live in a pure data file. The execution script reads styles.json, loads the corresponding image, and sends it to the API. Any style you add works without modification to the pipeline.
This is data-driven design in practice. Extending capability means adding data, not editing code.
After building this system, I noticed a shift in how I browse the internet. Before, seeing a beautiful illustration meant "that looks nice." Now it means "I want that style in my library." The mental model flips from consumer to collector.
Analogy: It works like changing your phone wallpaper. You do not need to understand how the OS renders images. You drop a file into the right folder, point the config at it, and the system handles the rest.
Adapting to Different Platform Aspect Ratios
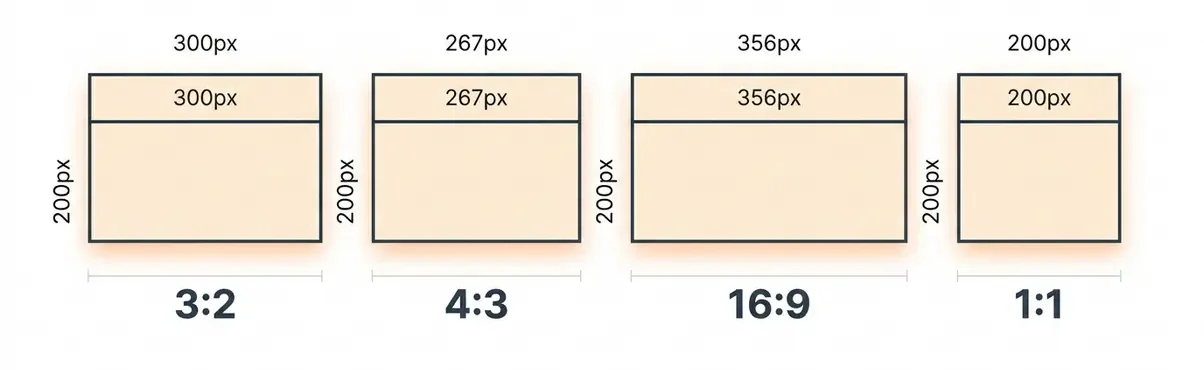
Different publishing platforms demand different image dimensions:
Platform
Cover Aspect
Body Aspect
Resolution
Blog / Newsletter
16:9
16:9
1280x720
Instagram
3:4 (portrait)
3:4
1080x1440
TikTok / YouTube Shorts
9:16 (full portrait)
9:16
1080x1920
The workflow asks for the target platform during Step 01 initialization. All subsequent generation calls use the corresponding resolution specs.
Platform Configuration
Specs live in reference/definitions/platforms.json:
Step 04 calls the right upload handler based on your selection. Step 05 inserts the correct URLs into the Markdown document. You choose once and the pipeline remembers.
What Is the Fastest Path to a Working AI Image Generation Workflow?
If you are building from scratch, hit these four milestones in order:
M1 -- Minimal loop works.
One Markdown file produces one cover image saved locally. Verify: an illustrated document appears in the output/ directory.
M2 -- Style anchoring works.
Swap the reference image. The generated output visibly changes to match the new style. Verify: side-by-side comparison of two style runs.
M3 -- Multi-platform output works.
The same article generates a blog version (16:9) and an Instagram version (3:4). Verify: image dimensions match the platform specs.
M4 -- Cloud upload works.
Images upload to R2 or S3 and the URLs resolve in a browser. Verify: open the URL and see the image.
Common Blockers and Fixes
Problem
Cause
Fix
API call fails
Missing or malformed credentials
Check credentials/gemini.json format
Style not applied
Filename mismatch
Verify styles.jsonfile field matches the actual filename
Ready-to-Use Prompt: Lock Visual Consistency Across Your AI Images
What this does: Turns one reference image into a locked style signature, then generates and drift-scores every illustration against it — so a set of images shares one look and stays reproducible. Based on: AI Image Generation Workflow: How to Lock Visual Consistency With a Single Reference Image — https://aiworkflowpro.com/ai-image-generation-workflow/ Time to run: ~5 minutes
Copy this prompt into Claude Code, ChatGPT, or any AI assistant:
ROLE: You are an AI Image Style-Lock Architect. Your job: lock visual consistency across a set of illustrations using a single reference image, and score every output for drift so the style never escapes again.

CONTEXT — REFERENCE-IMAGE ANCHORING METHOD:
Text prompts lose meaning between words and visuals — "tech-inspired" renders cyberpunk one minute, industrial minimalism the next, and a style you nail once you can never reproduce. Reference-image anchoring skips the text layer: you give the AI one anchor image and it extracts palette, composition, and texture directly. The 5-step workflow locks that anchor as an immutable style signature, generates every illustration against it, adapts aspect ratios without re-prompting, and stores outputs with provenance. The anchor — not the prompt — is the source of truth.

INPUTS (fill in before running):
- REFERENCE_IMAGE: [The one anchor image, or a description of the image that captures the target feel]
- ILLUSTRATIONS_NEEDED: [List of illustrations to produce — subjects/scenes, e.g. hero, diagram, chapter markers]
- PLATFORMS: [Target platforms and aspect ratios — e.g. blog 16:9, social 1:1, OG 1.91:1]
- CURRENT_PAIN: [The drift or unreproducibility problem you hit today]

METHOD — 5 STEPS:

Step 1 — Choose the Anchor
Pick ONE reference image from REFERENCE_IMAGE that best captures the target feel. Reject any candidate that mixes two competing styles.

Step 2 — Extract the Style Signature
Decompose the anchor into five fixed dimensions and write each down: color palette (with hex values), line quality, composition/grid, lighting, texture and density. This signature — not any prompt — is what gets reproduced.

Step 3 — Lock and Validate the Anchor
Generate one test image from the anchor plus signature. Score it 0–2 per dimension against the signature (0 = drift, 1 = close, 2 = match). Proceed only when every dimension scores 2.

Step 4 — Generate Variants on the Anchor
For each item in ILLUSTRATIONS_NEEDED, vary the subject while keeping the anchor and signature fixed. Score each output 0–2 per dimension; reject and regenerate any image scoring below 2 on more than one dimension.

Step 5 — Adapt Aspect Ratios and Store
Render each approved image into every aspect ratio in PLATFORMS from the locked anchor — no re-prompting. Name files with provenance (anchor id + signature version) and pick a storage backend that preserves the originals.

RULES:
- Never re-open the prompt to fix drift — fix the anchor or the signature, never the wording.
- Never approve an image with any dimension scored 0; drift compounds across a set.
- Never vary the style signature between illustrations — only the subject varies.

OUTPUT FORMAT:
Output a markdown report with:
1. Style Signature — markdown table, columns: Dimension | Specification | Anchor Evidence
2. Variant Scorecard — markdown table, columns: Illustration | Palette | Line | Composition | Lighting | Texture | Pass?
3. Aspect-Ratio Plan — markdown table, columns: Platform | Aspect Ratio | Render Source
4. Storage & Provenance — the naming scheme and backend choice, with one line why
Save as @templates/ai-image-generation-workflow.md and run whenever you must produce a set of illustrations that share one look — a blog series, a deck, a brand set.
FAQ
Why does AI image generation produce inconsistent styles across multiple images?
Text prompts are inherently ambiguous. Words like "modern" or "tech-inspired" map to different visual memories for every model invocation. Each generation interprets the same prompt differently, causing style drift across a set of images. Reference-image anchoring removes this ambiguity by providing concrete visual features instead of abstract descriptions.
How does reference-image anchoring improve AI image generation consistency?
Instead of describing a style in words, you supply a reference image that carries exact color palettes, composition patterns, and brush textures. The AI extracts these visual features and applies them to new content, bypassing the text-to-visual translation loss entirely.
What tools do I need to build this AI image generation workflow?
You need an image generation API that supports reference-image input (such as Gemini with image generation capabilities), a cloud storage bucket (Cloudflare R2 or AWS S3) for hosting generated images, and a Markdown-based content pipeline. The workflow handles document parsing, image generation, upload, and URL insertion automatically.
Can I add custom styles to this workflow without changing any code?
Yes. Drop a new reference image into the reference/images/ folder, add one entry to styles.json, and the workflow picks it up on the next run. Style definitions are fully decoupled from execution logic. No redeployment, no code edits.
Most AI text to speech guides rank models by sound quality alone. This one starts with the question that actually matters: can you legally ship it? A practical decision framework covering licensing traps, hardware requirements, and real-world model selection for developers and indie makers.
Stop fighting style drift in AI-generated article images. This three-layer prompt framework paired with a pool of 100 visual styles gives every article a unique look while keeping all illustrations within a single piece visually consistent.
Which ComfyUI cloud platform actually fits your workflow? 17 platforms across 4 tiers — PaaS, IaaS, Official, and Enterprise API — compared by flexibility, cost structure, and real community feedback. Decision tree included.