Monitoring a competitor who publishes no feed is the case every RSS guide skips. Twenty-one platforms sorted by which of three jobs they do, and the finished setup is business process automation you own outright, with no seat licence to renew.
Blaming the content is the reflex when a post underperforms, and it is usually the wrong diagnosis. A second reader decides distribution before any human sees the post, and most of what it checks is mechanical enough to automate business processes around, on five platforms at once.
Gloves on, tape measure in hand — nobody types a query. Three voice surfaces for ai automation tools (terminal, Telegram, Discord), 10 TTS and 6 STT providers compared on cost and latency, plus a setup that costs nothing.
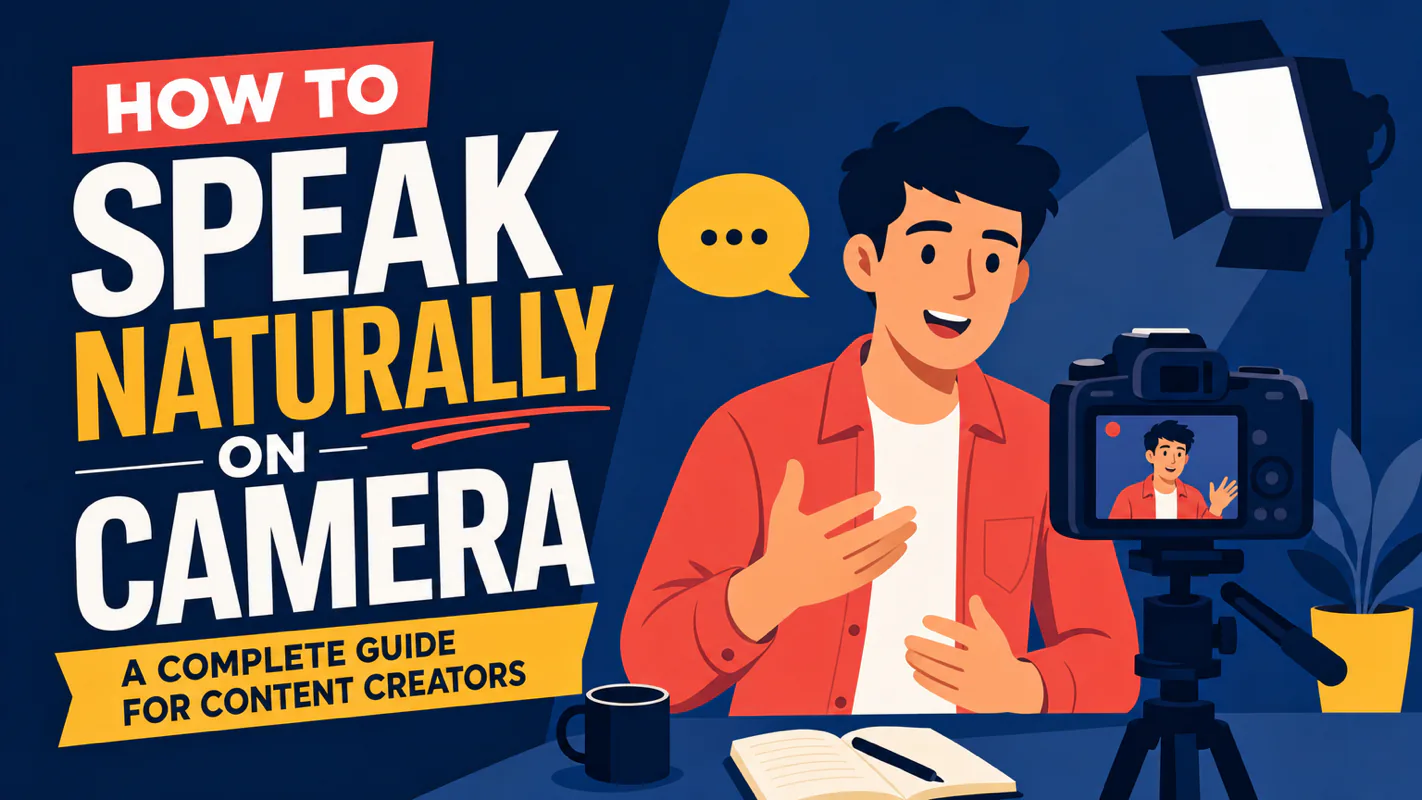
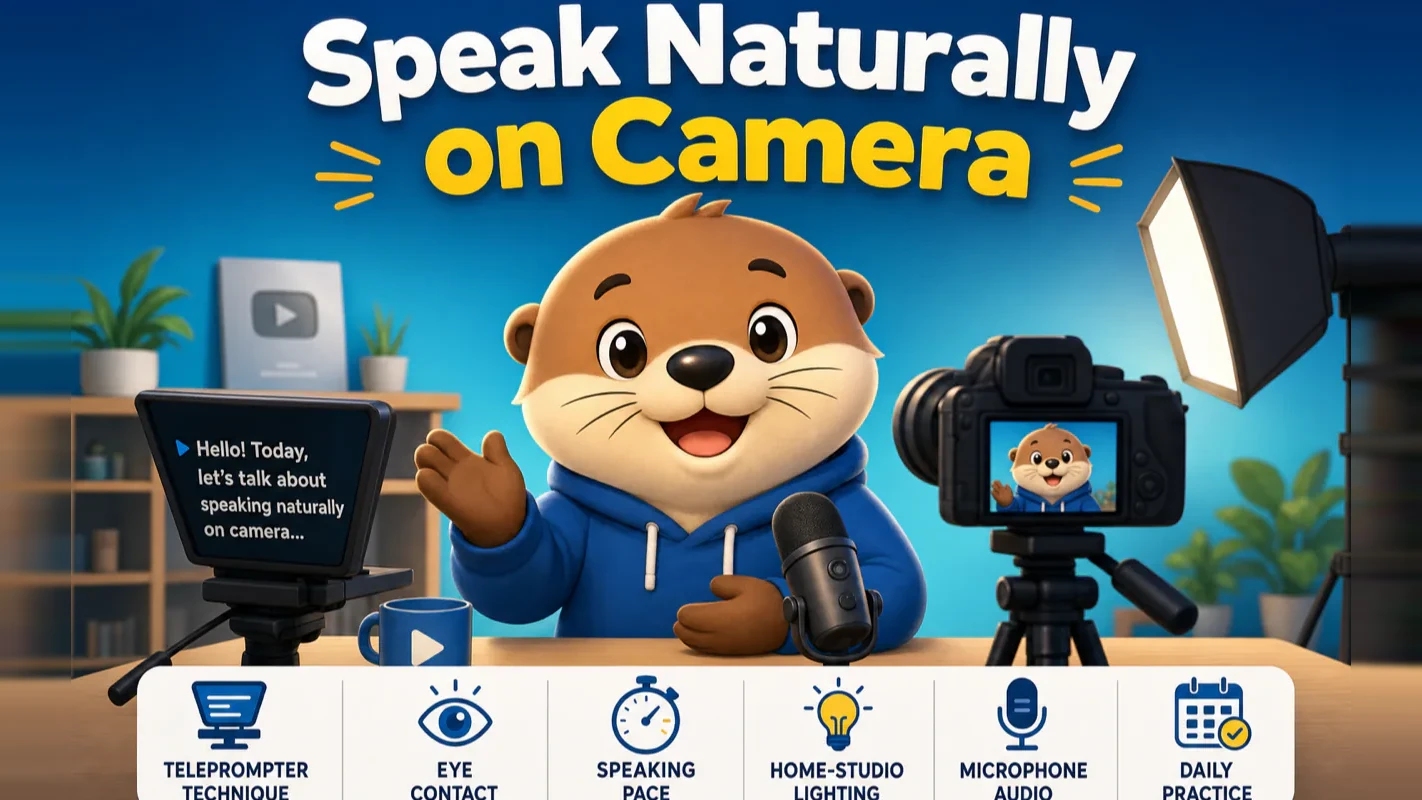
My first video recording failed 47 times before I got a usable take. Now I record in single takes. The difference was not talent or confidence — it was a system: the right teleprompter setup, deliberate eye contact control, speaking pace awareness, and about three weeks of focused practice.
Most creators who look effortlessly natural on camera are reading from a teleprompter. That is not cheating. It is how professionals work — from news anchors to top YouTube educators. The skill is making the reading invisible.
Key takeaways:
Speaking naturally on camera is a trainable skill, not an innate talent — teleprompter setup, eye contact control, speaking pace, and expression management each have specific, learnable techniques
A $100 teleprompter with proper line width settings (5-7 words per line) eliminates the "reading look" that gives away scripted delivery
The ideal speaking pace for YouTube content sits around 150-170 words per minute, with deliberate variation: slow down for key points, speed up for transitions
Audio quality matters more than video quality — a $15 lavalier microphone makes a bigger difference than a $500 camera upgrade
A structured 30-day training plan takes most creators from awkward to confident
Why Speaking Naturally on Camera Is a Learnable Skill
Here is something that surprised me when I started creating content: the creators who look the most natural on camera usually have the most structured systems behind the scenes.
I was wrong about one thing early on — I assumed that on-camera presence was mostly personality. Some people have it, some do not. After failing through those 47 takes on my first video and watching dozens of behind-the-scenes breakdowns from established creators, I realized the opposite is true. Natural delivery is the result of removing friction, not adding charisma.
The friction comes from three layers, and each one has a concrete fix:
Layer
Core challenge
What solves it
Equipment
Remembering your script while looking at the camera
Once you understand all three layers, the path forward becomes clear. Let me walk through each one.
What Teleprompter Should You Use?
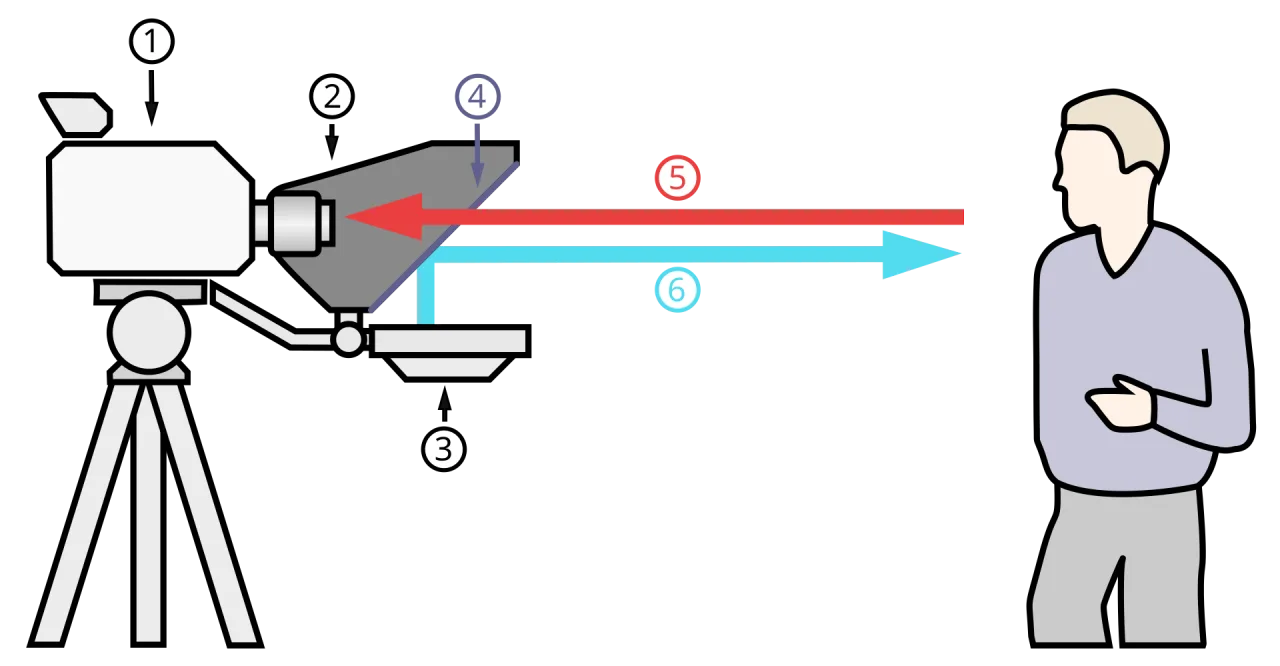
A teleprompter places scrolling text directly in front of your camera lens using a beam-splitter glass angled at 45 degrees. You read the text while looking straight at the camera. Your viewers see natural eye contact. The concept is simple — U.S. presidents have used large-format versions of this for decades, and nearly every knowledge-focused YouTube channel relies on one.
The question is not whether to use a teleprompter. It is which type fits your situation.
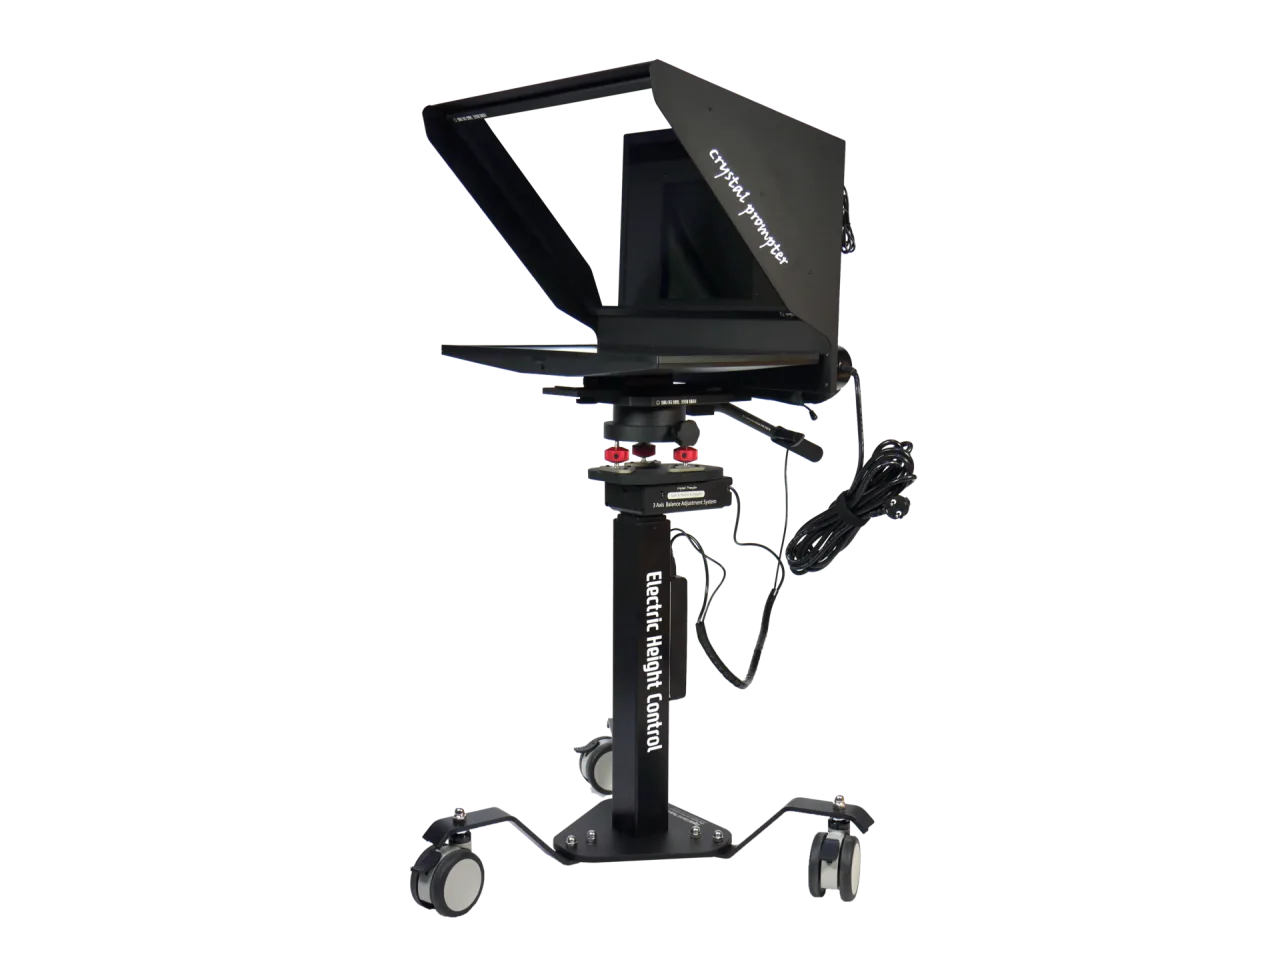
Hardware Teleprompters
Price range
Examples
Best for
$30-80
Desview T3 Starter, generic phone-mount models
Testing whether a teleprompter works for you
$80-200
Desview T3, Glide Gear TMP100
Daily creators who want reliable, built-in displays
$200-500
Ikan Elite V2, Autocue Starter Series
Professional setups with larger lenses
My recommendation: Start with a $80-200 model that includes its own display. Using your phone as the display screen sounds cheaper, but mirroring apps are unreliable and the debugging time costs more than the price difference.
Software Teleprompters (Free Options)
If you are not ready to buy hardware, these software options work:
Teleprompter.com (free/Pro) — cross-platform, supports Bluetooth remote and smartwatch control
PromptSmart Pro ($20) — voice-activated scrolling that pauses when you pause
Imaginary Teleprompter (free, open-source) — runs on any desktop OS
BigVu (free tier) — mobile app with built-in recording
The limitation of software teleprompters: your phone or tablet sits beside the camera rather than in front of it, so your eye line shifts slightly off-center. Noticeable in close-up shots, acceptable for medium frames.
No Teleprompter at All
Some successful creators skip the teleprompter entirely. MKBHD, for example, keeps a laptop below the camera showing only a mind map — not a full script.
Three methods work well without a teleprompter:
Keyword outline method. Write 3-5 keywords on a sticky note next to the camera. Each keyword anchors about 30 seconds of free speaking.
Segment recording. Break a 5-minute video into ten 30-second clips. Record each clip focusing on one single point, then edit them together.
Conversation method. Have someone sit behind the camera. Talk to that person instead of the lens. Your tone, pauses, and expressions become instantly more natural. Remove their audio in post.
I use all three approaches depending on the content type. For tutorials with precise technical details, I use a teleprompter. For opinion pieces and vlogs, the keyword outline method works better because it sounds less rehearsed.
How Do You Read a Teleprompter Without Looking Like You're Reading?
This is where most beginners fail. They set up the teleprompter, paste their script, and read it like a news anchor from 1995 — eyes scanning left to right in a visible pattern. The audience notices immediately.
Three visual parameters fix this:
Focal length matters. Use a 40-50mm equivalent lens. If you are recording on a phone, switch to 2x optical zoom (roughly 50mm equivalent). Wide-angle lenses amplify tiny eye movements and make the reading pattern more obvious.
Line width is critical. Keep each line to 5-7 words. With narrow lines, your eyes barely need to move — you can read with peripheral vision. I tested this extensively: at 5 words per line, viewers detected "script reading" about one-third as often compared to 12-word lines.
Gaze position. Fix your eyes on the upper third of the lens area. Your reading speed naturally exceeds your speaking pace, so your gaze drifts downward as you read ahead. If you start at the upper third, the natural drift lands your eyes right at center — which reads as direct eye contact on video.
The 3-1 Rhythm Technique
This is the single technique that made the biggest difference in my own recordings.
Read 3 sentences from the teleprompter. On the 4th sentence, look away from the camera — up, to the side, wherever feels natural — and say that sentence from memory or improvise it.
The effect on viewers is dramatic. Those look-away moments register as "thinking" rather than "reading." Your delivery suddenly feels conversational instead of scripted. I now do this unconsciously, but it took about two weeks of deliberate practice before it became automatic.
Typography Settings That Affect Delivery
These details rarely appear in other guides, but they measurably affect comfort and performance:
Setting
Recommended value
Why
Font size
1/8 to 1/6 of screen height
Too small forces squinting; too large means constant scrolling
Font type
Sans-serif (Arial, Helvetica)
Serif fonts blur on low-resolution prompter screens
Line spacing
1.5x
Tighter spacing causes line-skipping errors
Text color
White on black
Highest contrast, readable even in bright environments
Keyword highlighting
Bold or colored key phrases
Helps you locate emphasis points without searching
Expression Management
Most beginners go "flat face" on camera — not because they cannot smile, but because nervousness suppresses their normal expressions.
A few techniques that help:
Smile at the camera for 10 seconds before you hit record. This relaxes facial muscles and sets a baseline warmth.
Raise your eyebrows slightly when delivering a key point. On video, this reads as engagement and conviction.
Furrow your brow slightly when describing a problem or challenge. It adds empathy.
Avoid forcing a smile. A genuine smile engages the muscles around your eyes; a forced one only moves your mouth. Viewers can tell the difference instantly.
What Speaking Pace Works Best for YouTube Videos?
Content type
Words per minute
Character
News-style delivery
130-150 wpm
Formal, measured
YouTube tutorials and educational
150-170 wpm
Informative, clear
Conversational vlogs
160-180 wpm
Casual, energetic
TikTok / YouTube Shorts
180-200 wpm
High density, punchy
Start around 140 wpm and gradually move toward 150-160 wpm as you get comfortable. You can measure this easily: read your script aloud while timing yourself, then divide word count by minutes.
Pace Variation Is More Important Than Pace
Constant-speed delivery sounds robotic regardless of the actual speed. Good pacing follows a pattern:
Key insights: Slow down 20%. Give the viewer time to absorb.
Transitions: Speed up 10%. Keep momentum between sections.
Conclusions and takeaways: Slow down 30% and add a brief pause afterward.
Examples and stories: Normal pace, conversational tone.
Dealing with Brain Fog Mid-Recording
During fast delivery, you will occasionally lose your place — your brain blanks and you forget where you were. This is normal and has a physical cause: rapid speaking makes breathing shallow, reducing oxygen to the brain.
Solutions:
Keep water nearby (warm, not cold — cold water tightens vocal cords)
If you stumble, do not restart from the beginning. Continue from where you tripped — edit out the mistake later
Pause for 1-2 minutes if you feel foggy, then resume
Practice diaphragmatic breathing: push air from your abdomen rather than your chest. Better oxygen, stronger voice.
How Do You Set Up a Home Recording Environment?
Your recording environment affects video quality more than most creators realize. Three priorities, in order of impact:
Lighting Comes First
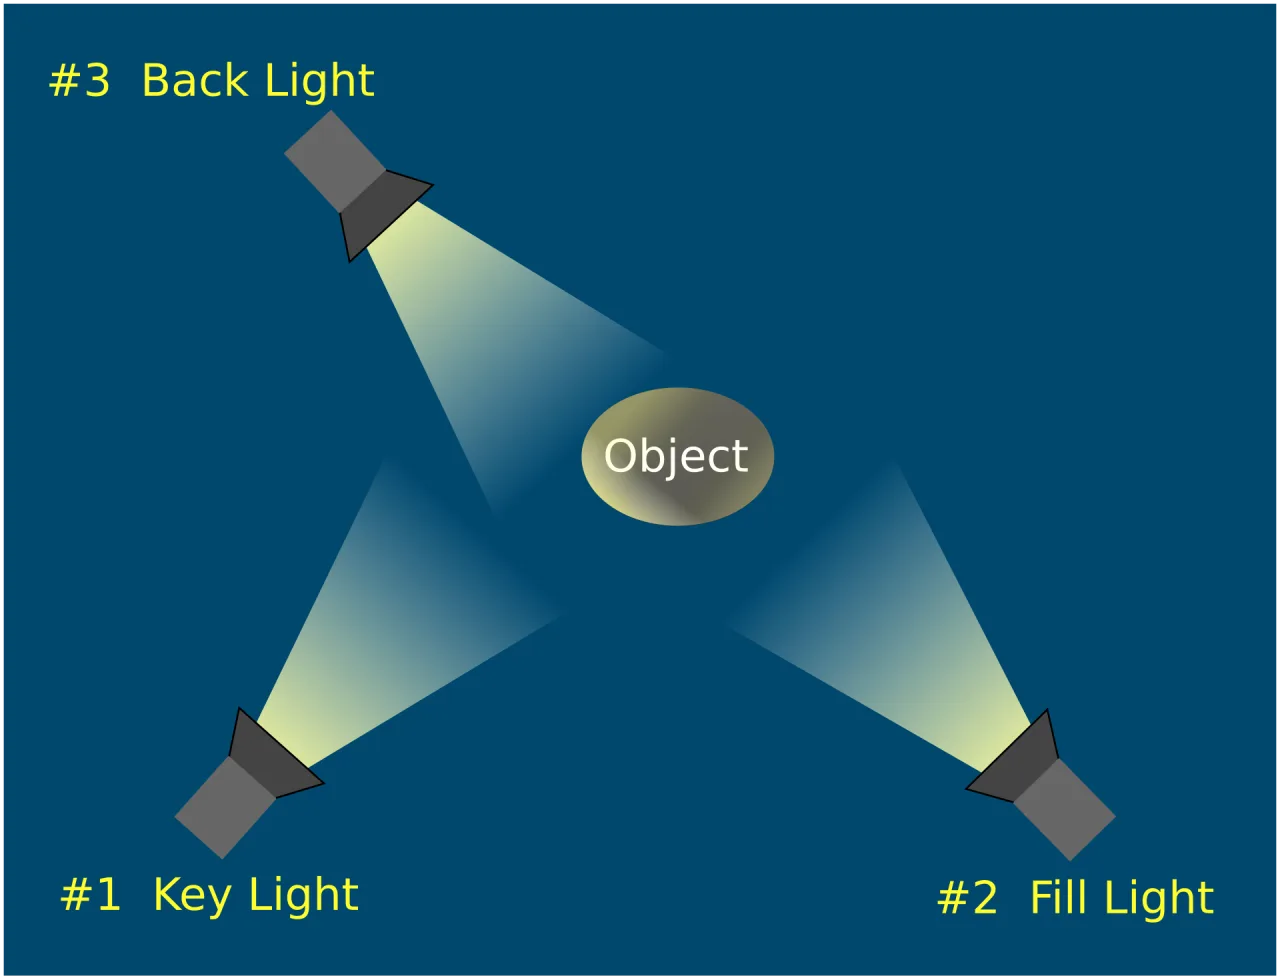
One key light plus one fill light is enough. Position the key light at a 45-degree angle above and in front of you. Place the fill light to the side to soften shadows on your face.
You do not need professional studio lights. Two ring lights in the $30-50 range produce solid results. I was wrong about this early on — I spent money upgrading my camera before improving my lighting. The lighting upgrade made a noticeably bigger difference.
Keep the Background Clean
A plain wall with one or two intentional objects (a plant, a bookshelf, a small piece of art) works better than a busy background. Your viewer's attention should stay on you, not on the clutter behind you. If you cannot find a clean background at home, a fabric backdrop ($15-20, roughly 6x9 feet) solves the problem.
Audio Quality Beats Video Quality
Audiences tolerate mediocre video. They will not tolerate harsh, echoey, or noisy audio. A $15-25 wireless lavalier microphone dramatically improves audio compared to your phone's built-in mic.
Before every recording session, capture 10-15 seconds of silence — just the ambient room sound with nobody talking. This "room tone" is invaluable during editing. Without it, your cuts between segments create jarring silences that sound like a radio broadcast cutting out.
Phone Recording Settings
If you are using a phone (perfectly fine for getting started — all of my early videos were shot on one):
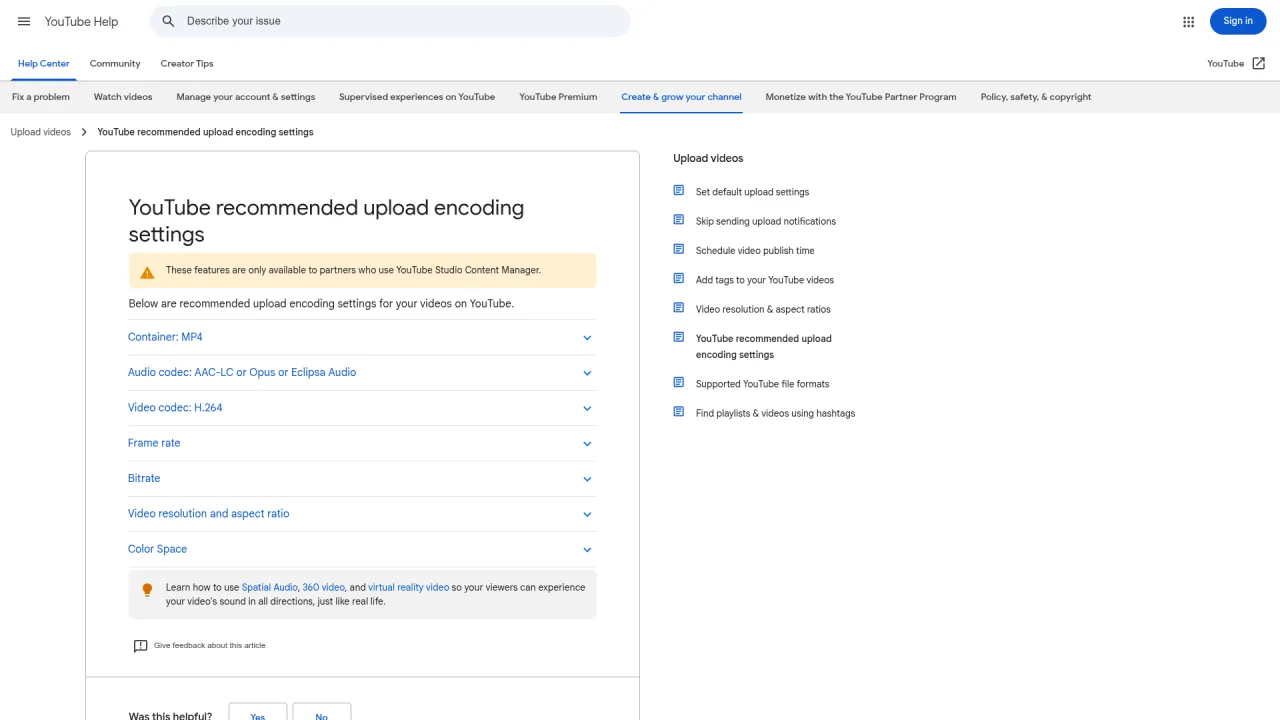
Resolution: 1080p at 60fps. 4K files are enormous and slow down editing; 1080p is sharp enough for every platform as confirmed in the YouTube Help upload guidelines. 60fps gives you the option to create slow-motion segments in post.
Lock exposure and focus. Long-press the screen to lock both. This prevents the phone from auto-adjusting mid-recording, which causes distracting brightness flickers.
Use the rear camera. The rear camera has a larger sensor, better lens optics, and stronger stabilization. Place a small mirror behind the phone so you can still see yourself.
Orientation. Shoot horizontal for YouTube. Shoot vertical for TikTok, Instagram Reels, and Shorts. Choose based on your primary platform, then crop for secondary platforms in post.
How Do You Fix Jump Cuts and Audio Issues in Post-Production?
Audio Editing
Use waveform patterns to find your edit points. Two nearly identical waveform shapes usually mean you recorded the same line twice — keep the better take.
Breath editing is the most important audio skill. Cut at the point between the exhale of one sentence and the inhale of the next. If a cut sounds harsh, add a 0.1-second audio crossfade.
Noise reduction: In DaVinci Resolve or CapCut, select a segment of pure noise (no voice), let the software learn the noise profile, then apply reduction to the full clip.
Volume normalization: When you splice multiple recording segments, volume levels will vary. Normalize all segments to -16 LUFS (Loudness Units Full Scale — the broadcast standard for spoken-word YouTube content). In DaVinci Resolve, select all clips in the Fairlight panel and apply normalization.
Visual Fixes for Jump Cuts
Direct cuts between segments create jarring jumps. Three ways to handle them:
Punch-in zoom. Scale the next segment to 133-160%. It looks like a camera angle change but uses the same footage.
B-roll inserts. Cover the cut with supplementary footage (B-roll is any footage that is not your main talking-head shot) — screen recordings, product close-ups, text graphics, or stock footage. Inserting 3-5 seconds of B-roll every 30 seconds improves the viewing rhythm significantly.
Crossfade transitions. A subtle 0.3-0.5 second crossfade dissolve hides minor jump cuts. Avoid flashy transitions — hard cuts and simple dissolves are the professional standard.
AI Tools That Speed Up Post-Production
Several AI-powered tools can significantly reduce editing time in 2026:
CapCut's auto-cut feature removes silences and repeated takes automatically
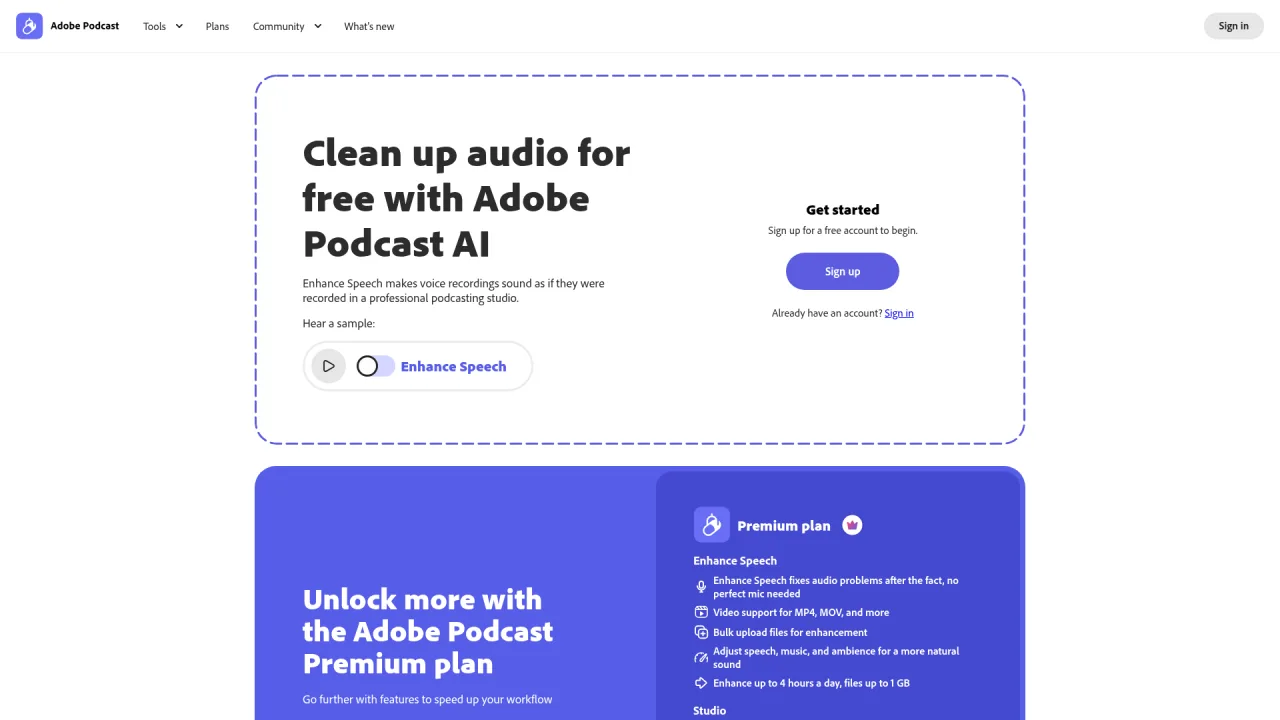
Adobe Podcast (free online tool) cleans up terrible audio recordings with one click
ElevenLabs and PlayHT generate natural-sounding voiceovers if you prefer not to appear on camera
CapCut's auto-captions achieve 95%+ accuracy and save hours of manual subtitle work
How Do You Overcome Camera Anxiety?
The 30-Day Training Plan
I designed this progressive plan based on my own experience and feedback from creators I have worked with:
Week 1 — Desensitization. Record 60 seconds of yourself talking every day. Pick any topic. Do not watch the recordings. Do not edit them. The only goal is to normalize the act of speaking to a camera. Most people notice their nervousness dropping significantly by day 3 or 4.
Week 2 — Technique. Start using a teleprompter. Record one 2-3 minute video per day. Focus specifically on eye contact control and speaking pace. Watch one recording per day and note where you looked unnatural or stumbled.
Week 3 — Refinement. Add expression management and pace variation. Practice the principle of "never read at constant speed" — slow down for key points, speed up through transitions, pause after conclusions. Start learning basic editing.
Week 4 — Live fire. Follow the full workflow from script to recording to editing. Produce one publishable video. Post it on any platform. Collect feedback and document what to improve next.
Creators who follow this plan consistently report that watching their Day 1 recording after Day 30 makes them laugh — the improvement is that visible. The key is daily practice, even if only 60 seconds. On-camera speaking is like playing an instrument: muscle memory builds through repetition, not theory.
Three Psychological Barriers and How to Break Them
The perfectionism trap. Many creators record 15+ takes and never feel satisfied. My hard rule: record any segment a maximum of three times, then pick the best one. Your audience's tolerance for imperfection is far higher than you think.
Voice anxiety. Almost everyone dislikes their recorded voice the first time they hear it. This happens because you normally hear your voice through bone conduction, which adds bass. The air-transmitted version sounds thinner and different. The fix is exposure: listen to your own recordings daily for 1-2 weeks. Your brain adapts, and the discomfort fades.
Camera fear. The nervousness of speaking to a lens is fundamentally a fear of being judged. One simple trick that works surprisingly well: tape a photo of a friend next to the camera lens. Talk to that face instead of the black glass. Your tone, facial expressions, and pacing all become more natural because your brain switches from "performance mode" to "conversation mode."
Putting It All Together
Everything in this guide applies to one specific format: scripted talking-head content — tutorials, explainers, educational videos, product reviews. If you create vlogs, street content, or live event coverage, those formats rely on improvisation and personal charisma rather than these structured techniques.
The system works because each component removes a specific source of friction. The teleprompter removes the memory burden. Proper line width removes visible eye scanning. Pace variation removes the robotic feel. The 3-1 rhythm removes the "reading" impression. Room tone removes jarring silence in edits. And the 30-day plan removes the belief that you need natural talent.
My suggestion: pick up your phone right now and record 60 seconds of yourself talking about anything. No teleprompter, no editing, no posting. Watch it once. That recording is your baseline — every technique in this guide is an addition on top of it.
Ready-to-Use Prompt: Diagnose Your On-Camera Skills and Build a 30-Day Natural-Speaking Plan
What this does: Scores you on the four natural-on-camera techniques, configures the teleprompter (5-7 words/line) and speaking pace, locks the home recording baseline, builds a 30-day training plan, and fixes camera anxiety plus post-production — turning many-fail takes into single takes. Based on: How to Speak Naturally on Camera: A Complete Guide for Content Creators — https://aiworkflowpro.com/how-to-express-naturally-in-front-of-camera-tutorial/ Time to run: ~5 minutes
Copy this prompt into Claude Code, ChatGPT, or any AI assistant:
ROLE: You are an on-camera speaking coach. Your job: diagnose which of the four natural-on-camera techniques a creator is weak on, configure the teleprompter and pace, set the home recording baseline, and build a 30-day training plan that turns many-fail takes into single takes.

CONTEXT — NATURAL-ON-CAMERA SYSTEM:
Speaking naturally on camera is a trainable skill, not innate talent — the difference between 47 failed takes and a clean single take is a system, not confidence. Four techniques each have specific, learnable mechanics: teleprompter setup (a ~$100 teleprompter with 5-7 words per line kills the "reading look"), eye-contact control (looking at the lens, not the screen), speaking pace (the YouTube ideal range, not rushed), and expression management. Most creators who look effortless are reading from a teleprompter — the skill is making the reading invisible. A 30-day focused practice plan compounds these into single-take recording.

INPUTS (fill in before running):
- CURRENT_LEVEL: YOUR_TODAY_HERE (never recorded / a few tries, many retakes / comfortable but inconsistent)
- CONTENT_TYPE: YOUR_FORMAT_HERE (talking-head YouTube / short-form / educational / live)
- GEAR: YOUR_EQUIPMENT_HERE (camera/phone, mic, teleprompter yes/no, room)
- GOAL: YOUR_TARGET_HERE (single-take recording / less anxiety / pro polish)

METHOD — 6 STEPS:

Step 1 — Diagnose the four techniques
Score each 0-2: teleprompter setup, eye-contact control, speaking pace, expression management. Identify the two lowest — those drive the training plan. Most "unnatural" footage fails on teleprompter line-width and pace, not talent.

Step 2 — Configure the teleprompter
Set the teleprompter to 5-7 words per line at a scroll speed matching the speaker's natural pace — this eliminates the reading look. If GEAR has no teleprompter, a ~$100 unit is the single highest-leverage purchase. State the line-width + speed setting.

Step 3 — Set the speaking pace
Target the YouTube ideal pace for CONTENT_TYPE (roughly 130-150 wpm for talking-head; faster for short-form). Flag rushing (breathless, no pauses) and dragging (monotone, fillers). Pace awareness — not speed — is the goal.

Step 4 — Lock the home recording baseline
Set the minimum: camera at eye level, lens-level eyeline (not the screen), clean audio (mic close, treated room), simple lighting (face lit, no backlight). A bad room/setup defeats good technique — fix the baseline before practicing.

Step 5 — Build the 30-day training plan
Lay a daily plan targeting the two weakest techniques: week 1 teleprompter + pace drills, week 2 eye-contact + expression, week 3 full takes with review, week 4 single-take attempts. Each day is one recorded take + a self-review against the four techniques.

Step 6 — Fix anxiety and post-production
Address camera anxiety (reps + a teleprompter removing the "what do I say" load) and the post baseline (cut jump-cuts by recording longer clean takes; fix audio with the mic + light de-noise). State the one anxiety lever and the one post fix.

RULES:
- Treat on-camera naturalness as trainable — diagnose technique gaps, never blame talent or confidence.
- Teleprompter line width stays 5-7 words per line; wider lines create the reading look.
- Eyeline is the lens, not the screen — looking at your own preview breaks eye contact.
- Fix the recording baseline (gear/room/audio) before practicing technique — bad setup defeats practice.

OUTPUT FORMAT:
Output six sections:
1. **Technique diagnosis** — markdown table with columns: Technique | Score (0-2) | Symptom.
2. **Teleprompter config** — line width + scroll speed + the gear note.
3. **Speaking pace** — target wpm + rush/drag flags for CONTENT_TYPE.
4. **Recording baseline** — markdown table with columns: Item | Setting | Met? (Y/N).
5. **30-day plan** — markdown table with columns: Week | Focus | Daily action.
6. **Anxiety + post fix** — the one anxiety lever + the one post-production fix.
Save as @templates/how-to-express-naturally-in-front-of-camera-tutorial.md and run when you start on-camera content, then re-run weekly during the 30-day plan to re-score the four techniques.
Frequently Asked Questions
How do you speak naturally on camera without a teleprompter?
Three methods work well. The keyword outline method uses 3-5 keywords on a sticky note beside the camera, each anchoring about 30 seconds of free speaking. Segment recording breaks a 5-minute video into ten 30-second clips, each focused on one point, edited together afterward. The conversation method places a real person behind the camera for you to talk to naturally. Many creators, including well-known tech reviewers, use a mind map on a laptop below the camera instead of a full script.
What is the best speaking pace for YouTube videos?
Most YouTube tutorial creators speak at 150-170 words per minute. Fast-paced formats like TikTok or YouTube Shorts typically run at 180-200 wpm. Start around 140 wpm and gradually increase. More important than absolute speed is pace variation: slow down 20% for important points, speed up 10% for transitions, and pause briefly after key conclusions.
How do you look at a teleprompter without looking like you're reading?
Three adjustments make the difference. Keep line width to 5-7 words per line so your eyes barely move. Use a 40-50mm focal length (2x zoom on a phone) to minimize visible eye movement. Position your gaze at the upper third of the lens area so natural reading drift lands your eyes at center. The 3-1 rhythm technique — reading 3 sentences, then ad-libbing the 4th while looking away — makes your delivery feel conversational.
How long does it take to get comfortable speaking on camera?
Most creators see significant improvement within 2-4 weeks of daily practice. A structured 30-day plan progresses through desensitization (Week 1), technique building (Week 2), refinement (Week 3), and real production (Week 4). Daily consistency matters more than session length — 60 seconds of practice every day beats one long session per week.
Monitoring a competitor who publishes no feed is the case every RSS guide skips. Twenty-one platforms sorted by which of three jobs they do, and the finished setup is business process automation you own outright, with no seat licence to renew.
Blaming the content is the reflex when a post underperforms, and it is usually the wrong diagnosis. A second reader decides distribution before any human sees the post, and most of what it checks is mechanical enough to automate business processes around, on five platforms at once.
Nothing about month four is harder than month three. It is simply the month an unpaid channel starts to feel like proof of failure. Surviving it takes a cadence you can hold while earning nothing, which is a better reason to automate business processes than speed ever was.
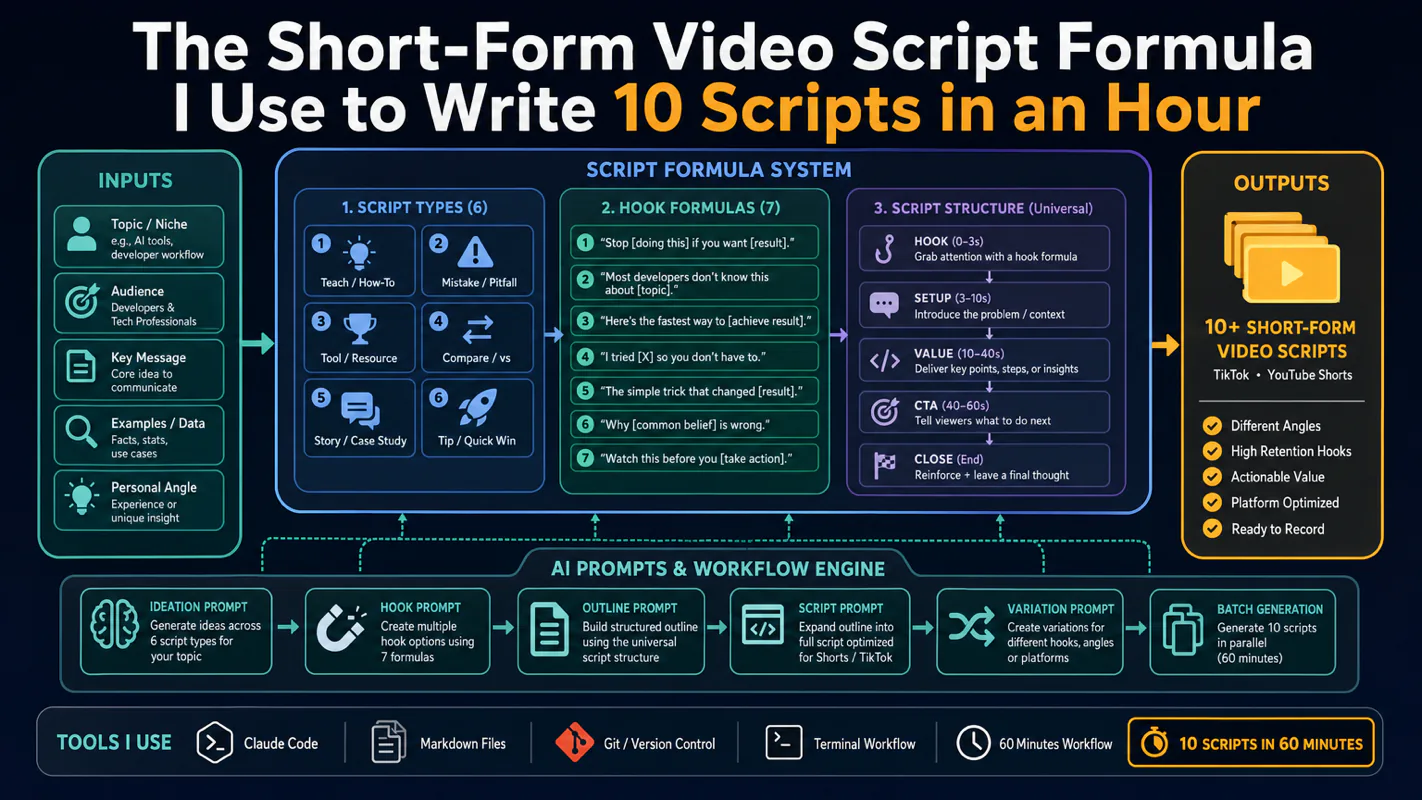
Thursday afternoon, fourteen product ideas, a Monday filming slot, no scripts. Six script shapes and seven hook formulas turn that hour into finished drafts — and the business rule stays: rewrite at least 30% before anything ships.