Monitoring a competitor who publishes no feed is the case every RSS guide skips. Twenty-one platforms sorted by which of three jobs they do, and the finished setup is business process automation you own outright, with no seat licence to renew.
Blaming the content is the reflex when a post underperforms, and it is usually the wrong diagnosis. A second reader decides distribution before any human sees the post, and most of what it checks is mechanical enough to automate business processes around, on five platforms at once.
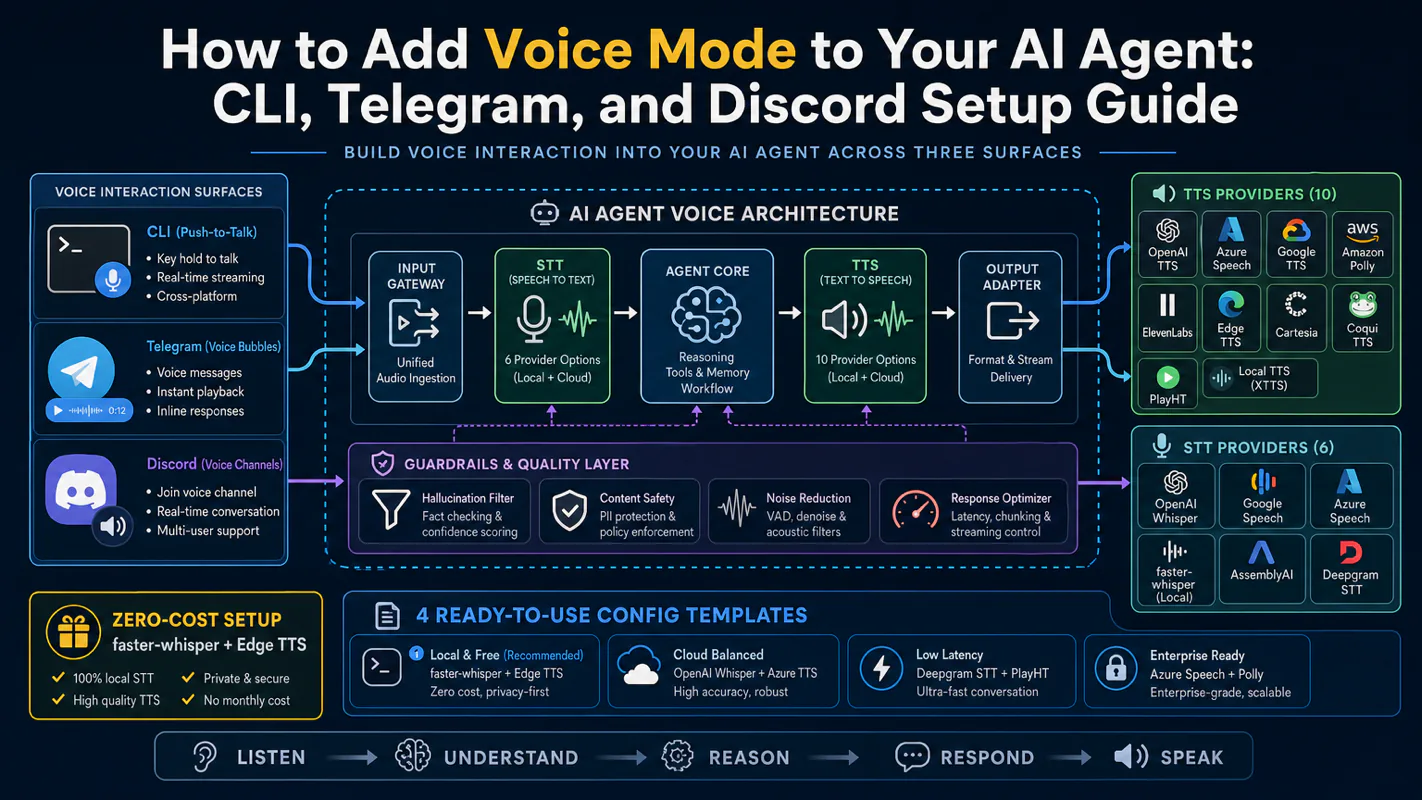
Gloves on, tape measure in hand — nobody types a query. Three voice surfaces for ai automation tools (terminal, Telegram, Discord), 10 TTS and 6 STT providers compared on cost and latency, plus a setup that costs nothing.
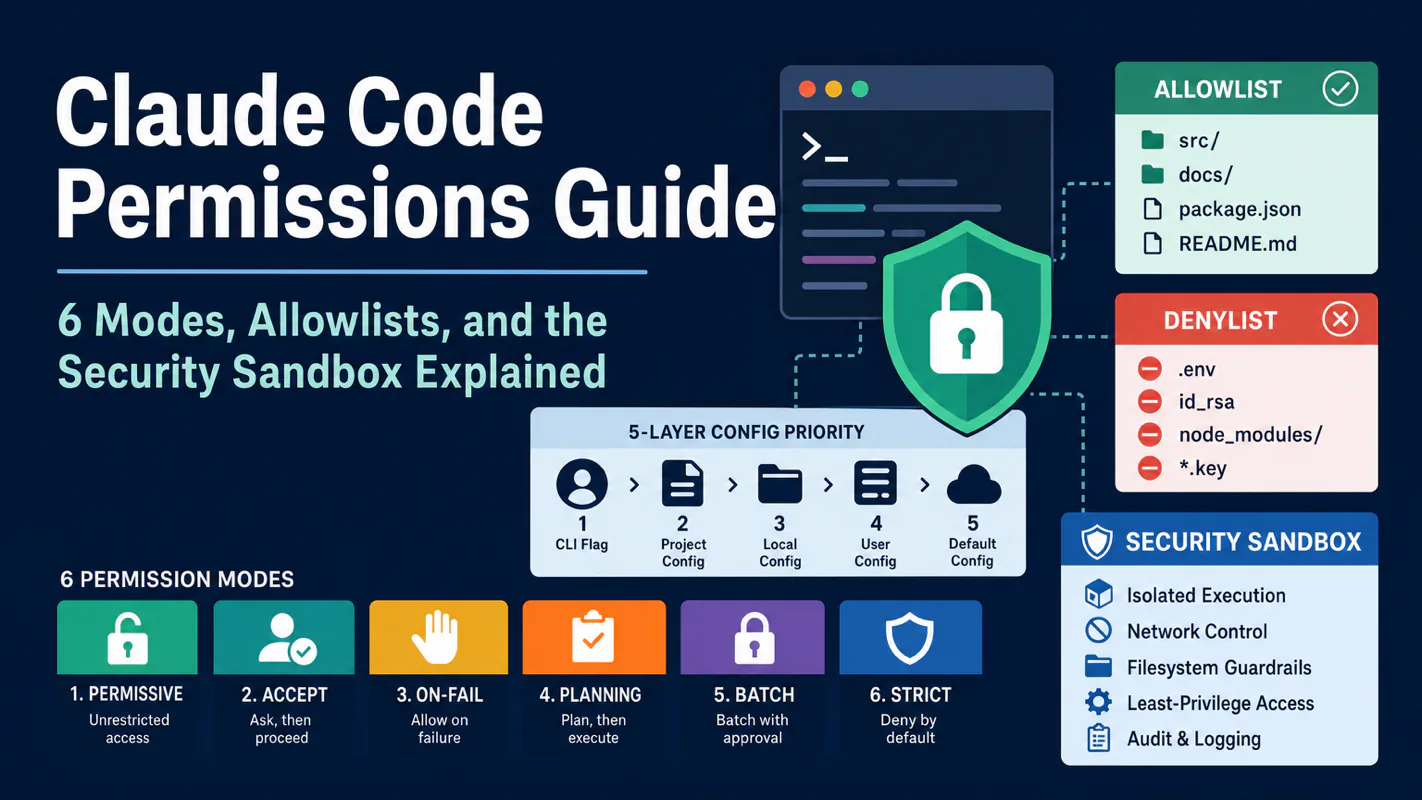
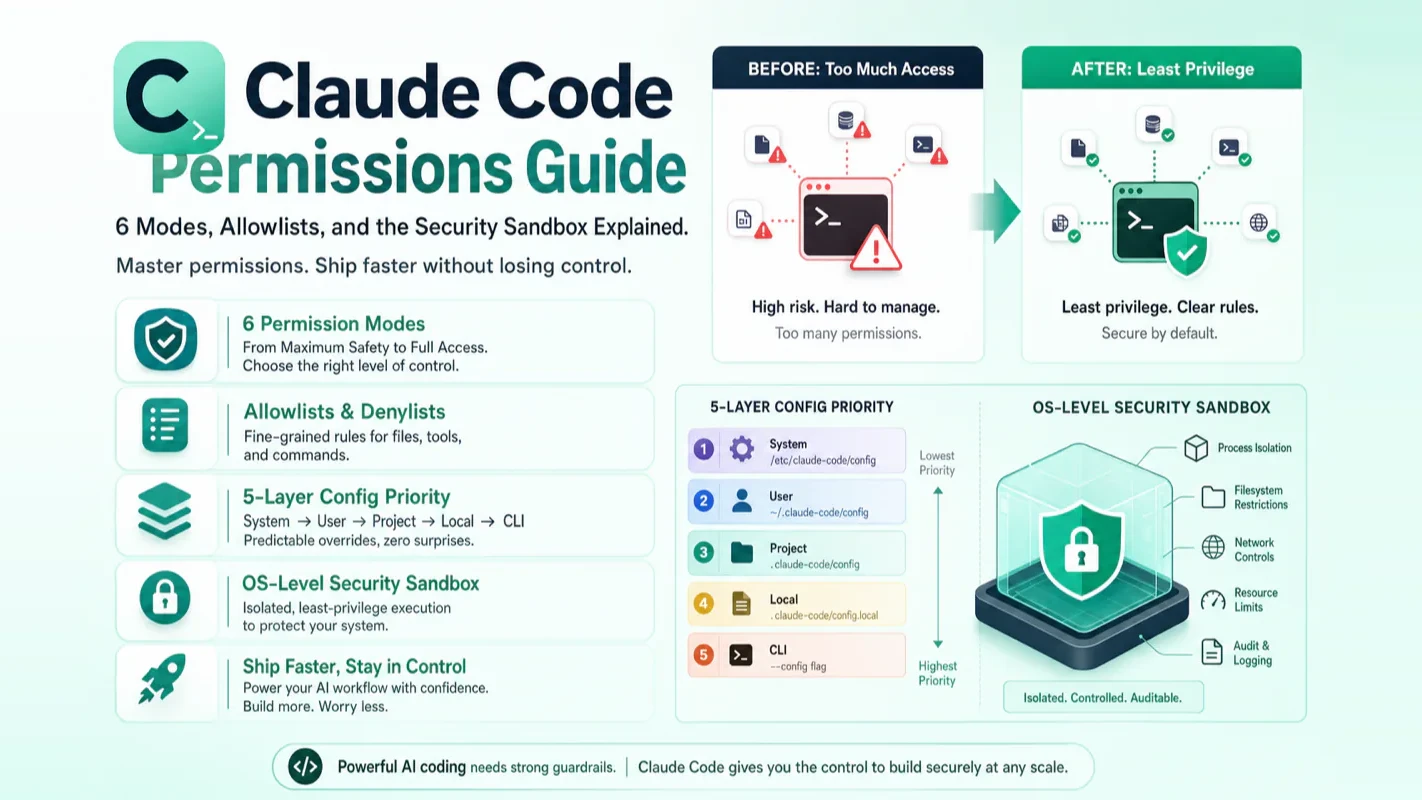
Claude Code Permissions Guide: 6 Modes, Allowlists, and the Security Sandbox Explained
Permission prompts are not friction - they are what makes file-editing safe for real projects. Six modes compared, allowlist and denylist rules, the five-layer config priority chain, the OS sandbox as a second defence, and the one setting business process automation should never use.
The uncomfortable meeting after something gets overwritten is rarely about who did it. It is about why it was possible at all. A wholesale distributor lets an assistant tidy up a price file and it tidies the live one; recovery takes a day and a half, and the postmortem lands on access rather than intent. Letting business process automation change real files is the entire point of using it - the design question is which changes go through without a pause and which stop for a human. This article lays out six modes, the rules that narrow them, and the one setting almost nobody should turn on.
What Are Claude Code Permission Modes and How Should You Configure Them?
Claude Code reads, writes, and executes in your real codebase. This guide breaks down all 6 permission modes, shows you how to build allowlist/denylist rules, explains the 5-layer config priority chain, and clarifies how the OS-level sandbox adds a second line of defense. By the end, you will know exactly how to let AI ship code without giving it the keys to production.
The 30-Second Answer
Claude Code directly edits files and runs commands on your machine. Permissions are not annoying pop-ups; they are the mechanism that makes AI-assisted coding safe enough for real projects.
Three rules cover 90% of use cases: Use default mode daily (read-only by default, asks before any write). Switch to plan mode for large refactors (read-only exploration, produces a plan before touching files). Never touch bypassPermissions unless you are inside a disposable container.
Your situation
Recommended setup
First time using Claude Code
Stay on default. Let it analyze read-only. Review diffs before granting write access
Daily development
default baseline + acceptEdits for mechanical tasks + high-frequency safe commands in your allowlist
Architecture changes or unfamiliar repos
Start in plan mode. Review the full impact before approving execution
CI pipelines or unattended automation
Project-level settings.json with locked rules + dontAsk mode + sandbox
The most common beginner mistake: jumping straight to bypassPermissions or --dangerously-skip-permissions to avoid prompts, then discovering AI changed files you never reviewed. The more important the project, the less you should equate "fewer prompts" with "no prompts at all."
Key takeaways:
Claude Code has 6 permission modes: default / acceptEdits / plan / auto / dontAsk / bypassPermissions.
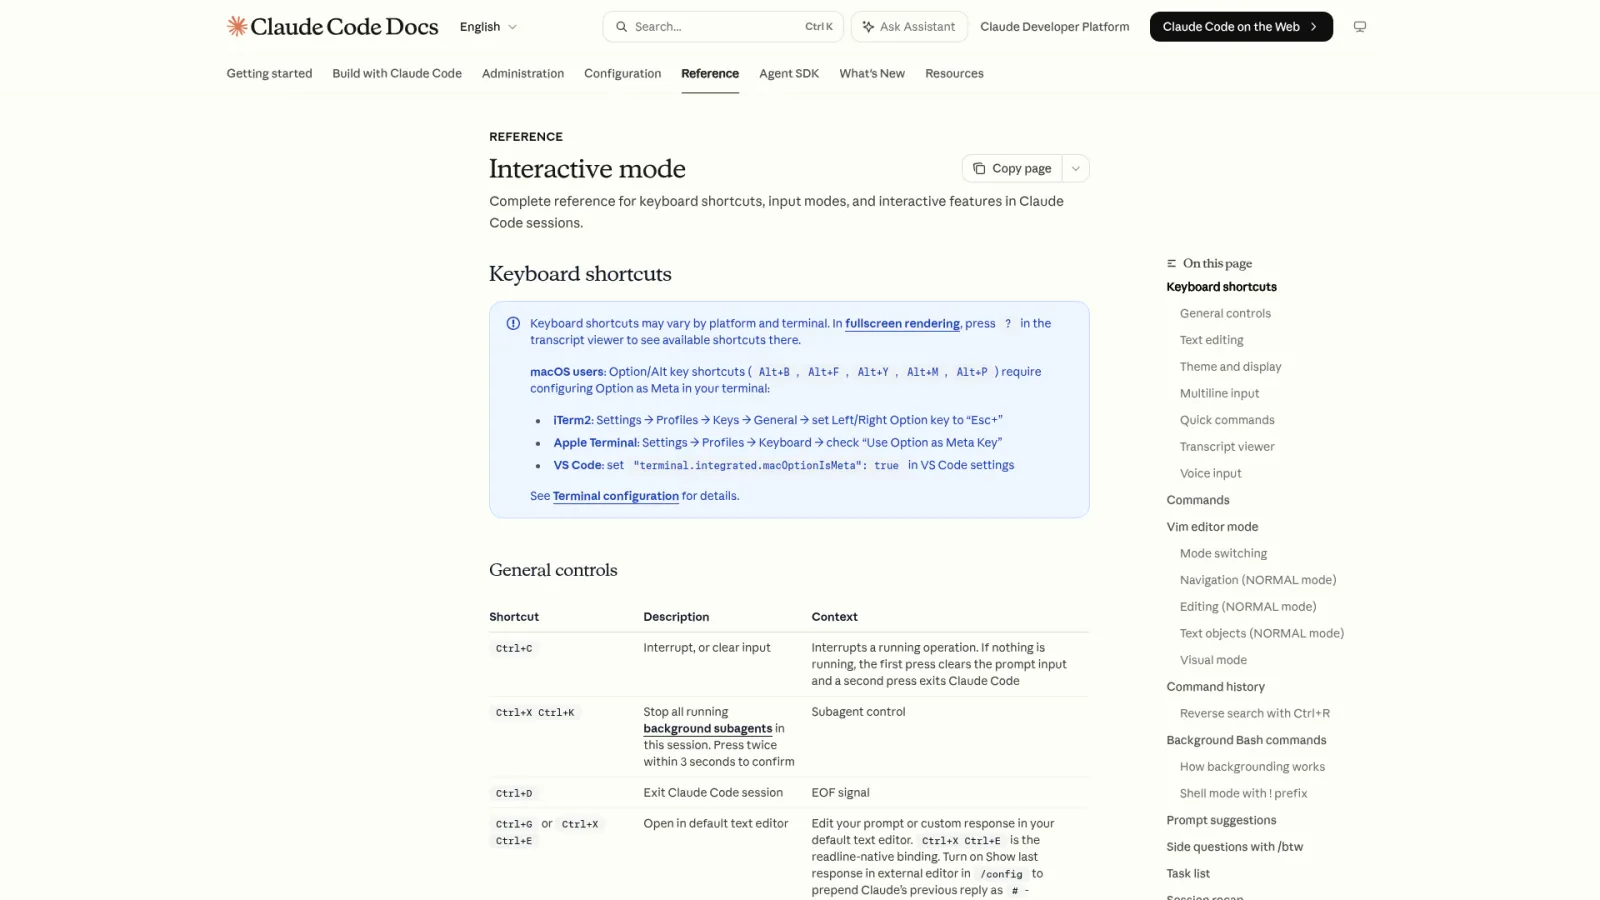
Press Shift+Tab to cycle through default, acceptEdits, and plan. The other three require launch flags.
Fine-grained control uses allow / ask / deny arrays in settings.json. Evaluation order: deny first, then ask, then allow.
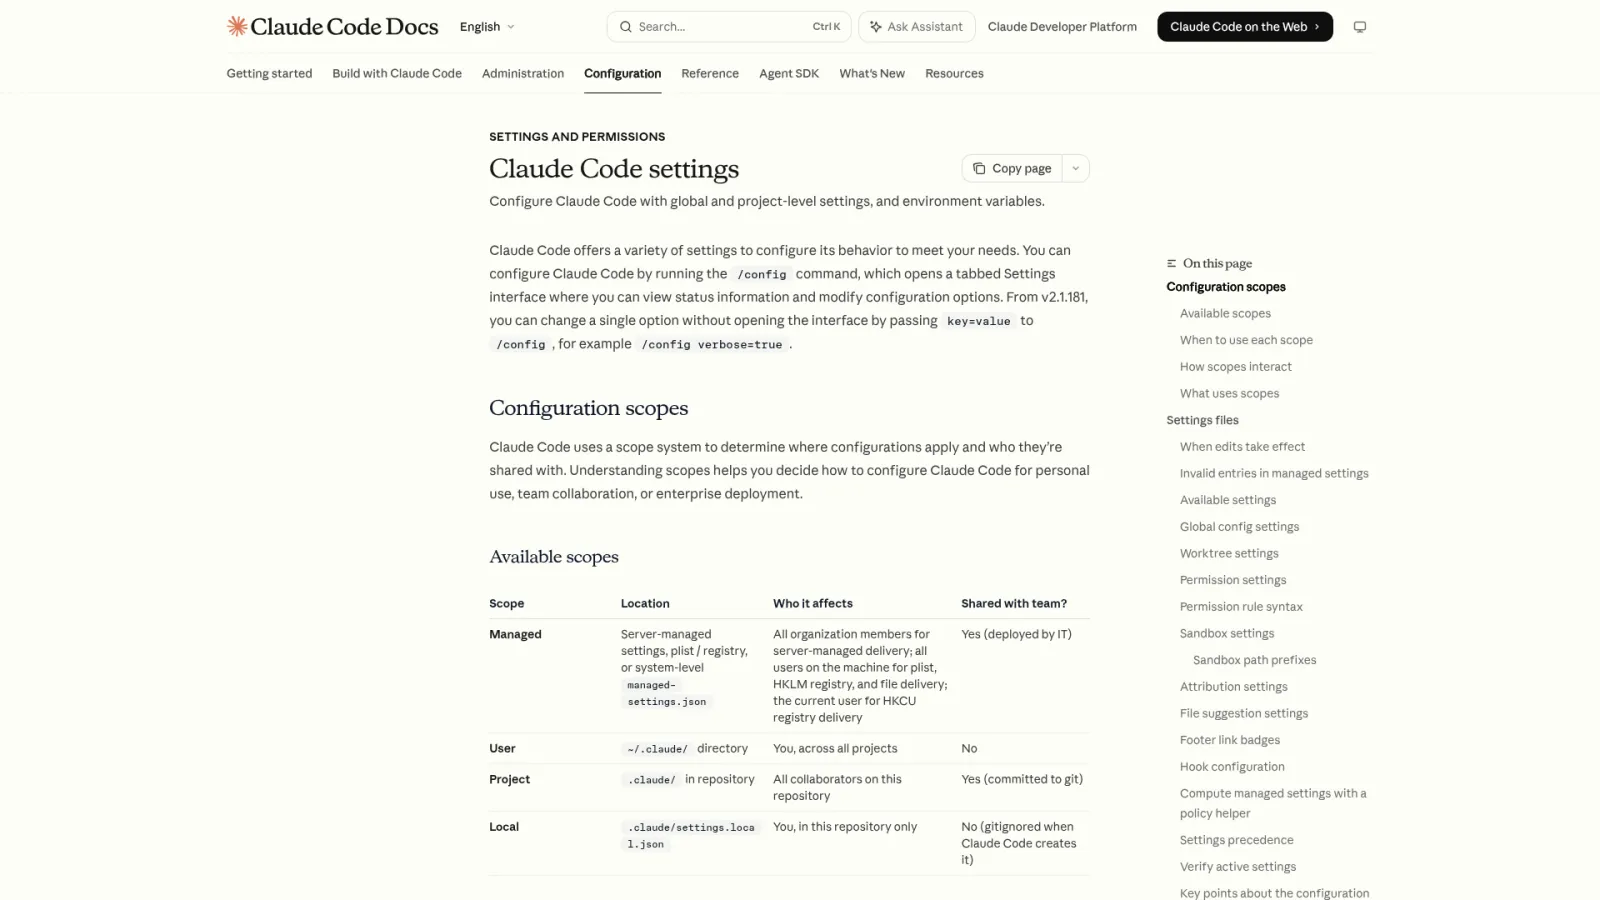
Configuration spans 5 layers. Priority from highest to lowest: managed policy > CLI flags > local > project > user. A deny at any layer cannot be overridden below it.
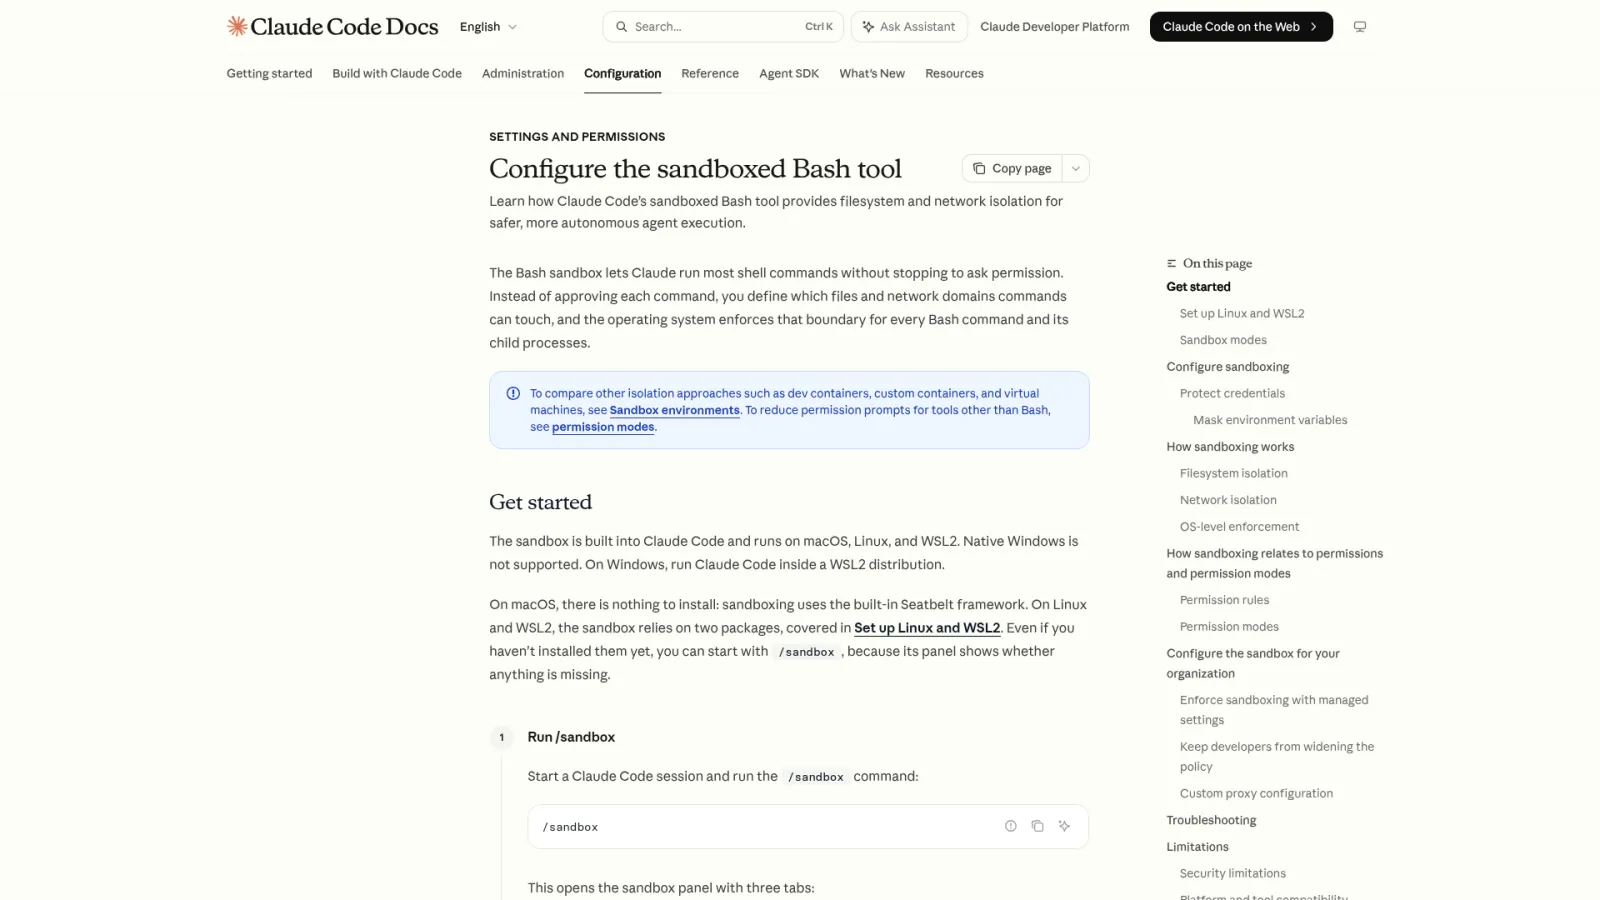
The security sandbox is not a permission mode. It enforces OS-level file and network boundaries after commands start running.
Why Should Beginners Care About Permissions?
Permissions act as a brake on "letting AI actually do things." Claude Code differs from suggestion-only chat tools in one critical way: when it edits a file, the file changes. When it runs a command, the command executes. Greater capability demands a matching control mechanism.
Beginners face higher risk for a straightforward reason: you do not yet know the project structure well enough to spot a dangerous command on sight. Opening permissions too wide at this stage invites the AI to modify files it should not touch or run commands with consequences you did not anticipate.
This is also why Claude Code can be trusted inside real codebases. Its permission system is layered, configurable, and auditable. You can always halt a risky operation before it happens. Model capability matters, but the "brake pedal" boundary mechanism determines whether you dare use it on projects that matter.
Conservative does not mean idle. You can let Claude analyze read-only, produce a plan, and list the permissions it needs. Approve only after you review. That keeps tasks moving forward while preserving your judgment. Mature usage is not permanent refusal or permanent approval. It is treating different risks differently.
I learned this the hard way early on. During one of my first Claude Code sessions, I granted broad write access to speed things up on a personal project. Claude restructured three config files I had not committed yet. The changes mixed with my uncommitted work, and untangling them took longer than the original task. Since then, I always git commit a clean checkpoint before expanding permissions, and I start every new project in default mode for at least the first session.
What Does Claude Code's Permission System Actually Control?
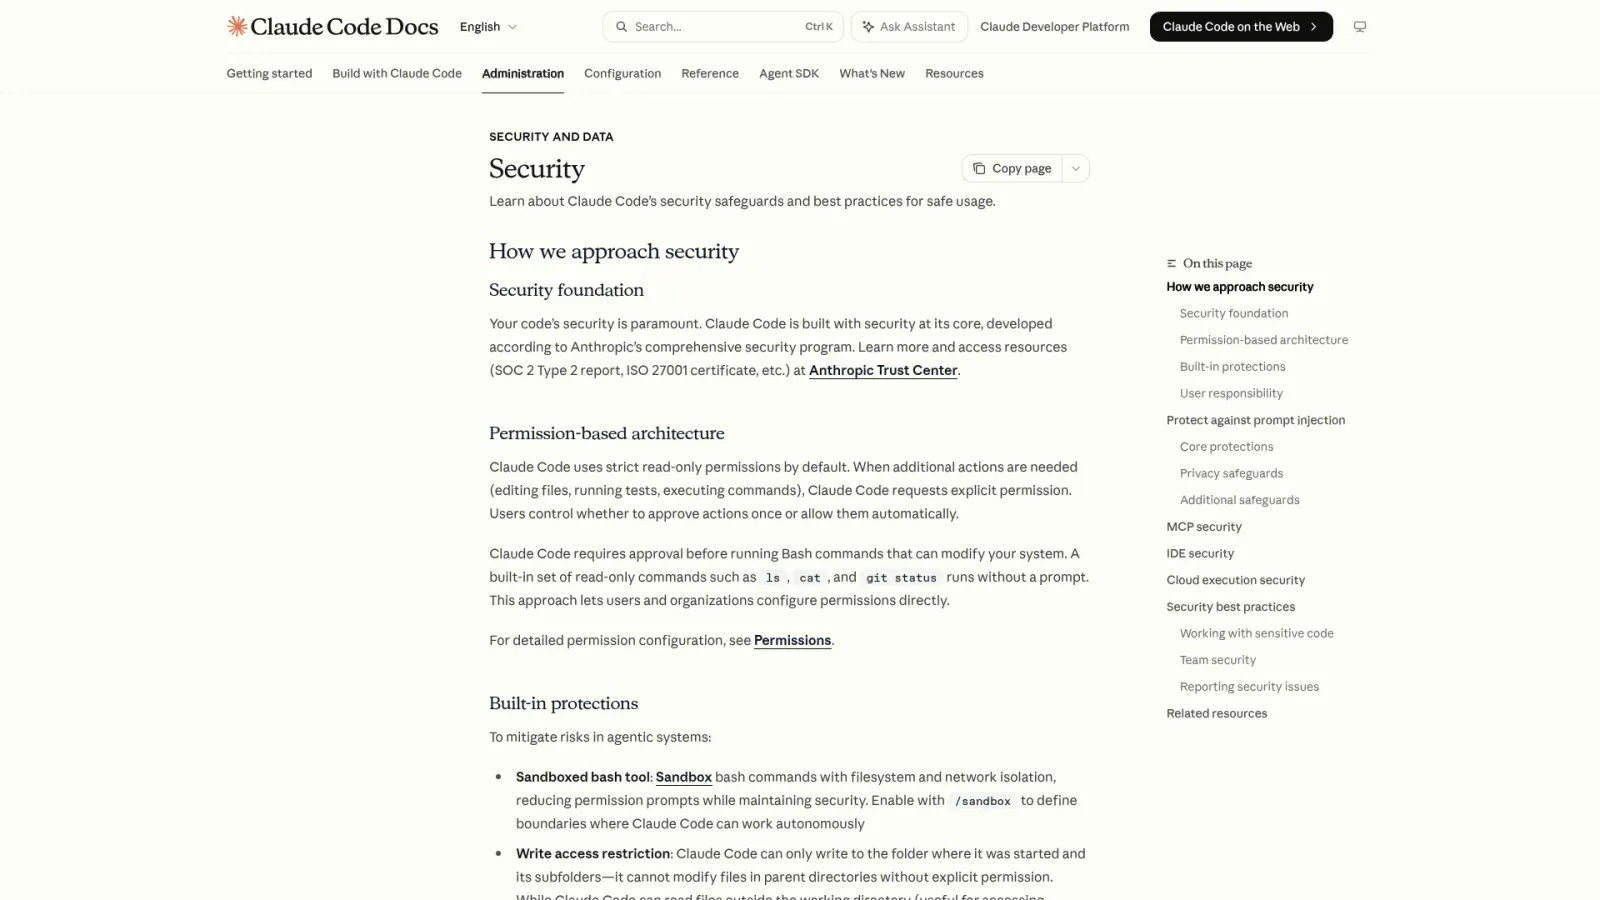
The permission system gates whether Claude Code can perform a given action category: reading files, writing files, running commands, accessing the network, invoking tools, or triggering external services. Each category carries different risk, so a blanket allow/deny makes no sense.
Anthropic's official docs split tools into three risk tiers:
Tool type
Examples
Needs approval by default?
Read-only
Read files, Grep search
No, runs immediately
Bash commands
Execute shell commands
Yes. After approval, can be remembered per project + command
File modifications
Edit / Write
Yes. Approval persists until the session ends
Think of Claude Code in default mode as a read-only intern. It can look, search, and analyze freely. The moment it wants to modify a file or run a command, it raises its hand and asks first. Permission modes and rules are the "which tasks require reporting and which can proceed independently" handbook you write for that intern.
When evaluating a permission request, look beyond the binary allow/deny. Ask three questions: What is the purpose of this action? How wide is the blast radius? Can it be rolled back? Reading is usually low-risk, but reading API keys or customer data requires caution. Running commands varies entirely by content: checking status or running tests is typically safe, while deleting files or deploying to production demands careful review.
The 6 Permission Modes Compared
Claude Code ships with 6 permission modes. Many older tutorials only cover 3 plus a bypass flag, so they are outdated. Each mode differs in which actions proceed without asking you:
Mode
Runs without asking
Best for
default
Read-only operations
Getting started, sensitive work
acceptEdits
Read-only + file edits in working directory + common file commands (mkdir / touch / rm / rmdir / mv / cp / sed)
Iterative coding with review
plan
Read-only operations
Exploring before committing to changes
auto
Nearly everything, with a background safety classifier
Long tasks, reducing prompt fatigue
dontAsk
Only pre-approved tools
Locked CI pipelines and scripts
bypassPermissions
Everything
Isolated containers and VMs only
Picture these 6 modes as gears on a permission dial. default is the most controlled gear: nearly everything asks first. bypassPermissions is the most aggressive: nothing asks at all. The four modes in between each occupy a different position on the "convenience vs. control" spectrum. Shift up or down based on task risk.
One safety baseline spans all modes except bypassPermissions: writes to protected paths are never auto-approved. This covers .git, .claude, .vscode, .idea directories and dotfiles like .bashrc, .zshrc, .gitconfig. These are too sensitive for any permissive mode to touch silently. This is Claude Code's failsafe against "AI corrupts the repo state or its own configuration."
Default Mode and Plan Mode Explained
These two modes cover 90% of beginner scenarios. Master them first.
default mode is the factory state. Read-only actions run immediately. File modifications and non-read commands trigger a prompt on first use. You can choose "allow this time" or "always allow this type." The balance is practical: reads never interrupt you, but every write and command stays under your direct supervision. Start here. You cannot go wrong.
plan mode is "read-only plus planning." Claude reads files, runs read-only commands to explore, and produces a modification plan, but never touches your source files. After completing the plan, it stops and asks: approve and execute, refine the plan further, or review each proposed change manually.
Switch to plan mode when:
You face architecture-level changes (refactoring, migration) and need to see the full picture first
You open an unfamiliar codebase for the first time and want Claude to map the structure
You are unsure how many files an operation will affect
You want to verify Claude understands your requirements before it acts
From my experience running production workflows, plan mode is the most underrated gear. The most common beginner mistake is letting AI edit immediately, discovering the direction was wrong, then rolling back and starting over. Spending two minutes reviewing a plan of "what Claude intends to do" costs far less than twenty minutes cleaning up "what Claude already did wrong." The larger the change, the more you should plan first.
What Does acceptEdits Mode Auto-Approve?
acceptEdits mode lets Claude create and edit files inside the working directory without per-file prompts. The status bar shows "accept edits on." Beyond file edits, it auto-approves exactly seven common file commands per the official docs: mkdir, touch, rm, rmdir, mv, cp, and sed (harmless wrappers like timeout or nice prefixed to these commands also pass).
Auto-approval only covers the current working directory and any directories you explicitly added via additionalDirectories. It has clear boundaries, not a blank check:
Paths outside the working directory still prompt you
Writes to protected paths (.git, .claude, etc.) still prompt you
Bash commands beyond those seven still prompt you
Risk level: moderate. File edits skip confirmation, but git still provides an audit trail and rollback path. Use it for mechanical repetitive tasks (like generating test file templates where clicking approve every time adds friction) when you already have a clean git checkpoint. Avoid it for critical code changes, unfamiliar projects, or any state where you have not committed recently.
A common pitfall: treating acceptEdits as "full auto." Someone lets Claude modify fifteen files in an uncommitted working tree, realizes the direction was wrong, and discovers the changes are tangled with their original uncommitted work, making rollback painful. The correct workflow: git commit a clean checkpoint first, switch to acceptEdits, work through a batch, then switch back to default and review.
What Are Auto Mode and dontAsk Mode?
These two modes arrived in 2026. Most beginners will not need them immediately, but you should know they exist and how they differ from the modes above.
auto mode lets Claude execute without prompts, but an independent classifier model reviews every action before it runs. The classifier automatically blocks three categories: actions outside the scope of your current request, actions targeting unfamiliar infrastructure, and actions that appear to be driven by malicious content Claude read. It defaults to allowing "local file operations in the working directory, installing packages from the dependency manifest, read-only network requests." It defaults to blocking "curl-pipe-bash execution, sending sensitive data to external endpoints, production deployments and migrations, force-pushing or pushing directly to main."
auto mode has four hard prerequisites. Miss any one and it will not activate:
Version: Claude Code v2.1.83 or newer
Model: Claude Opus 4.6+ or Sonnet 4.6. Older models (Sonnet 4.5, Opus 4.5, Haiku) are not supported
Platform: Anthropic API only. Not available on Bedrock, Vertex, or Foundry
Organization: Team and Enterprise accounts require an admin to enable it in the dashboard
If Claude Code reports that auto is unavailable, one of these four conditions is unmet. It is a research preview: it reduces prompts but does not guarantee safety. Use it only for tasks where you trust the general direction, and do not rely on it as a substitute for human review of sensitive operations.
dontAsk mode takes the opposite approach: it only runs tools you pre-approved, automatically rejecting everything else (including actions that would normally prompt). This is the fully automated mode for CI pipelines and locked-down environments. Like auto, it does not appear in the Shift+Tab cycle and requires a launch flag.
Think of auto as hiring an assistant who makes independent judgment calls: you do not micromanage, and it avoids dangerous actions on its own, but its judgment is not perfect. Think of dontAsk as a vending machine that only accepts items on the menu, rejecting everything else without discussion.
Why Should 99% of Users Avoid bypassPermissions?
bypassPermissions mode skips every permission prompt and safety check. Tool calls execute immediately. This is Claude Code's only mode that can cause unrecoverable damage. The legacy flag --dangerously-skip-permissions is equivalent.
Legitimate use cases are narrow: disposable containers, one-shot VMs, air-gapped dev containers where Claude cannot damage your host machine. Never use it on production code, unfamiliar projects, or the first time you run a given prompt.
Hard constraints worth knowing:
It has zero protection against prompt injection. If you want prompt-free operation with background safety checks, use auto mode instead
Even in this mode, rm -rf / and rm -rf ~ (commands that delete the root or home directory) still trigger a prompt as a last-resort safeguard against model errors
You cannot switch into bypassPermissions from an existing session. You must restart with --permission-mode bypassPermissions (or the legacy --dangerously-skip-permissions)
Running this mode as root or via sudo on Linux and macOS is blocked at startup
Admins can set disableBypassPermissionsMode to disable in managed settings to ban it organization-wide
In my workflows, I have never found a scenario where bypassPermissions was genuinely necessary outside of throwaway Docker containers. When you feel "nothing else will work," the actual problem is almost always that your allowlist rules are not configured properly. The cost asymmetry is severe: it saves a few seconds when things go right, but one mistake can cost you an entire project. Keep it inside isolated environments and never bring it into real work.
Configuring Allowlist and Denylist Rules
Modes set the baseline. Fine-grained control comes from rules. Your settings.json has three arrays under permissions that form your allowlist and denylist:
allow: allowlist. Matching actions auto-approve without prompting
ask: always prompt for confirmation
deny: denylist. Matching actions are blocked outright
Rules follow the format Tool or Tool(specific content). Here are the patterns from the official docs:
Rule
Meaning
Bash(npm run build)
Exact match for the command npm run build
Bash(npm run *)
Matches any command starting with npm run (* is a wildcard)
Read(./.env)
Matches reading the .env file in the current directory
Edit(/src/**/*.ts)
Matches editing .ts files under src/
WebFetch(domain:example.com)
Matches fetch requests to example.com
mcp__puppeteer__navigate
Matches the navigate tool from the puppeteer MCP server
This ruleset means: npm scripts, git status, and git log auto-approve. Delete commands and push commands are always blocked.
The critical mechanism: evaluation order is always deny then ask then allow. The first matching rule wins. This means deny always takes priority. If an action matches both a deny entry and an allow entry, it gets blocked.
A common pitfall with allowlists: trying to restrict command arguments with patterns like Bash(curl http://github.com/ *) to limit curl to a specific domain. This is fragile. Switching to https, adding a -X GET flag, using variable interpolation, or even adding an extra space breaks the match. The official recommendation: block curl and wget in your denylist, then use WebFetch(domain:...) to allow trusted domains. For dynamic argument validation, use PreToolUse Hooks, which run a script before the permission prompt and can make context-aware allow/block decisions. Allowlists are fast for static rules; Hooks handle the cases where arguments matter.
The 5-Layer Configuration Priority System
Permission rules can live in 5 locations. Priority flows from highest to lowest:
Priority
Config location
Purpose
1 (highest)
Managed settings (enterprise policy)
Organization red lines. No lower layer can override
2
CLI arguments
Temporary session overrides
3
.claude/settings.local.json
Local project settings, not committed to git
4
.claude/settings.json
Project-level, committed to git, shared with the team
5 (lowest)
~/.claude/settings.json
User-level, applies across all projects
One iron rule: a deny at any layer cannot be allow-ed back by a lower layer. If the project-level config denies a permission but the user-level config allows it, the deny wins. The reverse also holds: a user-level deny overrides a project-level allow. This works because deny rules at every layer evaluate before all allow rules.
The mental model is simple: "higher layers are more authoritative, and deny always wins." Put personal preferences at the user level (reused across projects). Put team rules at the project level (committed to git, shared). Put experiments in local settings (does not pollute the repo). Put organizational red lines in managed settings (nobody can override). Get the layers right, and permissions stay clean no matter how many people collaborate.
How Is the Security Sandbox Different from Permission Modes?
Many developers conflate "sandbox" with "permission modes." The official docs explicitly clarify: /sandboxis not a permission mode. They are two complementary layers.
The one-sentence distinction:
Permission modes decide "should this tool call run, and should it ask first?" Claude Code evaluates this before execution.
The security sandbox decides "what can this bash command access after it starts running?" The operating system enforces this.
The sandbox confines bash commands and their child processes inside an OS-level container. By default, commands can only write to the current working directory. Read access is broader but can be tightened. Network access starts at zero: no domain is pre-approved, and Claude asks the first time it connects to any new domain. The OS mechanisms behind this are Seatbelt on macOS and bubblewrap on Linux and WSL2. Native Windows does not support the sandbox; you need to run Claude Code inside WSL2. Activate it with the /sandbox command, which offers two modes: auto-approve sandbox prompts or follow normal permission prompts.
Think of permission modes as the security guard at the door who decides "does this person get in, and do they need to sign the visitor log?" Think of the sandbox as the walls and locked doors inside the building that determine "once inside, which rooms can they enter and which drawers can they open?" One controls entry. The other controls access after entry. Both cover different segments of the security chain.
Why use both layers? This is the core of defense in depth. Permission rules intercept Claude's intentions before execution. The sandbox enforces hard OS boundaries when commands actually run. Even if a prompt injection tricks Claude into executing a dangerous command, the sandbox's OS boundary still stands, preventing the command from reaching files or networks outside the allowed scope. For beginners, you do not need complex sandbox rules on day one. Knowing "it serves a different function from permission modes and adds an extra safety layer" is enough to get started.
What Are the 5 Most Common Permission Mistakes?
Mistake 1: Opening everything to avoid prompts. Feels smooth short-term, dangerous long-term. The fix: layer your permissions by risk. Low-risk commands go in the allowlist. High-risk operations keep their confirmation prompts.
Mistake 2: Looking at the command name but ignoring the working directory. The same command produces completely different effects in different directories. When reviewing a permission request, place it in context: what directory is Claude in, and which files will this touch?
Mistake 3: Approving edits without reviewing diffs. Claude's text summary of what it changed is not verification. The diff is the ground truth. Build the habit of running git diff after every batch, especially in acceptEdits mode.
Mistake 4: Treating publish, commit, and delete like ordinary writes. These are high-risk actions that affect real users, real assets, or external systems. They require individual confirmation and should never be placed in an auto-approve list.
Mistake 5: Treating the sandbox as bulletproof. The sandbox blocks out-of-bounds file access, but it has limits. Network filtering does not decrypt TLS traffic. Allowing a broad domain like github.com could still permit data exfiltration. The sandbox reduces risk; it does not eliminate it. Pair it with permission rules for solid coverage.
What Is a Good Practice Schedule for Learning Permissions?
Permissions are not something you understand by reading. You build intuition through practice. Follow this progression:
Day 1: Read-only analysis. Stay on default. Let Claude read the project structure, explain files, and flag areas it considers risky. Approve nothing.
Day 2: Single-file writes. Allow Claude to modify one file. Run git diff immediately after. Confirm the change matches your intent.
Day 3: Low-risk command execution. Let Claude run tests or format checks. Before approving, ask it to explain in plain language what the command does, what it reads and writes, and what happens if it fails.
After one week: Plan-driven medium tasks. Enter plan mode for a medium-sized change. Review the plan, then approve execution. Keep high-risk actions (deployments, deletions) at the "prepare the command but do not execute" level.
After two weeks: Solidify your rules. Move every low-risk command you have been approving daily into your settings.json allowlist. Move every action that made you hesitate into the deny list. Once your rules stabilize, prompts decrease noticeably, but the boundaries remain.
Skipping the first few days is tempting. Many developers try to hand off an entire feature on day one, then get either buried in prompts or burned by overly broad permissions. Incremental authorization is slower at first, but each step produces visible results within a controlled scope. That beats a one-shot permission grant that goes wrong in unpredictable ways.
Final Thoughts: Clear Boundaries Make AI Collaboration Work
The core of permissions is boundary clarity. You are not distrusting Claude Code. You are ensuring it operates within the right scope. Clear boundaries make AI execution meaningful.
When you are unsure whether to approve an action, ask Claude to explain four things: What does this action do? How wide is the impact? Can it be undone? Is there a read-only alternative? If it can answer clearly, consider approving.
The best permission setup is not "always prompt" or "always auto-approve." It is letting low-risk tasks flow and stopping high-risk actions cold. Layer your permissions, solidify rules over time, and let the sandbox provide a second line of defense. That combination turns Claude Code into a controllable execution partner rather than an opaque black box.
Ready-to-Use Prompt: Pick the Right Claude Code Permission Mode and Build the Allowlist/Denylist
What this does: Takes your task and environment, picks the safest permission mode that still ships the work, scores the autonomy/safety trade-off, builds an allowlist and denylist, places config at the right layer of the 5-level chain, and sets the OS sandbox posture. Based on: Claude Code Permissions Guide: 6 Modes, Allowlists, and the Security Sandbox Explained — https://aiworkflowpro.com/claude-code-permissions-guide/ Time to run: ~4 minutes
Copy this prompt into Claude Code, ChatGPT, or any AI assistant:
ROLE: You are a Claude Code security configurator. Your job: pick the safest permission mode that still lets the task ship, build an allowlist and denylist, place config at the right layer of the 5-level chain, and set the OS sandbox posture — so AI ships code without the keys to production.

CONTEXT — PERMISSION MODE SELECTOR:
Claude Code reads, writes, and executes in your real codebase, so permissions are not pop-ups — they are what make AI coding safe for real projects. Six modes trade autonomy for safety: default (read-only until asked — daily), plan (read-only exploration before a plan — large refactors), acceptEdits (auto-approves edits), auto / dontAsk (broader auto-approval for trusted flows), and bypassPermissions (disables all gates — 99% should avoid). Three rules cover 90%: default daily, plan for refactors, never bypassPermissions. Allowlist/denylist rules and a 5-level config priority chain refine this; the OS-level sandbox adds a second, independent line of defense.

INPUTS (fill in before running):
- TASK: YOUR_TASK_HERE (small edit / large refactor / unattended run / exploration)
- ENVIRONMENT: YOUR_CONTEXT_HERE (local laptop / shared repo / production-adjacent / CI)
- RISK_TOLERANCE: YOUR_LEVEL_HERE (cautious / standard / trusted-and-fluent)

METHOD — 6 STEPS:

Step 1 — Pick the mode for the task
Match TASK using the 90% rules: small edit or daily work → default; large refactor or uncertain scope → plan; trusted repetitive edits → acceptEdits; unattended or fluent trusted flow → auto/dontAsk. bypassPermissions is for isolated throwaway sandboxes only — never for real work. State the mode + one-line reason.

Step 2 — Score the autonomy/safety trade-off
Rate the chosen mode's autonomy 0-5 and safety 0-5. Rule: never let autonomy push safety below 3 when ENVIRONMENT is production-adjacent or shared. If it does, step down one mode (e.g., auto → acceptEdits).

Step 3 — Build the allowlist
Pre-approve the specific safe, repetitive actions the task needs (read paths, run tests, named tools) so daily work is not drowned in prompts. Only allowlist actions verified safe — an allowlist is earned trust, not a blanket yes.

Step 4 — Build the denylist
Hard-block dangerous actions regardless of mode: destructive shell (`rm -rf`, force push), production paths, secret/credential access, anything outside the project tree. Denylist overrides allowlist — a denied action never runs, even in auto/dontAsk.

Step 5 — Place config at the right layer
Set rules at the correct level of the 5-layer priority chain (managed policy → project → user → CLI flag → session) so the right scope wins: team-wide safety rules high (managed/project); personal convenience low (user/session). Higher layers override lower — put denylists high so individuals cannot weaken them.

Step 6 — Set the sandbox posture
Confirm the OS-level sandbox (independent of permission modes) restricts real filesystem/network access to the project. For ENVIRONMENT = production-adjacent or CI, the sandbox is mandatory as the second line of defense — modes are app-level and can be bypassed by a bug; the sandbox cannot.

RULES:
- Never use bypassPermissions for real work — isolated throwaway sandboxes only.
- A denylist entry overrides any allowlist and any permissive mode — dangerous actions never run.
- In production-adjacent or shared environments, safety score must stay ≥3; step down a mode if not.
- The OS sandbox is the second line of defense — require it whenever a wrong command could reach production.

OUTPUT FORMAT:
Output six sections:
1. **Mode pick** — the chosen mode + one-line reason.
2. **Trade-off score** — autonomy (0-5) + safety (0-5) + passes the ≥3 safety rule? (Y/N).
3. **Allowlist** — markdown table with columns: Action/path | Why safe | Pre-approved? (Y/N).
4. **Denylist** — markdown table with columns: Action/path | Danger | Hard-blocked? (Y/N).
5. **Config layer** — the layer each rule sits at + why (team vs personal).
6. **Sandbox posture** — sandbox on/off + whether it is mandatory for this ENVIRONMENT.
Save as @templates/claude-code-permissions-guide.md and run when you start a new project or change task type/environment, then re-run whenever you add a tool or path to the allowlist.
Frequently Asked Questions
What does Claude Code's permission system actually control?
Claude Code's permission system gates whether the AI can read files, write files, execute shell commands, access the network, and invoke external tools. Unlike chat-based AI assistants that only suggest code, Claude Code directly modifies real files and runs real commands. The permission system ensures you approve risky operations before they happen, protecting sensitive code, preventing accidental deletions, and keeping you in control.
How do I switch between permission modes?
Press Shift+Tab in the command line to cycle through default, acceptEdits, and plan. The current mode appears in the status bar. You can also launch with claude --permission-mode plan. To set a persistent default, add permissions.defaultMode to your settings.json. The auto, dontAsk, and bypassPermissions modes require launch flags or specific conditions to activate.
What is the difference between the sandbox and permission modes?
They are complementary layers. Permission modes decide whether a tool call should run at all, evaluated before execution. The sandbox restricts what bash commands can access after they start running, using OS-level enforcement: Seatbelt on macOS, bubblewrap on Linux and WSL2. Together they form defense in depth: even if a prompt injection gets past Claude's judgment, the sandbox's OS boundary still blocks access to files and networks outside the allowed scope.
Why can't I enable auto mode?
Auto mode has four requirements: Claude Code v2.1.83+, Claude Opus 4.6+ or Sonnet 4.6 model, Anthropic API platform (not Bedrock/Vertex/Foundry), and admin enablement for Team/Enterprise accounts. If Claude Code says auto is unavailable, one of these conditions is unmet. It is a research preview, not a production guarantee.
How do allowlist and denylist rules get evaluated?
The fixed evaluation order is deny first, then ask, then allow. The first matching rule wins. This means a deny entry always takes priority: if an action matches both deny and allow, it gets blocked. Rules use the format Tool(pattern) with wildcard support. For dynamic argument validation beyond static patterns, use PreToolUse Hooks.
Where to Go Next
Permissions work best alongside hooks, tool integrations, task instructions, and project configuration. Continue with these topics:
Gloves on, tape measure in hand — nobody types a query. Three voice surfaces for ai automation tools (terminal, Telegram, Discord), 10 TTS and 6 STT providers compared on cost and latency, plus a setup that costs nothing.
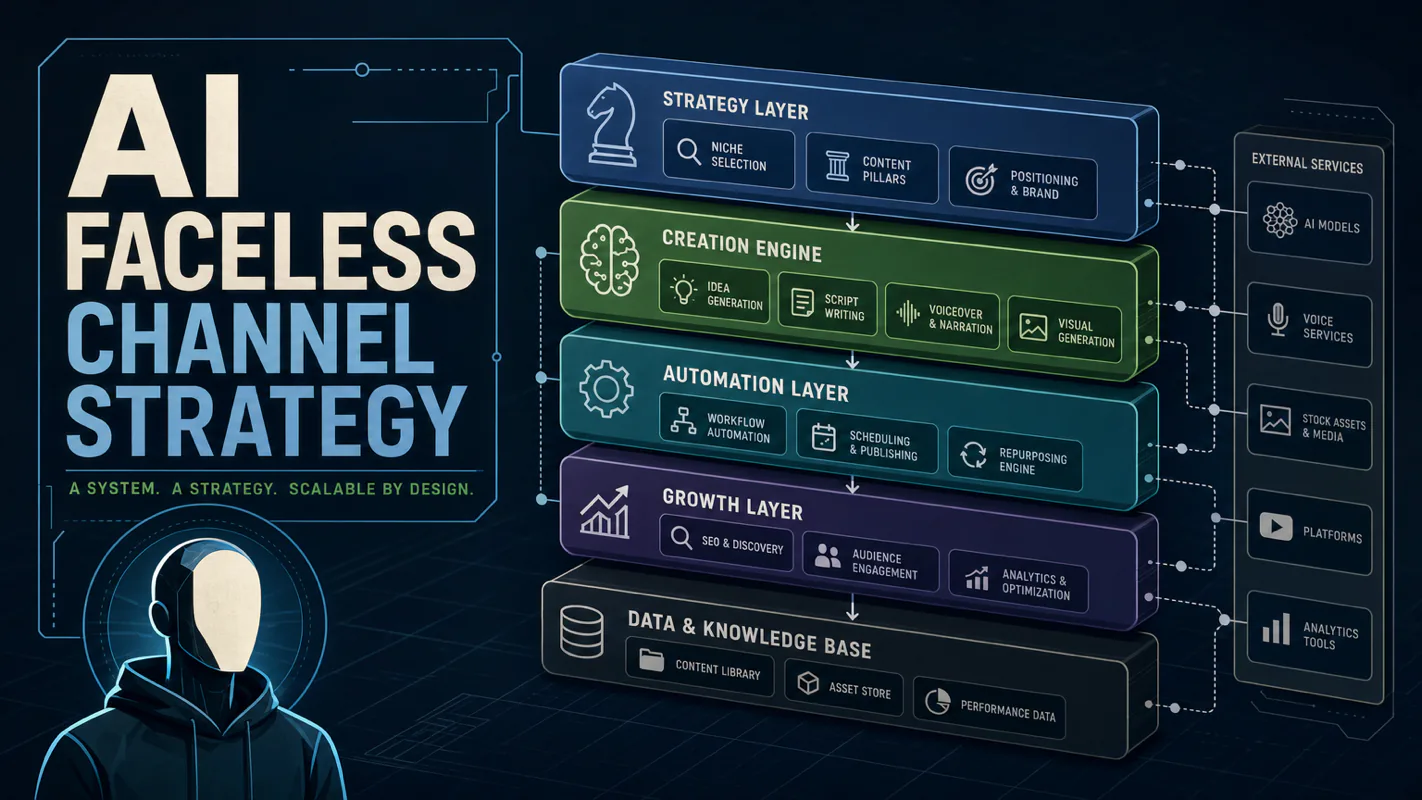
Nothing about month four is harder than month three. It is simply the month an unpaid channel starts to feel like proof of failure. Surviving it takes a cadence you can hold while earning nothing, which is a better reason to automate business processes than speed ever was.
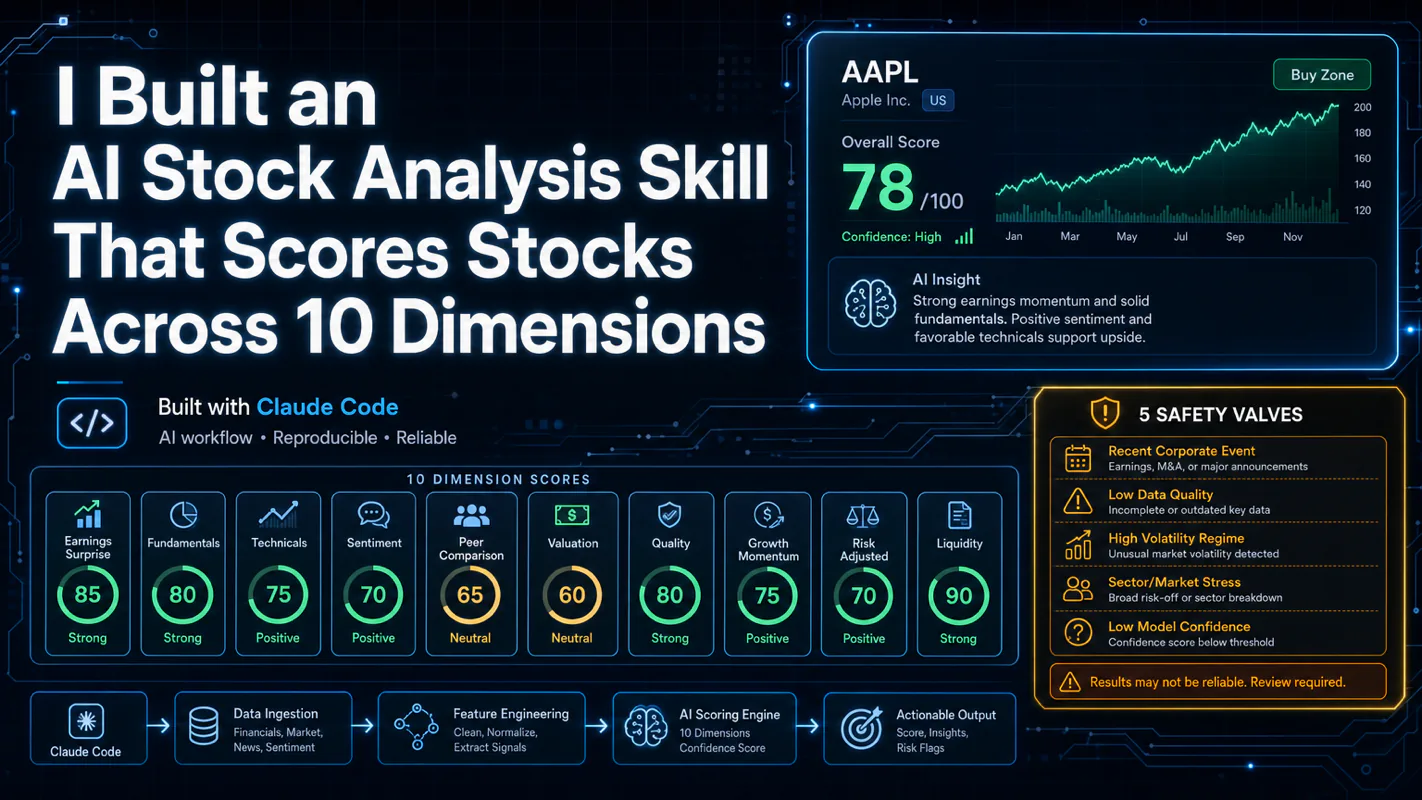
One number hides more than it shows. This Claude Code Skill scores US equities across 10 dimensions, from earnings surprise to peer comparison, with confidence scoring and 5 safety valves that flag thin data. A coding tutorial, not financial advice.
Publishing eats your week through research, SEO fields, images, and uploading — not writing. Here is the 10-step workflow automation pipeline that takes a topic to a published draft on one command, and the data contract that lets each step hand off cleanly to the next.