Monitoring a competitor who publishes no feed is the case every RSS guide skips. Twenty-one platforms sorted by which of three jobs they do, and the finished setup is business process automation you own outright, with no seat licence to renew.
Blaming the content is the reflex when a post underperforms, and it is usually the wrong diagnosis. A second reader decides distribution before any human sees the post, and most of what it checks is mechanical enough to automate business processes around, on five platforms at once.
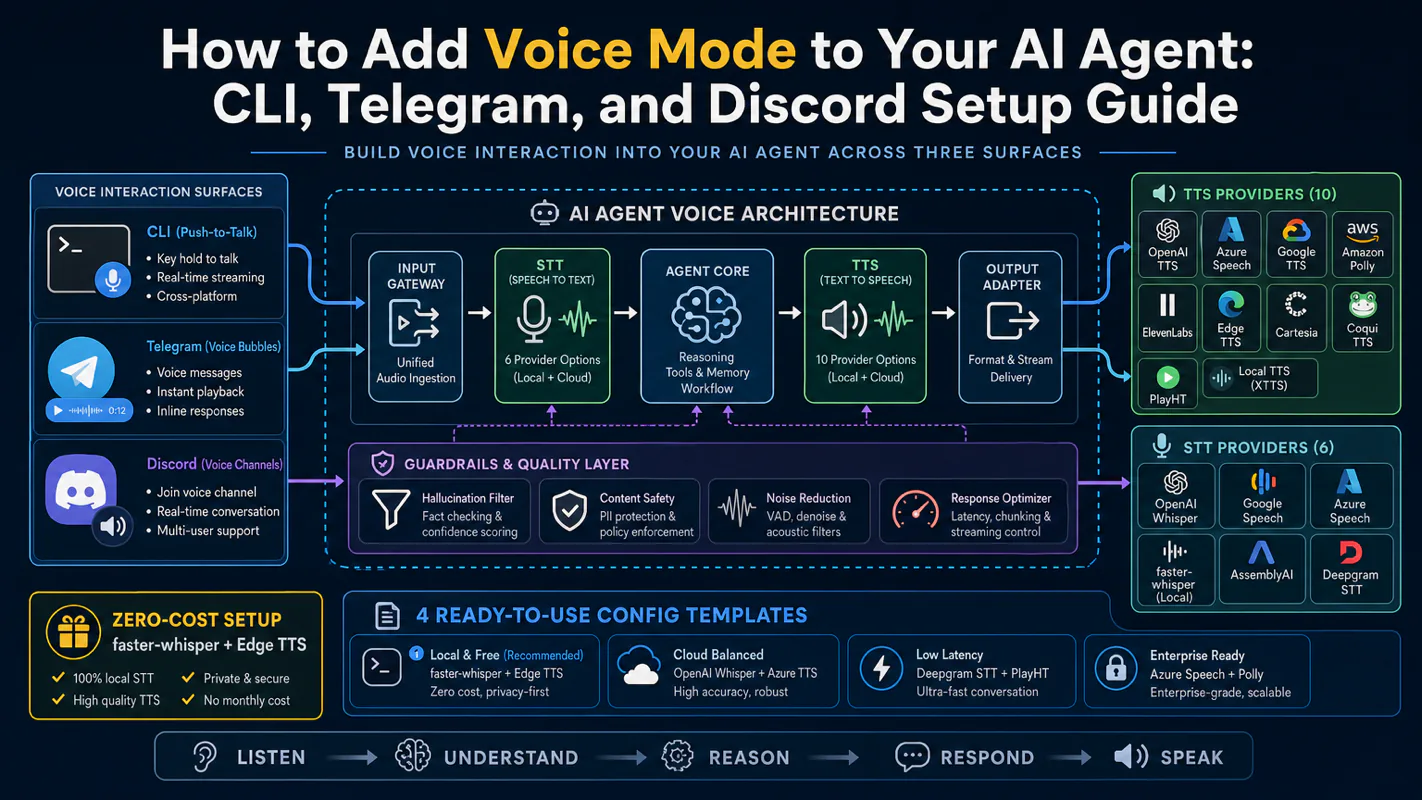
Gloves on, tape measure in hand — nobody types a query. Three voice surfaces for ai automation tools (terminal, Telegram, Discord), 10 TTS and 6 STT providers compared on cost and latency, plus a setup that costs nothing.
Look at what you typed more than three times last month. Not the work itself — the instructions around it. The way you always ask for the summary, the format you always specify, the two exceptions you always remember to mention. Every one of those is a procedure that exists only in your hands, which is exactly why nobody else can cover for you on it. The move that lets you automate business processes is not writing more instructions, it is turning the ones you already repeat into something with a name.
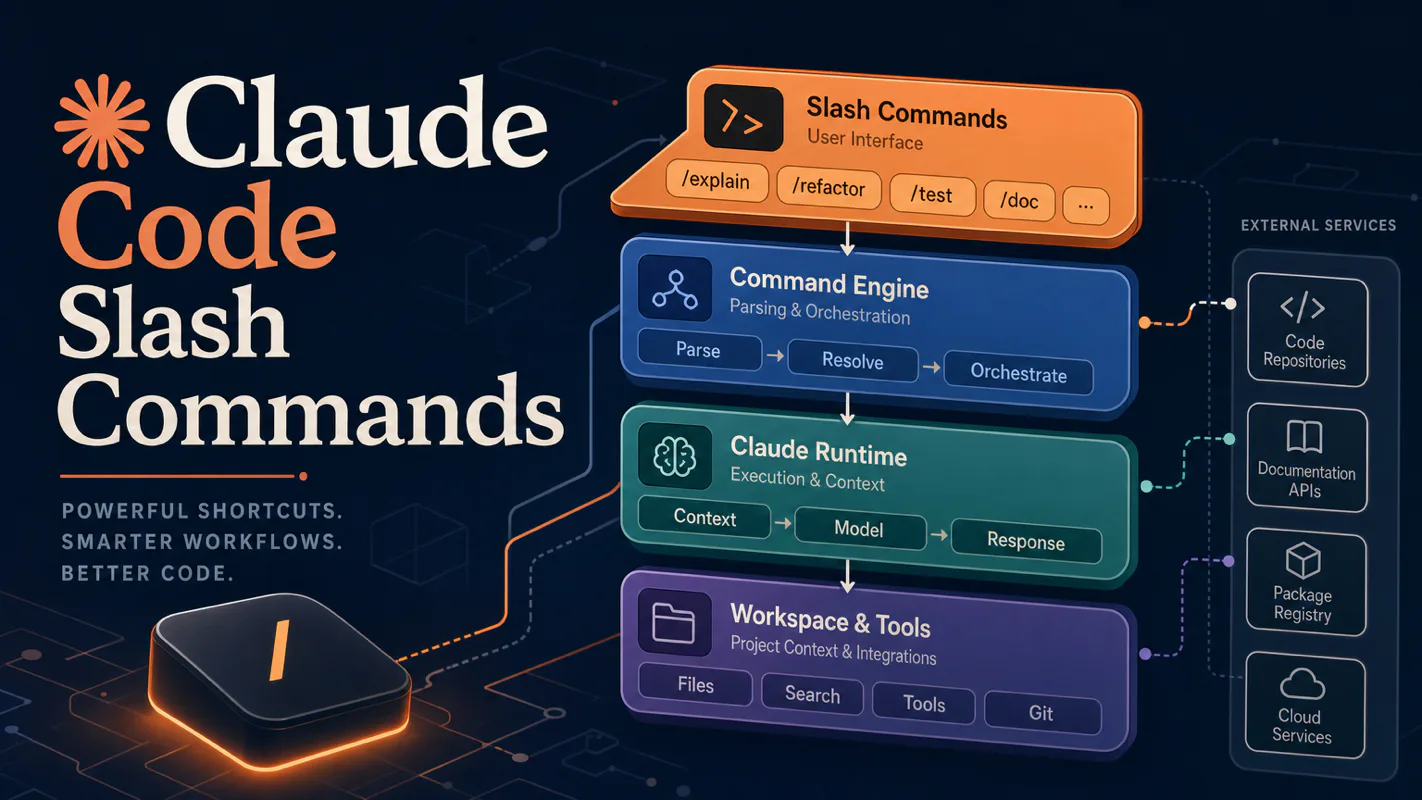
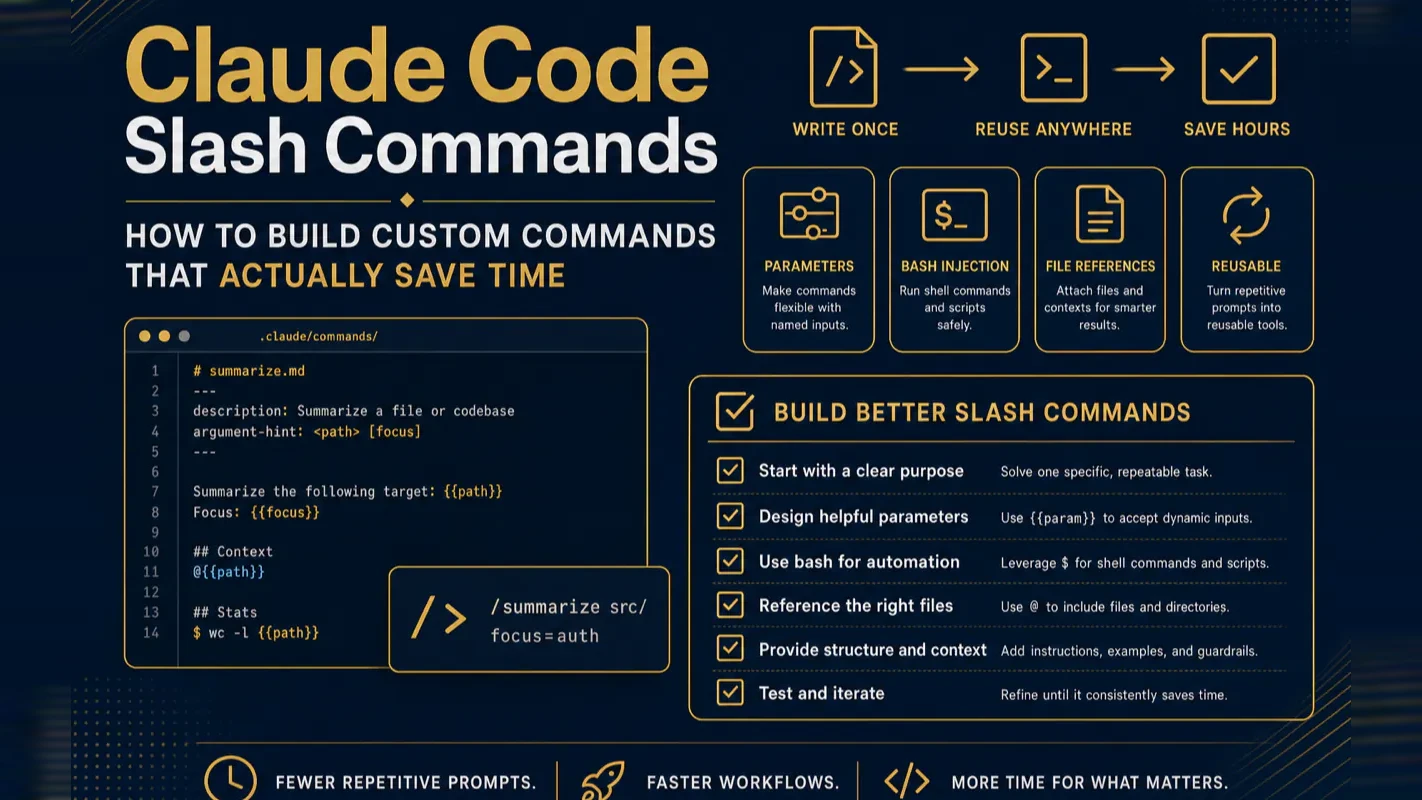
Claude Code slash commands turn repetitive prompts into one-line calls. You store a prompt as a markdown file, type /command-name, and get consistent results every time — with parameters, live project data, and file context baked in.
This guide covers everything you need: when custom commands pay off, how to write your first one, the four syntax features that make commands dynamic, and battle-tested patterns for organizing them at scale.
What Problem Do Claude Code Slash Commands Solve?
Every time you retype a complex instruction, you phrase boundaries slightly differently. Claude Code fills the gaps with its own interpretation — sometimes modifying files you did not intend, sometimes skipping tests you forgot to mention.
A command file locks down the prompt: scope, required inputs, forbidden actions, acceptance criteria. You write it once. Every invocation reproduces the same boundaries.
The time savings come not from fewer keystrokes but from eliminating the hidden cost of re-explaining boundaries each session. I run about 40 custom commands across my projects. The ones I built six months ago still fire exactly as intended because the boundaries live in the file, not in my memory.
The real question before writing any command: "Will I say this same prompt next week? And the week after?" Two yeses means it deserves a file.
Who Should Use Custom Commands (and Who Should Wait)?
Your situation
Recommended action
Just installed Claude Code, still exploring
Wait. Use plain conversation for 2 weeks. Write down prompts you repeat.
Solo developer with recurring tasks
Write your first read-only command. Store it in the Personal tier.
Team member sharing workflows
Write project-level commands. Commit to git so the whole team shares one playbook.
Power user with 10+ commands
Organize with subdirectories. Prune unstable commands regularly.
The most common beginner mistake: creating a library of commands before running a single task three times. Commands earn value through reuse, not through quantity.
How Do You Create Your First Slash Command?
A command file is a markdown file placed in a directory Claude Code watches, as described in Anthropic's slash commands documentation. The filename (minus .md) becomes the command name.
Create ~/.claude/commands/changelog.md with this content:
Summarize the current uncommitted changes into three bullet points. Flag anything risky: missing error handling, hardcoded values, tests that need updating.
Type /changelog in Claude Code. That prompt fires exactly as written.
This bare-bones version has one gap: it tells Claude to summarize changes but doesn't feed in the actual diff. Claude guesses based on open files. Section six adds !git diff HEAD`` to inject real data — the leap from static template to dynamic command. Keep that in mind.
What slash commands are not: They don't add new capabilities to Claude Code. They don't run as background scripts. They remain prompts — stored, named, parameterized prompts. The command file defines the entry point; what you write inside and which tools you allow define the boundary.
Current project only. Committed to git = shared with team.
Project-specific: deploy checks, module refactors, local test flows
Decision rule: Use it everywhere → Personal. Use it here and share with teammates → Project.
Four practical patterns:
Solo, multiple projects: Generic commands (git workflows, commit templates) go Personal. Saves reconfiguring each repo.
Team collaboration: Core process commands go Project, committed to git. The team runs the same playbook without drift.
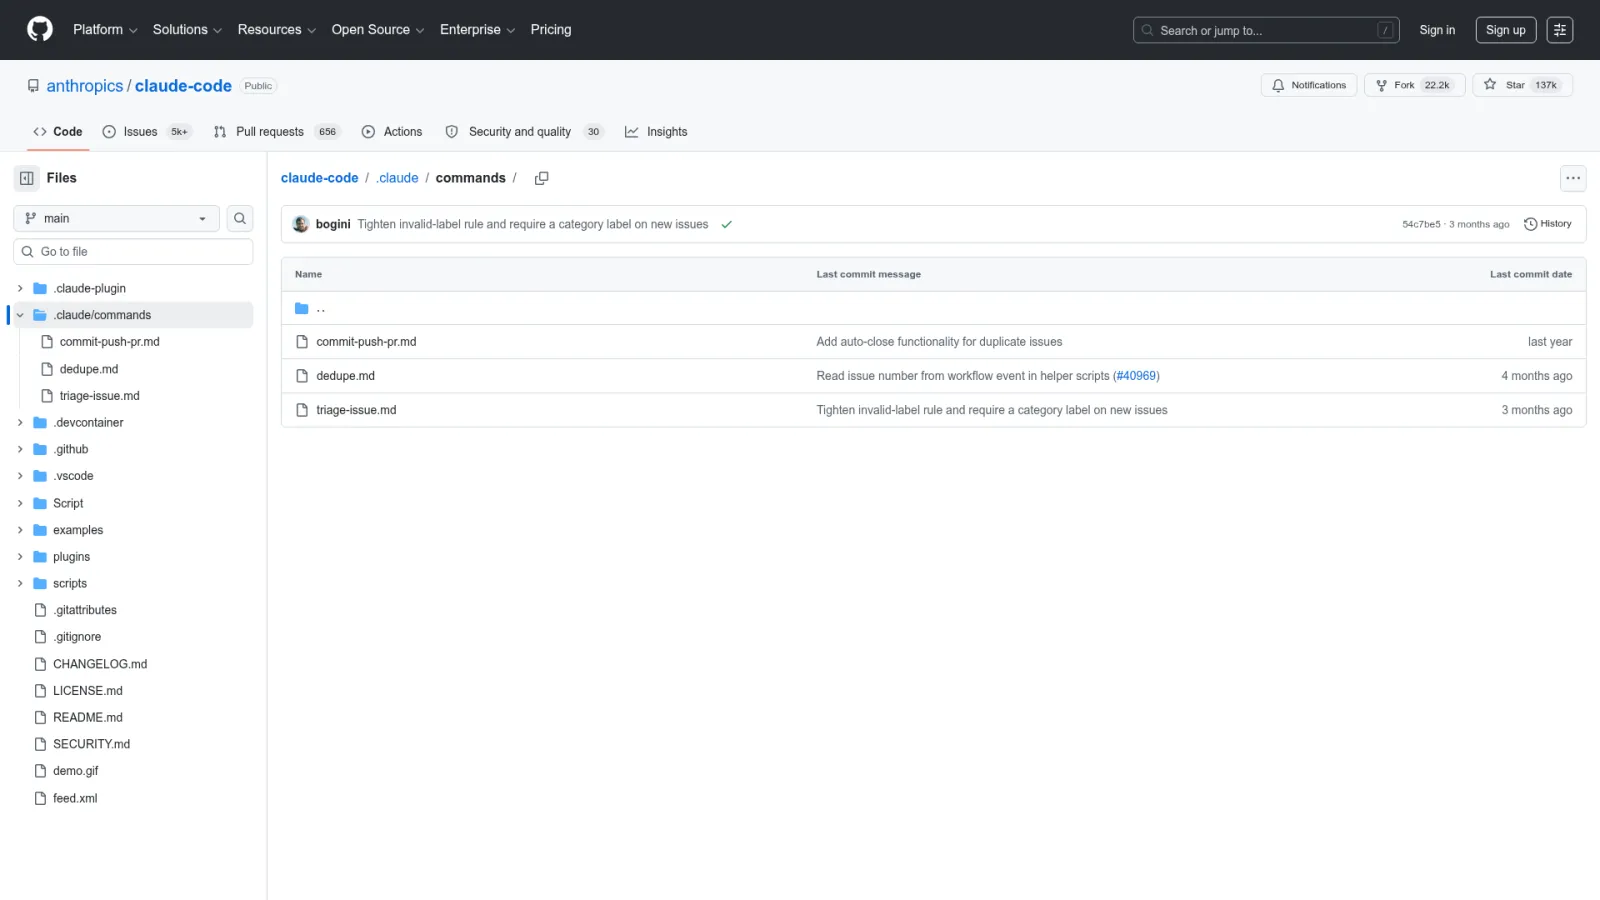
Onboarding to a new codebase: Check .claude/commands/ first. Existing commands reveal the project's standard operations faster than any README.
Mixed personal and team work: Use both tiers but keep them strictly separated. A project-specific command in Personal pollutes every unrelated project's menu.
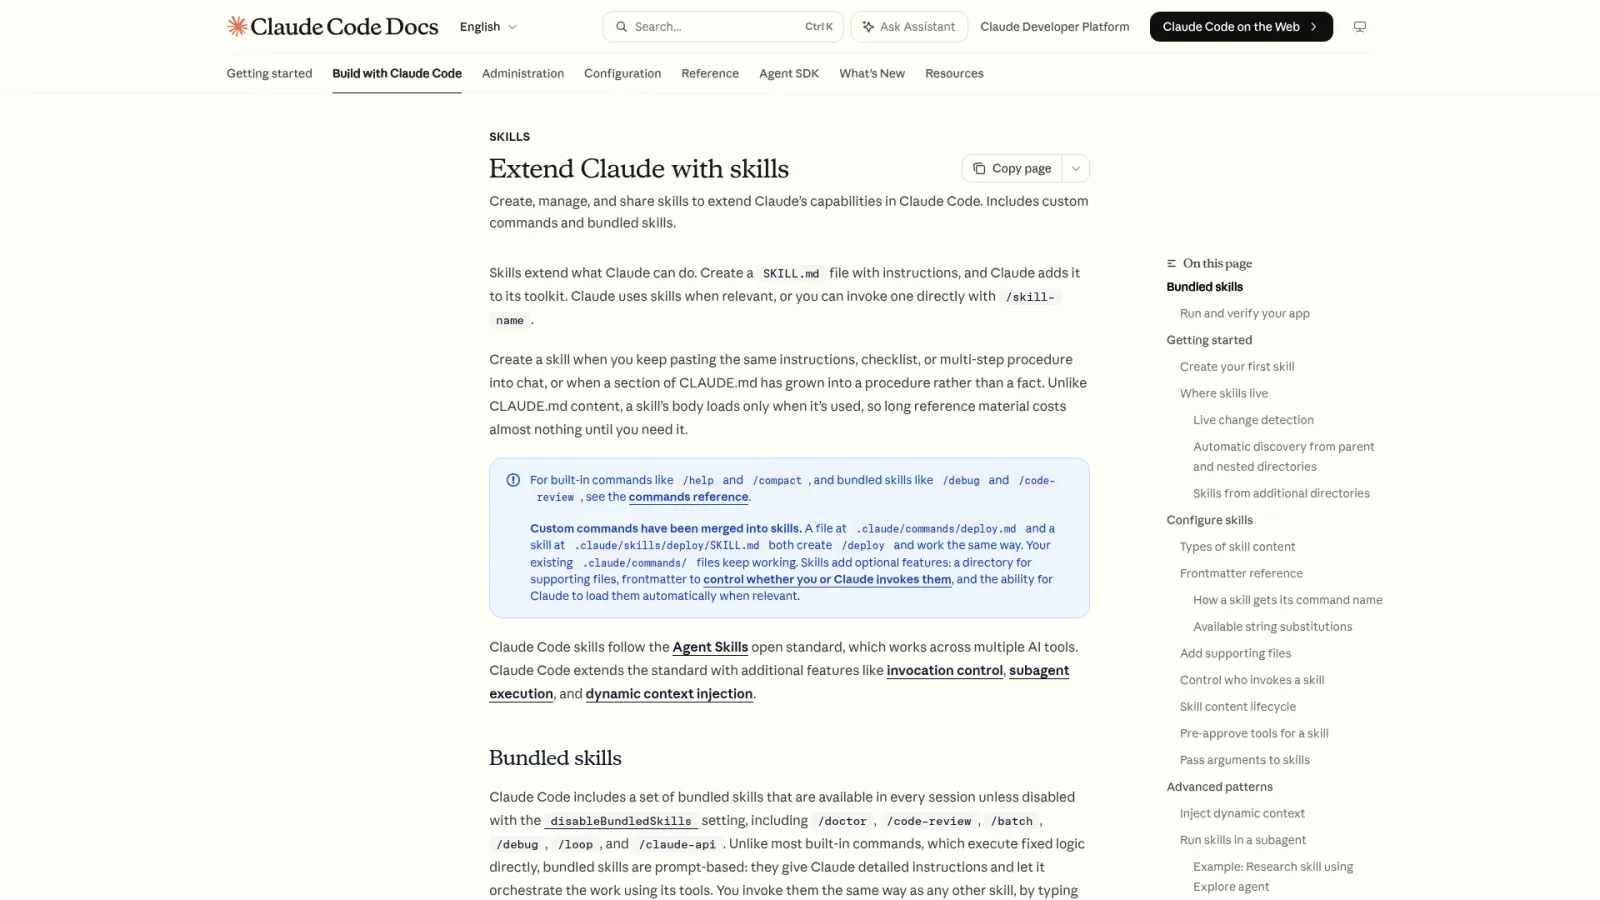
2026 note: Claude Code has merged custom commands into the skills system. Both .claude/commands/deploy.md and .claude/skills/deploy/SKILL.md create /deploy with identical behavior. Existing .claude/commands/ files keep working. Start with the commands approach in this guide; explore the skills form later when you want support files or auto-triggering.
What Does Each Frontmatter Field Control?
Frontmatter is the YAML block between --- markers at the top of a command file. It configures metadata, parameter hints, and tool permissions.
Here is a command with three essential fields:
---
description: Review a file for code quality and best practices
argument-hint: [file path]
allowed-tools: Read, Grep
---

Review this file for code quality and potential issues: @$0

Focus on: naming clarity, duplicated logic, error handling completeness.
Read only — do not modify the file.
Field-by-field breakdown:
description — Appears in the / menu. Also helps Claude decide when to auto-invoke this command.
argument-hint — Shows [file path] in the autocomplete menu when you type the command name. Reminds you what input to provide.
allowed-tools — Tools this command can use without confirmation prompts. Read, Grep here means read-only access.
Start with these three. Add model (pin a specific model), disable-model-invocation (prevent auto-triggering), or arguments (declare named parameters) later when you need them.
Avoid hardcoding a model version in the model field during early experimentation. Model names change. Let the command inherit the session's active model until you have a specific reason to pin.
How Do the Four Syntax Features Make Commands Dynamic?
Frontmatter was covered above. The remaining three features — $ARGUMENTS, ! bash preprocessing, and @ file references — inject runtime context that turns a static template into an adaptive command.
How Does `$ARGUMENTS` Pass Variable Data Into Commands?
Text after the command name flows into the command file as arguments. Two retrieval modes:
$0 / $1 capture by position (zero-indexed). Same example: $0 = 123, $1 = urgent. These are shorthand for $ARGUMENTS[0] and $ARGUMENTS[1].
A single-parameter command (~/.claude/commands/fix-issue.md):
---
description: Fix a GitHub issue by number
argument-hint: [issue number]
---

Fix GitHub issue $ARGUMENTS following our code standards:
1. Read the issue description and understand requirements
2. Implement the fix
3. Add tests
4. Create a single commit
For structured multi-parameter input, use positional references:
---
description: Migrate a component between frameworks
argument-hint: [component] [source framework] [target framework]
---

Migrate the $0 component from $1 to $2. Preserve all existing behavior and tests.
Watch out for multi-word arguments. Positional parsing splits on whitespace. If a single argument contains spaces, wrap it in quotes: /migrate "User Dashboard" React Vue. Without quotes, User and Dashboard split into separate positions.
How Does `!` Bash Preprocessing Inject Live Project State?
Lines starting with ! followed by a backtick-wrapped command execute before Claude sees the prompt. The output replaces that line in the final text. This is preprocessing — Claude only sees the result.
A changelog command that reads real diffs:
---
description: Summarize uncommitted changes and flag risks
allowed-tools: Bash(git diff *), Bash(git status *)
---

## Current Changes
!`git diff HEAD`

## Your Task
Summarize the changes above into three bullet points. Flag risks: missing error handling, hardcoded values, tests needing updates.
When you run /changelog, the !git diff HEAD`` line executes first, injecting your actual diff into the prompt. Claude works with real data, not guesses.
Key details:
Bash commands require explicit permission in allowed-tools. Example: allowed-tools: Bash(git diff *). Without this, the permission system blocks execution.
! triggers only at line start or after whitespace. Mid-word occurrences (like KEY=!...``) are treated as plain text.
For multi-line bash, use an !-tagged fenced code block (a code fence whose info string is !).
Bash preprocessing is the most underrated feature in the command system. Without it, commands are fixed text. With it, every invocation sees the project's current state before acting. In my workflow, I use ! in roughly 60% of commands — pulling git status, listing test failures, reading config files, or checking dependency versions.
How Does `@` Pull File Content Into Context?
The @ prefix injects file, directory, or URL content directly into the command's context.
@README.md — includes a single file
@src/components/ — includes a directory listing
@https://example.com — fetches a URL (read-only)
Combined with parameters, @ creates adaptive commands:
---
description: Review a specific file
argument-hint: [file path]
allowed-tools: Read
---

Review this file for code quality and best practices: @$0
Running /review src/app.js expands @$0 to @src/app.js, injecting the file's content. You point; it reads.
How Do All Four Features Work Together?
Here is a complete command combining every syntax feature (~/.claude/commands/changelog.md):
---
description: Summarize uncommitted changes and flag risks
argument-hint: [optional: additional context]
allowed-tools: Bash(git diff *), Bash(git status *)
---

## Current Changes
!`git diff HEAD`

## Changelog Convention
@docs/changelog-format.md

## Your Task
$ARGUMENTS

Summarize the changes above following the changelog convention. Produce three bullet points and flag risks (missing error handling, hardcoded values, tests needing updates).
Read only — do not modify any files. If no uncommitted changes exist, state that explicitly.
Line by line: frontmatter sets description, parameter hint, and tool permissions. !git diff HEAD`` injects the real diff at runtime. @docs/changelog-format.md pulls in the team's formatting standard. $ARGUMENTS accepts optional context (e.g., /changelog backend changes only). The final two sentences define boundaries and the failure path — which matter more than syntax for command stability.
How Should You Organize Commands as the Library Grows?
Place command files in subdirectories to group by domain. For example, .claude/commands/frontend/component.md creates the /component command grouped under frontend.
Benefits:
The / autocomplete menu shows categorized results.
Timing rule: Keep commands flat until you reach 10. Fewer than 5 commands never need subdirectories. Premature organization adds friction to a library that hasn't found its shape yet.
What Are MCP Server Commands?
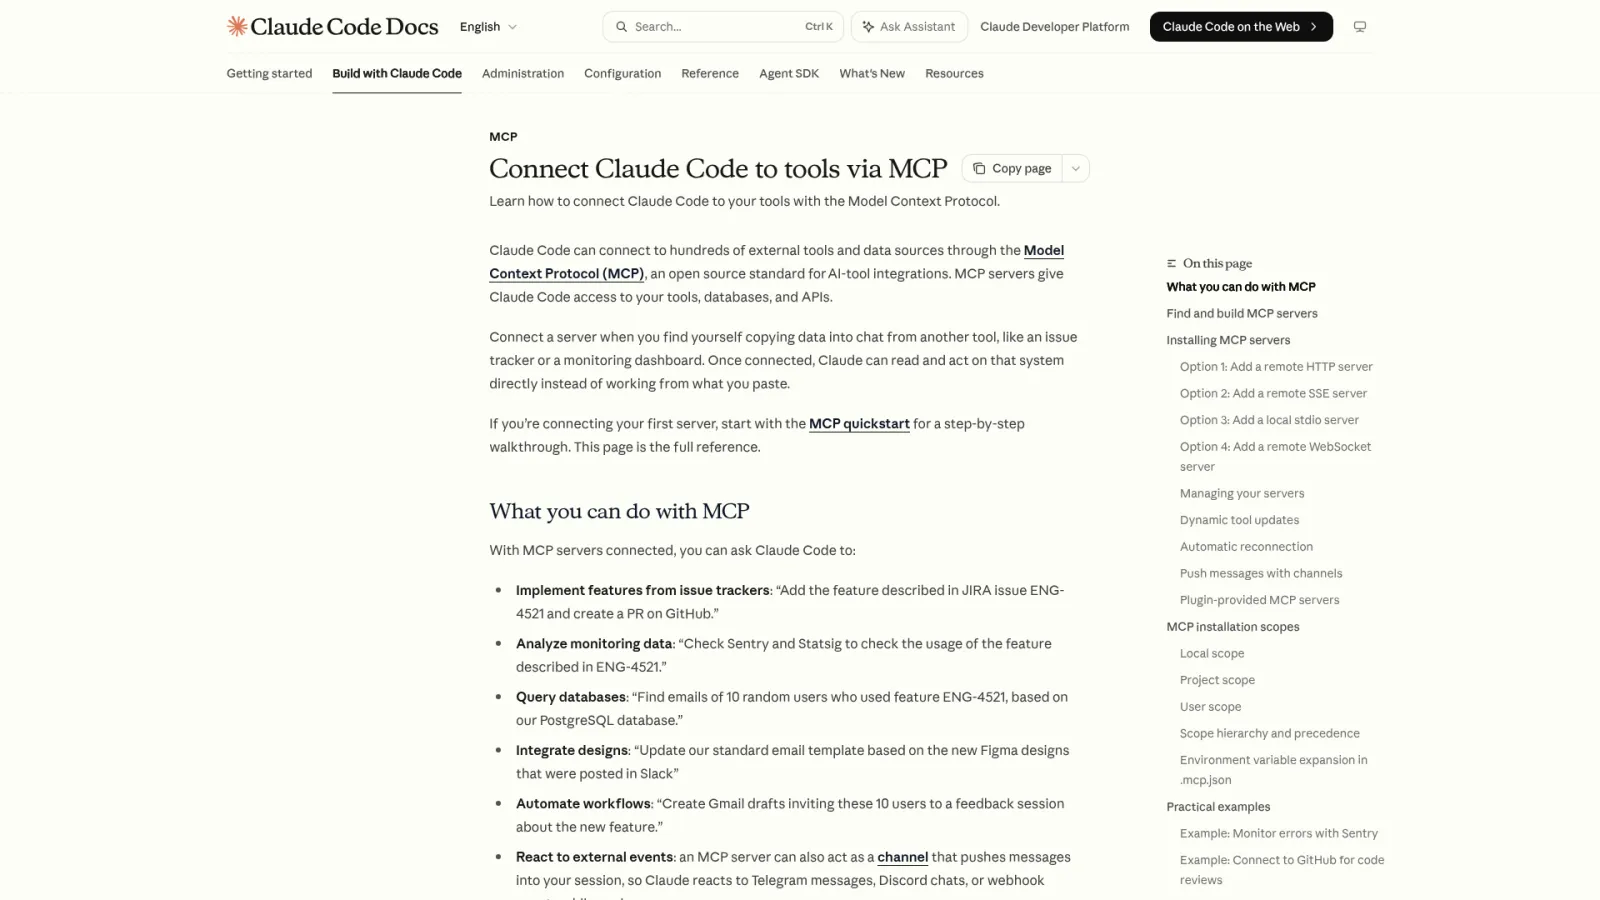
MCP (Model Context Protocol) servers expose prompts that appear as slash commands in the format /mcp__servername__promptname. Connect a GitHub MCP server, and commands like /mcp__github__list_prs become available automatically.
Key differences from custom commands:
Naming is fixed: double-underscore delimiters, server-defined names.
Dynamic discovery: commands appear when the server connects and vanish when it disconnects.
Server-dependent: the server must be running. Manage connections with /mcp.
MCP commands and custom commands serve complementary roles. MCP commands wrap external capabilities (GitHub, databases, APIs). Custom commands codify your internal workflows. Use both.
What Does a Mature Command Library Look Like?
Commands grow organically. The healthy progression follows a risk ladder:
Start with read-only check commands. Pre-deploy checklists, dependency scans, structure audits. Zero risk, easy to verify, ideal for practice.
Add summary commands. Changelog generators, status reports, test result digests. These train you to specify output format precisely.
Graduate to execution commands. File modifications, tool invocations, build triggers. Write the narrowest possible boundaries: working directory, allowed file scope, required confirmations, failure behavior.
Group and prune. Past 10 commands, organize by subdirectory. Delete commands that are unstable, low-frequency, or unclear in scope.
Name commands plainly. article-check, release-notes, test-summary beat abstract names. You will forget clever names in three months.
Maturity signal: When you invoke a command on a real task without adding extra explanation, it has graduated. If every run requires supplementary instructions, the command is still a draft.
What Are the 5 Most Common Mistakes?
Cramming multiple responsibilities into one command. Check, modify, deploy, and report in a single file means constant babysitting. Split them: one command, one job.
Treating commands as permission escalation. A command is an entry point, not an authorization bypass. Destructive actions (delete, publish, deploy) must include explicit confirmation steps inside the command body.
Writing vague goals instead of concrete actions. "Optimize the project" is not a command. Specify which file to check, which metric to evaluate, which output to produce.
Over-parameterizing early. More parameters mean more input variations and more failure modes. Start with one parameter. Add a second only after the command proves stable.
Omitting failure paths. What happens when there are no uncommitted changes? When the target file doesn't exist? When the schema is incomplete? Write the failure behavior explicitly. Without it, Claude guesses — and guessing under ambiguity produces inconsistent results.
What Should You Learn After Your First Two Weeks?
Build confidence in stages:
Day 1: Write one read-only check command. Run it once. Verify the output is stable.
Week 1: Pick one or two repeated tasks from the past week. Convert them to commands using $ARGUMENTS and @ file references.
Month 1: Group commands by subdirectory once you pass 10. Move shared rules to your project memory file (CLAUDE.md) and keep commands as task entry points. Start using ! bash preprocessing for live project state.
After the basics are solid, explore Claude Code's project memory (CLAUDE.md), permission boundaries, and MCP tool integration. Commands, memory, and permissions work as a system — configuring all three gives you a workflow you can trust to run unsupervised.
Self-Check: Is Your First Command Production-Ready?
Run through this list after writing a command:
[ ] Stored in the correct directory? (Cross-project → ~/.claude/commands/ | Project-specific → .claude/commands/)
[ ] Describes what tasks it handles and what it excludes?
[ ] Passed three consecutive runs with consistent results? (This is the hard acceptance test.)
Validation method: Run the same command three times on real work. If results stay consistent without extra prompting, the command is ready. If you keep adding explanations before each run, the boundary definitions need more work — refine the command file, not the model.
One Sentence to Take Away
A slash command is not magic. It saves you from re-explaining what you already know works. Wait until a prompt repeats three times with stable boundaries, then store it. Your attention shifts from "how to explain this to AI" back to "what to check, what to deliver, what not to touch."
Start with a read-only check command. Low risk, immediate feedback, and you learn whether your boundary definitions hold up under real use.
Ready-to-Use Prompt: Build a Claude Code Slash Command That Freezes Boundaries
What this does: Decides whether a repetitive prompt is worth a command (the repeat-rule), freezes its boundaries so they stop drifting, adds only the dynamic syntax features it needs, and picks the right storage and organization. Based on: Claude Code Slash Commands: How to Build Custom Commands That Actually Save Time — https://aiworkflowpro.com/claude-code-slash-commands/ Time to run: ~4 minutes
Copy this prompt into Claude Code, ChatGPT, or any AI assistant:
ROLE: You are a Claude Code Slash Command Architect. Your job: turn a prompt you keep retyping into a boundary-frozen, dynamic slash command — but only when it has earned one.

CONTEXT — SLASH COMMAND BUILD METHOD:
Every time you retype a complex instruction, you phrase its boundaries slightly differently — Claude fills the gaps with its own interpretation and sometimes edits files you did not intend or skips tests you forgot to name. A slash command freezes those boundaries: store a prompt as a markdown file, type `/command-name`, and get consistent results every time, with parameters, live project data, and file context baked in. Build one only when an instruction repeats often enough to pay off (roughly three or more times) — one-offs do not deserve a command. Four syntax features make commands dynamic: (1) parameters for varying inputs; (2) bash preprocessing to inject live project data; (3) file references to pull file contents into context; (4) frontmatter to set description, allowed-tools, and model — constraining what the command may do.

INPUTS (fill in before running):
- REPETITIVE_PROMPT: [The instruction you keep retyping]
- FREQUENCY: [How often you run it — times per week]
- SCOPE: [What it may touch — files, commands — and what it must NOT touch]
- PROJECT: [Personal (user-level) or shared project command]

METHOD — 4 STEPS:

Step 1 — Apply the Repeat-Rule
From FREQUENCY and REPETITIVE_PROMPT, decide if the command pays off: build it only if the instruction repeats three or more times. If it is a one-off, stop — keep it as a normal prompt.

Step 2 — Freeze the Boundaries
Turn REPETITIVE_PROMPT into a fixed instruction with explicit boundaries from SCOPE: what files or commands it may touch and what it must NOT touch. The command exists to stop boundary drift, so state every boundary concretely.

Step 3 — Add the Dynamic Syntax Features Needed
Add only the features the command needs: parameters for varying inputs, bash preprocessing for live data (git status, file lists), file references for context, and frontmatter (allowed-tools, model, description) to constrain it. Reject any feature that adds complexity without value.

Step 4 — Pick Storage and Organization
From PROJECT, choose the location (user-level for personal, project-level for shared), name it verb-first, and group by job class. Retire commands that no longer meet the repeat-rule.

RULES:
- Never build a command for a one-off instruction — the repeat-rule is the gate.
- Never leave boundaries implicit — a command without explicit may/may-not-touch still drifts.
- Never add a syntax feature that does not earn its complexity — parameters, bash, file refs, and frontmatter are optional, not default.

OUTPUT FORMAT:
Output a markdown report with:
1. Repeat-Rule Verdict — build or wait + the frequency evidence
2. Frozen Boundaries — markdown table, columns: Boundary | May | Must Not
3. Command File — the full .md command (frontmatter + body) inside a fenced text block, listing which of the four syntax features it uses
4. Storage & Organization — the file path + the naming/retirement rule
Save as @templates/claude-code-slash-commands.md and run when a prompt has been retyped three or more times.
Gloves on, tape measure in hand — nobody types a query. Three voice surfaces for ai automation tools (terminal, Telegram, Discord), 10 TTS and 6 STT providers compared on cost and latency, plus a setup that costs nothing.
A Skill is an operating manual, not a plugin. The five-layer architecture behind workflow automation that survives context compression, session crashes, and handoffs: SKILL.md as the single entry point, deterministic scripts, run state for crash recovery, and a resource layer.
Two of the three fixes can be undone the same afternoon. The third cannot, and it is the one people reach for first. LoRA cut costs tenfold, which made the expensive option tempting rather than correct. In business process automation, the order you try things in is the whole decision.
Fine tuning turns a generalist into a specialist - skip the baseline and you can never prove it worked. Five steps on Google Cloud: baseline, data prep, instruction design, hyperparameters, evaluation. Plus the finding that surprises business process automation buyers: 100 good samples beat 1,000.