A 30-minute video is too long for one conversation. This guide walks the 8-step Skill that locks the narration and one look, then gives each 3-minute segment to a fresh sub-agent, five at a time, and polishes the cut in an empty-context session.
The folder structure behind my AI agent team, the Herdr setup where Grok Build, Claude Code and Kimi Code work side by side, and the two live tasks from the video: an article published by voice and a three-model front-end test.
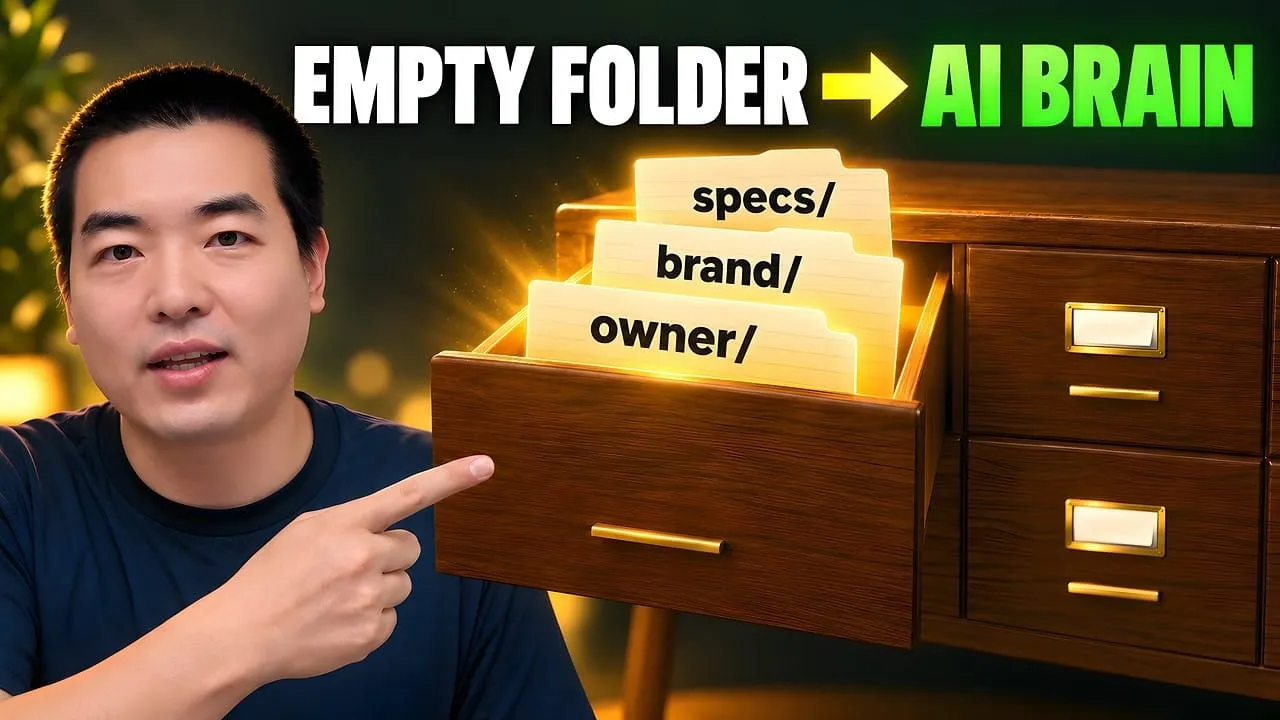
Eight folders of plain Markdown, a CLAUDE.md index in each, and seven prompts that make your agent interview you. Every prompt, template and command from the video, in order.
Build a Website with AI: 7 Methods Compared for Beginners (2026)
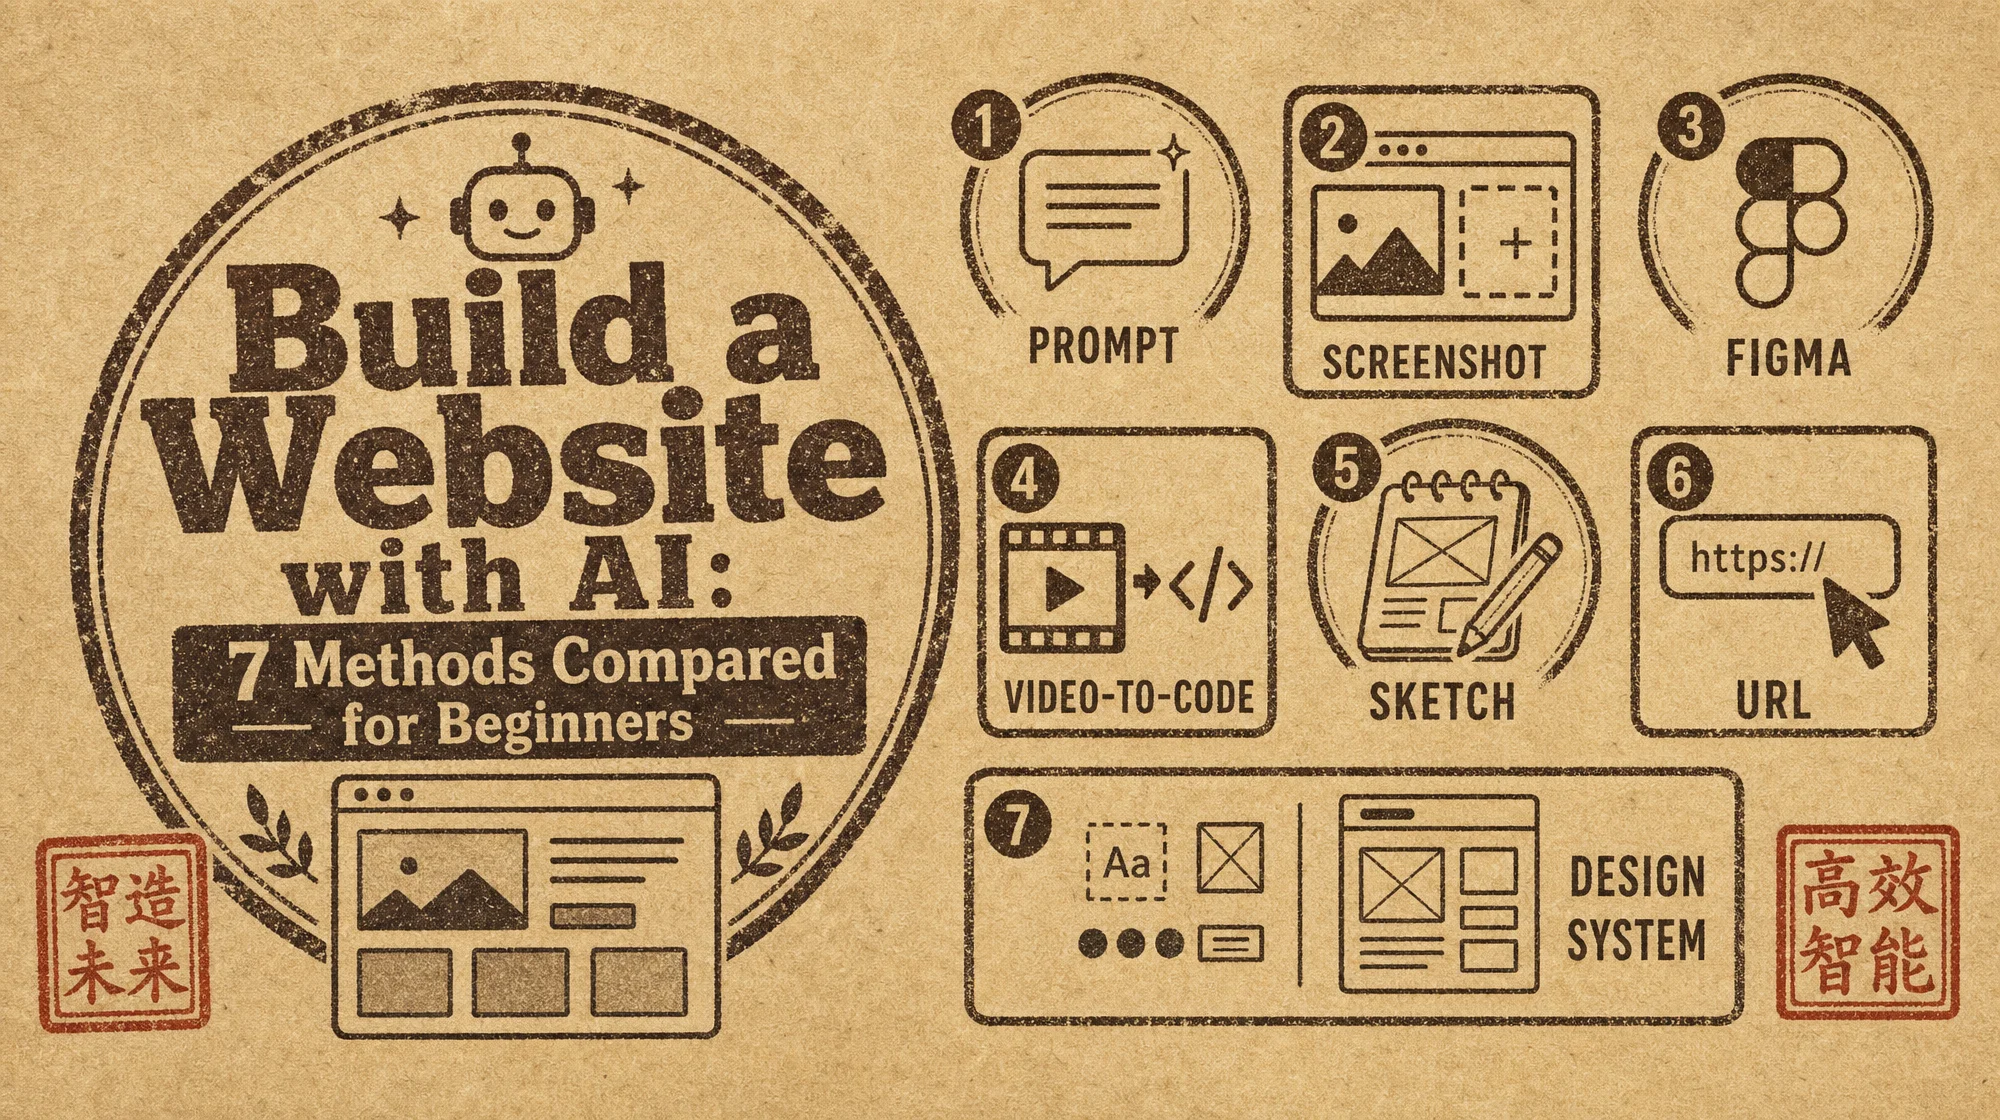
Building a website with AI is no longer about picking a tool, it is about picking an input method. Seven ways in, compared on cost, output quality, and where each one breaks: prompt, screenshot, Figma, video, sketch, URL, and design system.
Building a website with AI in 2026 is not one skill. It is seven.
Most beginner guides frame this as a tool-picking question: v0 or Lovable, Cursor or Bolt, pick your favorite. That framing is wrong.
The real decision happens earlier, in what you feed the model. A sentence, a screenshot, a Figma file, a video clip, a sketch, a URL, or a design system. Each input produces a different kind of website, at a different cost, for a different reader.
Here is the short version before the long one. For a working prototype in an afternoon, use prompt-to-code. To turn an existing design into code, use Figma-to-code or screenshot-to-code.
For an award-style animated site, use video-to-code. For a real product you will maintain for years, use design-system-driven development.
The remaining two — sketch and URL — fill specific gaps.
The rest of this article walks through each of the seven methods: what it solves, the tools that do it, how to start, who it fits, and where it breaks. If you want to go deeper on the coding tools behind several of these methods, see our Claude Code CLI, app, and IDE guide.
Before choosing a tool, look at what is already sitting on the desk. A landscaping company rebuilding its site has a folder with three things in it: last year's brochure as a PDF, a phone photo of a competitor's homepage, and a paragraph the owner wrote describing what the business does. Those are three different starting points and they do not lead to the same destination. The material you already hold constrains the route far more tightly than the brand name on the tool does. Picking the tool first is picking backwards, and it is the most common reason a rebuild handed to an ai assistant for business costs more than it saved.
Method 1 — Prompt-to-Code (Vibe Coding)
This is the method most beginners picture when they hear "build a website with AI." You write what you want in plain language, and a tool generates a working site.
What it solves. The gap between an idea and a clickable prototype. You do not need to know HTML, CSS, or deployment. You need to describe the result you want.
The tools. Three names dominate. v0 (from Vercel) generates the cleanest UI code — React components styled with shadcn/ui (a popular open-source component library) and Tailwind — but is weak on back-end logic.
Bolt.new (from StackBlitz) is the most flexible, running a full environment in the browser and supporting any JavaScript framework. Lovable is the most full-stack, wiring up Supabase for data and Stripe for payments in a single prompt.
How to start. The single biggest mistake beginners make is writing vague prompts like "make me a website." Structured prompts win. A reliable frame covers six things:
Goal — who the site is for
Structure — what sections it needs
Components — which parts to reuse
Behavior — how interactions respond
Styling — the visual direction
Constraints — the tech stack to use or avoid
A common workflow is to generate the UI in v0, then move the code into Cursor to add the back end.
Who it fits. Non-technical founders validating an idea. Developers who want a fast first draft. Anyone whose goal is a working prototype this week, not a polished product this quarter.
All three tools have free tiers. v0's paid plans sit in the typical SaaS range (see v0.dev/pricing), and Bolt.new and Lovable follow a similar model. Expect to stay on a free plan while learning, then pay once you publish.
Where it breaks. Complex business logic confuses these tools. They tend to generate redundant code. AI-generated code can contain exploitable flaws. Anything handling payments or user data needs a security review before it ships.
Have you verified? Before trusting an AI-generated site with real users, run it past a second model or a developer. Fast output is not the same as correct output.
Method 2 — Screenshot-to-Code
You see a website you like. You take a screenshot. You hand it to a model and ask it to rebuild the HTML and CSS.
What it solves. The problem of translating a visual reference into code without describing every spacing value by hand.
The tools. The open-source project screenshot-to-code is the reference implementation. v0 also accepts image input, and the major multimodal models (Claude, Gemini, GPT) can read a screenshot directly and produce markup.
How to start. Capture the reference, paste it into v0 or your model of choice, and ask it to reconstruct the layout with a component library like shadcn/ui. Iterate by sending follow-up screenshots of the result alongside the original.
Who it fits. Designers who have a visual target but no code. Developers reversing a layout from a reference. Anyone who thinks in pictures, not in prose.
Where it breaks. Pure one-shot reproduction from a screenshot is still unreliable. In one documented test, a developer asked a leading model to recreate a three-screen app design. The result fell well short of the original despite strong benchmark scores.
The lesson: treat screenshot-to-code as a starting draft, then refine. It works best combined with a structured prompt that names the intended components.
Method 3 — Figma-to-Code
You already designed the site in Figma. Now you want the design to become code without rebuilding every layer by hand.
What it solves. The handoff problem — the gap between a designer's Figma file and a developer's codebase, which traditionally eats hours per screen.
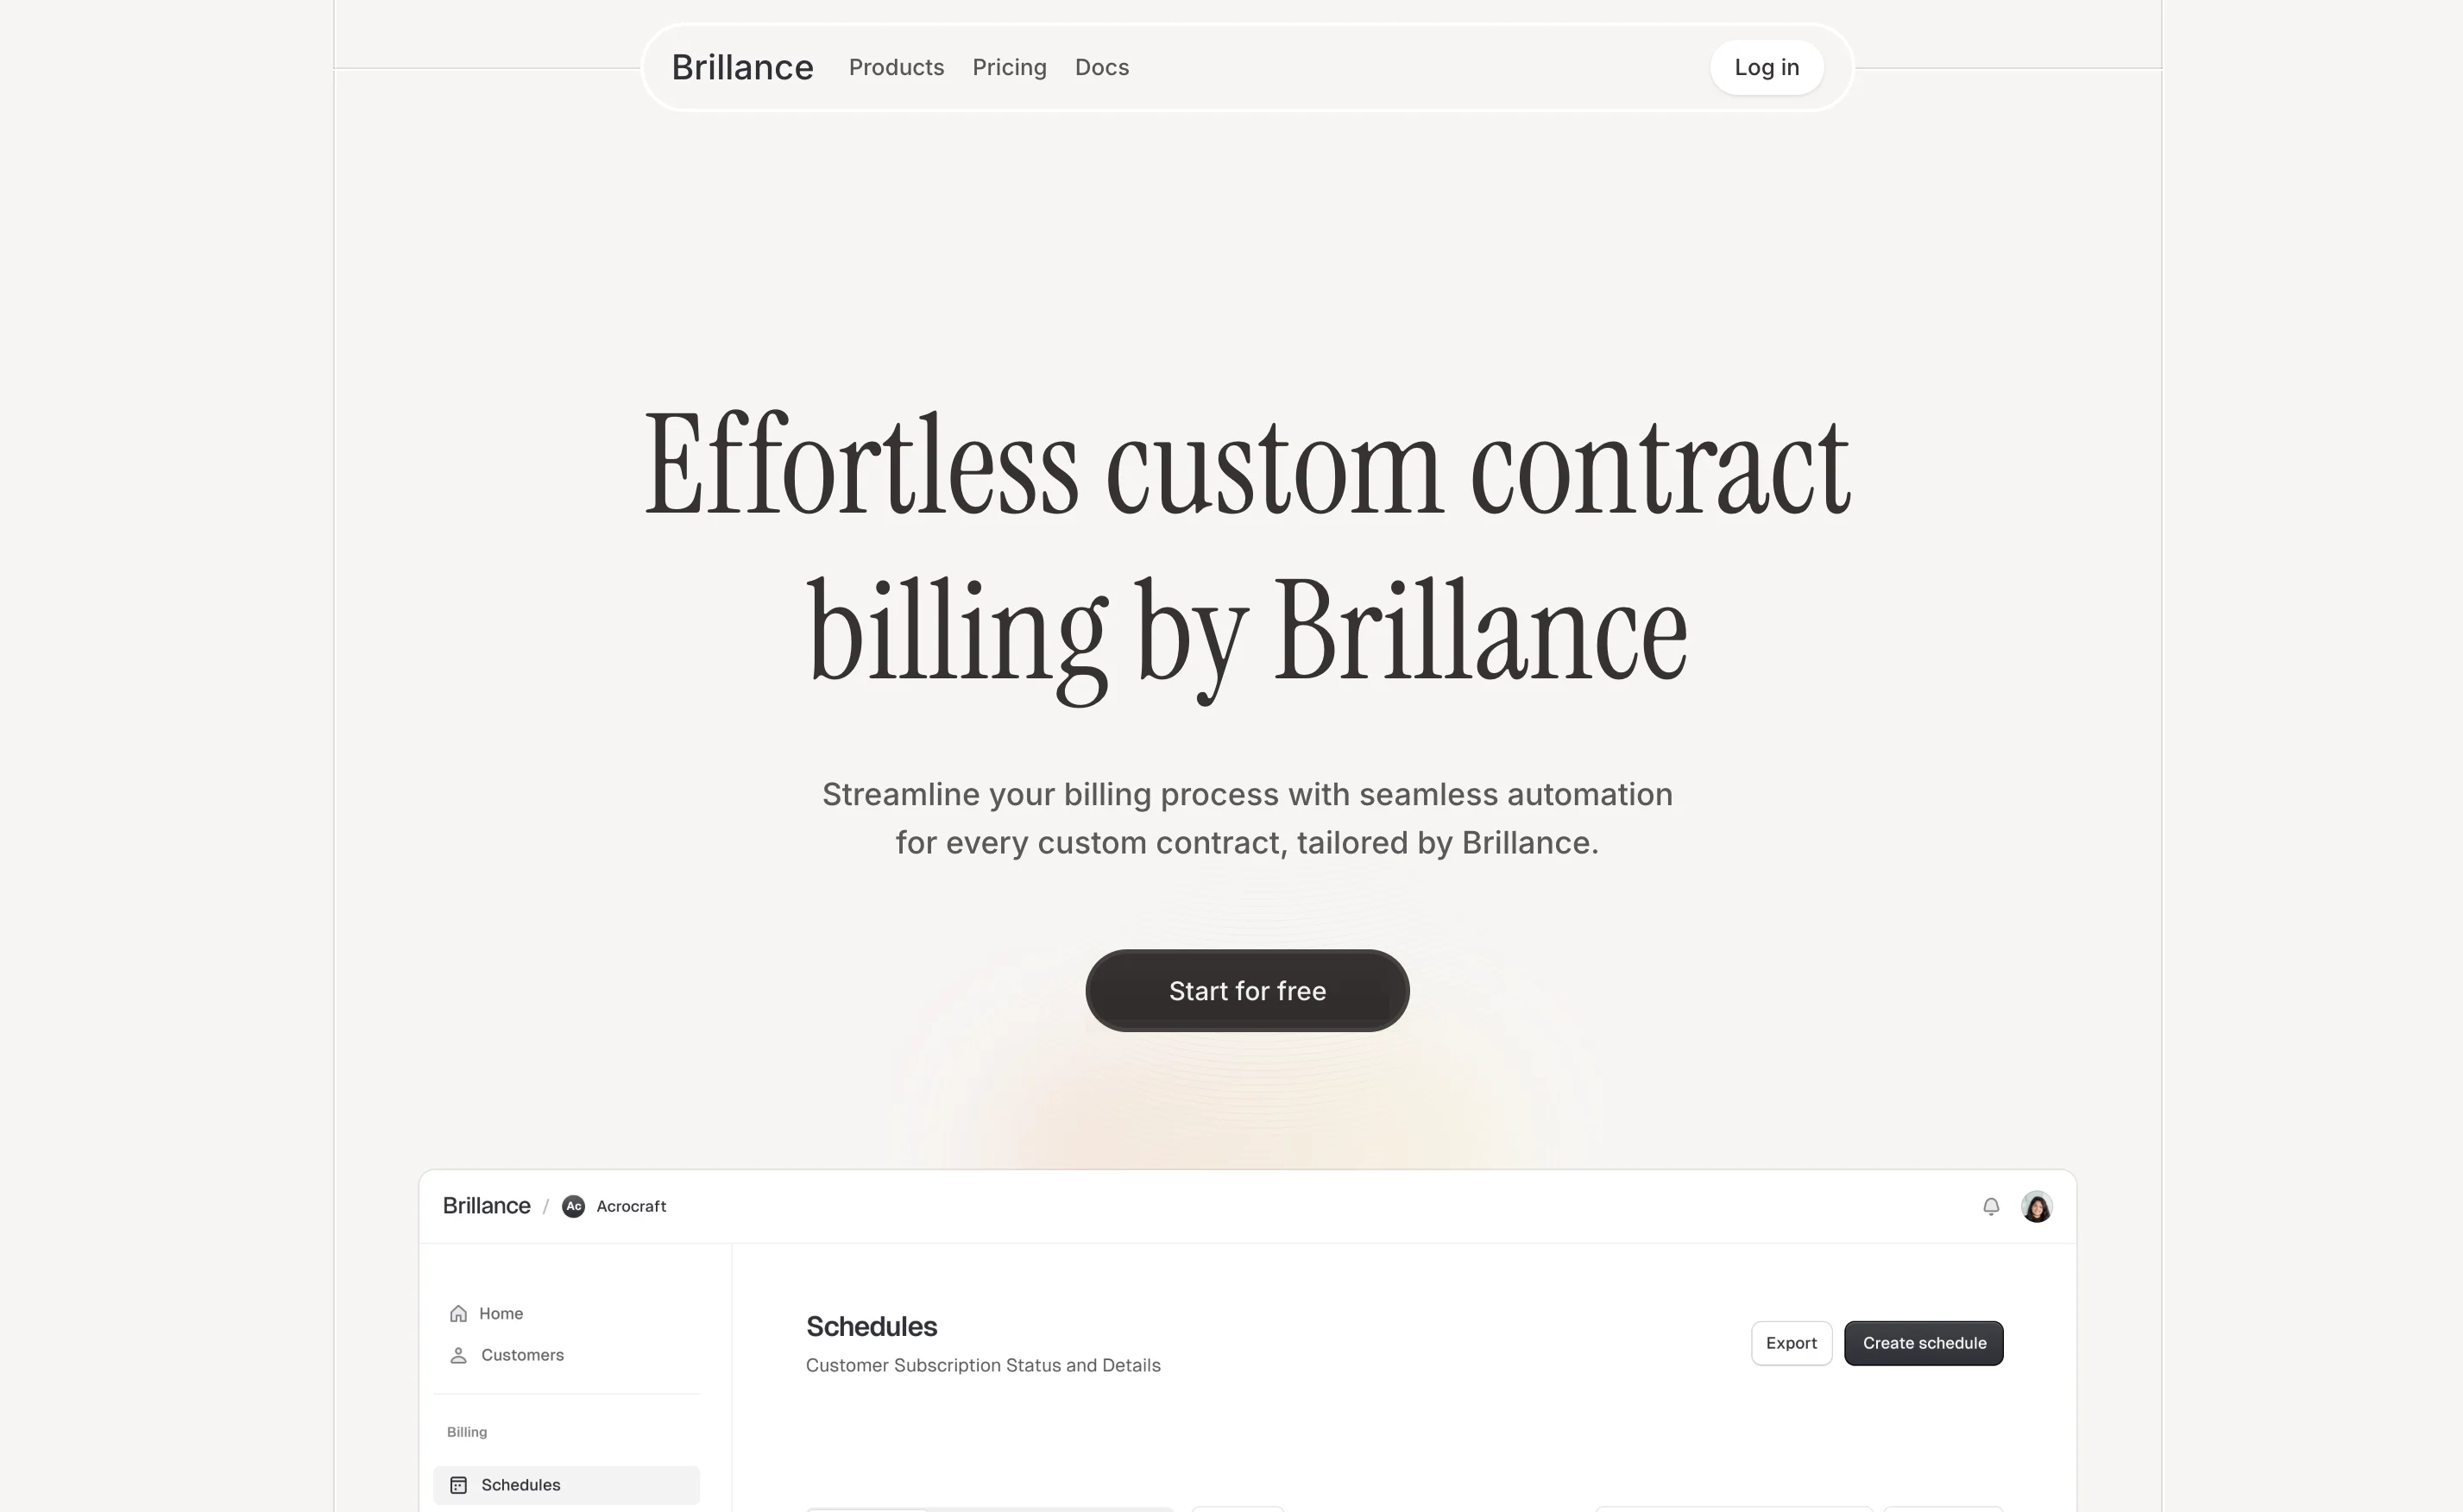
The tools.Figma Make, Figma's own AI builder, is now generally available and integrates a leading AI model (such as GPT or Claude). Builder.io is the strongest for mapping Figma components to your own component library, charged per screen. Locofy focuses on React and Next.js at a higher price point. The free Figma Dev Mode shows you CSS snippets and specs even if you never pay for conversion.
How to start. The single most important habit is using Auto Layout (Figma's smart spacing system) and consistent component naming. Tools read well-structured files cleanly and produce messy code from manually positioned layers. Name components by category, variant, and state — Button/Primary/Large rather than Frame 47.
Who it fits. Teams with an existing Figma workflow. Designers shipping production code. Anyone whose design is too detailed to describe in a prompt.
Where it breaks. Deeply nested output, broken responsive breakpoints, and lost animations are the three classic complaints. The generated code often needs cleanup before it is maintainable. Map to your own component library whenever possible — converting to generic markup locks you into refactoring later.
Method 4 — Video & Motion-to-Code
This is the newest and most volatile method. You take a motion clip — or generate one — and turn it into a scroll-driven animated website. Done well, the result looks like an award-winning studio site.
What it solves. The hardest part of premium web design: smooth, scroll-synced animation that feels cinematic rather than mechanical.
The workflow. One documented approach works in four steps:
Generate or choose an anchor image that fixes the visual style.
Turn that image into short video clips with an AI video platform such as Higgsfield.
Extract frames from each clip with a free command-line tool like FFmpeg.
Map every frame to a scroll position, so scrolling plays the animation — the scrollbar becomes the playhead.
Animation libraries like GSAP (for scripted motion) and Lenis (for smooth scrolling) tie the frames together.
The tools. A video generation platform (Higgsfield is the one cited most often), a top-tier AI model to orchestrate the workflow (Claude Code with skill packages that bundle motion-design prompts), and the GSAP plus Lenis stack underneath. In one documented comparison, a creator used a top-tier model with Higgsfield to produce an animated site for roughly $12 in credits that studios would price in the thousands. Treat that as one creator's claim, not a benchmark — but the direction is real.
Who it fits. Freelancers and studios selling motion sites. Marketers who need a landing page that converts on spectacle. Anyone whose client equates "animated" with "expensive."
Where it breaks. Easing curves are hard to match precisely. Complex transitions between scenes separate weak models from strong ones — in the same comparison, the model that stitched scenes together with smooth transitions clearly beat the one that hard-cut between them. This method also consumes video credits fast, so budget for three or four scenes, not ten.
Think in reverse. A $20 landing page and a motion site that sells for thousands can promote the exact same product. The difference is not the product — it is the perceived value the motion creates. Before choosing this method, ask whether your audience actually rewards spectacle.
Method 5 — Sketch-to-Code
You draw boxes on a whiteboard, or on a napkin, or in a tool like Excalidraw. You photograph it. You get a clickable prototype.
What it solves. The earliest stage of ideation, when an idea is still too rough to describe in words and too early to design in Figma.
The tools.tldraw's Make Real is the prototype that made this category famous — draw a login form, click a button, get a working interface. DrawUI, Napkins.dev (open source), and Uizard (commercial) cover the range from free to polished.
How to start. Draw rectangles for regions, label them with content hints, connect them with arrows for flow. Upload, and the tool generates a low-fidelity prototype you can click through.
Who it fits. Product managers running a meeting. Founders who think by sketching. Anyone who needs a prototype in the next ten minutes, not the next ten hours.
Where it breaks. Output stays low-fidelity. You will not ship production code from a napkin sketch. Treat this as an ideation accelerator, not a delivery pipeline.
Method 6 — URL-to-Code
You paste the address of a live website. The tool reads its real HTML, CSS, and structure, then rebuilds it as editable code.
What it solves. The cost of starting from zero when a good layout already exists somewhere else.
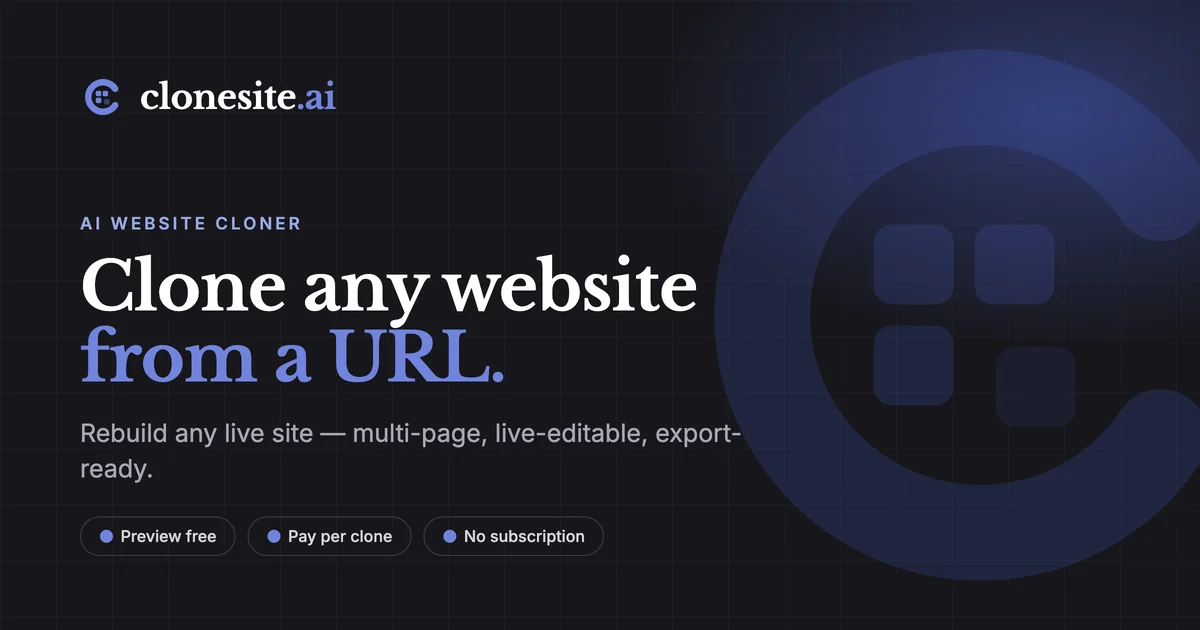
The tools.Clonesite.ai, CopyWeb, Same.new, and Step1 all do this. Step1 stands out by extracting the design tokens (colors, spacing, typography) and components rather than copying the whole site — closer to learning the recipe than stealing the dish.
How to start. Paste the URL, let the tool read the real page structure (the live DOM, not a flat screenshot), then swap in your own colors, copy, and logo before exporting.
Who it fits. Beginners studying how a good site is structured. Marketers who want a competitor's layout as a skeleton. Developers extracting a design system from a site they admire.
Where it breaks. The legal line. Reading a public site's structure is low risk. Copying someone's copy, images, or logo and publishing as your own is high risk.
The safe rule is simple: clone the skeleton, fill it with your own content. When in doubt, your own words and images are always the cheapest insurance.
To be precise. "Cloning" sounds shady, but a browser already reads a public site's DOM every time you visit it. The risk is not in reading — it is in republishing someone's protected expression as your own.
Method 7 — Design-System-Driven Development
This is the engineering method, and it is the one most beginners skip — then regret skipping.
What it solves. The long-term cost of AI-generated code. One-shot generation produces a site fast, but every change regenerates from scratch. A design system lets AI generate inside fixed constraints, so the codebase stays consistent and maintainable.
The tools.shadcn/ui (components you copy into your project, so the AI can read and edit them freely), Tailwind CSS, and v0 (which outputs shadcn by default). The connective tissue is MCP (Model Context Protocol) — a standard that lets the model read your design tokens and component library directly.
How to start. Define your colors, spacing, and typography as design tokens before generating anything. Add a short rules file (like a CLAUDE.md or .cursorrules) that tells the model: use semantic token names, never hardcode a color value, always reuse existing components. Then let the AI generate within those rails.
Who it fits. Anyone building a product they will maintain for more than a month. Solo developers who cannot afford technical debt. Teams that need brand consistency across many pages.
Where it breaks. Upfront cost. You invest in tokens and components before the AI writes a line. Beginners often skip this step because one-shot generation feels faster — until the fifth redesign, when they realize they have been regenerating the same styling decisions over and over.
How to Choose
Pick the method by your situation, not by the tool with the best marketing.
Your situation
Start with
Cost feel
Why
No code, no design, just an idea
Prompt-to-code
Free tier
Lowest barrier, fastest to prototype
You have a reference screenshot
Screenshot-to-code
Free tier
Visual input beats verbal description
You have a Figma file
Figma-to-code
Paid per screen
Design already done, just convert
You need a cinematic animated site
Video-to-code
Tens of dollars
Only method that produces scroll-driven motion
You are brainstorming on a whiteboard
Sketch-to-code
Free tier
Rough to clickable in minutes
You admire a competitor's layout
URL-to-code
Free tier
Clone the skeleton, not the content
You are building a real product
Design-system-driven
Free, then time
The only method that stays maintainable
Most real projects combine two or three. A common mature stack: prompt-to-code for the first draft, screenshot-to-code to match a visual target, and design-system-driven to keep the result maintainable.
The Cost Reality
The price range is wider than beginners expect. A free tier on v0 or Bolt costs nothing and produces a learnable prototype.
A motion site built with video generation credits costs tens of dollars in API calls. The same motion site, commissioned from a studio, costs thousands. The product underneath can be identical.
This is why the input method matters more than the tool. The tool is a detail. The input method decides whether you spend an afternoon or a budget.
Risks Before You Ship
Three risks apply across all seven methods.
Security. AI-generated code can contain exploitable flaws. Before shipping anything that handles authentication, payments, or personal data, get a review — from a second model, a developer, or a scanner.
Copyright. URL-to-code and screenshot-to-code both borrow from existing work. Reading structure is low risk; republishing protected copy, images, or logos is high risk. When in doubt, clone the layout and write your own words.
Maintainability. One-shot generation feels fast until you try to change something three months later. If the site will live longer than a campaign, invest in a design system early. Technical debt compounds quietly.
Frequently Asked Questions
Can I build a website with AI for free? Yes. v0, Bolt.new, and Lovable all offer free tiers for generating and previewing. The tradeoffs are watermarks, usage caps, and no custom domain. Free is for learning; expect to pay once you publish.
Which method is best for a complete beginner? Prompt-to-code. Describe the site in plain language and Lovable or Bolt generates it. No code, no design, no setup.
Is video-to-code beginner-friendly? Not really. It produces the most striking results but needs video credits, frame extraction, and animation libraries. Better for intermediate users with a specific goal.
Is cloning a website legal? Cloning a layout to learn is low risk. Copying someone's copy, images, or logo is high risk. Use cloned structure as a skeleton and fill it with original content.
What to Do Next
If you remember one thing, remember this: the question is not which AI tool to use, but which input to feed it. Pick the input that matches your situation, start with a free tier, and ship something ugly this week. You can refine the method later. You cannot refine a site you never started.
Eight folders of plain Markdown, a CLAUDE.md index in each, and seven prompts that make your agent interview you. Every prompt, template and command from the video, in order.
Stop briefing your AI from scratch. One free folder holds your background, your rules and your voice. Eight prompts build it, no code, and any AI can read it.
Monitoring a competitor who publishes no feed is the case every RSS guide skips. Twenty-one platforms sorted by which of three jobs they do, and the finished setup is business process automation you own outright, with no seat licence to renew.
Blaming the content is the reflex when a post underperforms, and it is usually the wrong diagnosis. A second reader decides distribution before any human sees the post, and most of what it checks is mechanical enough to automate business processes around, on five platforms at once.